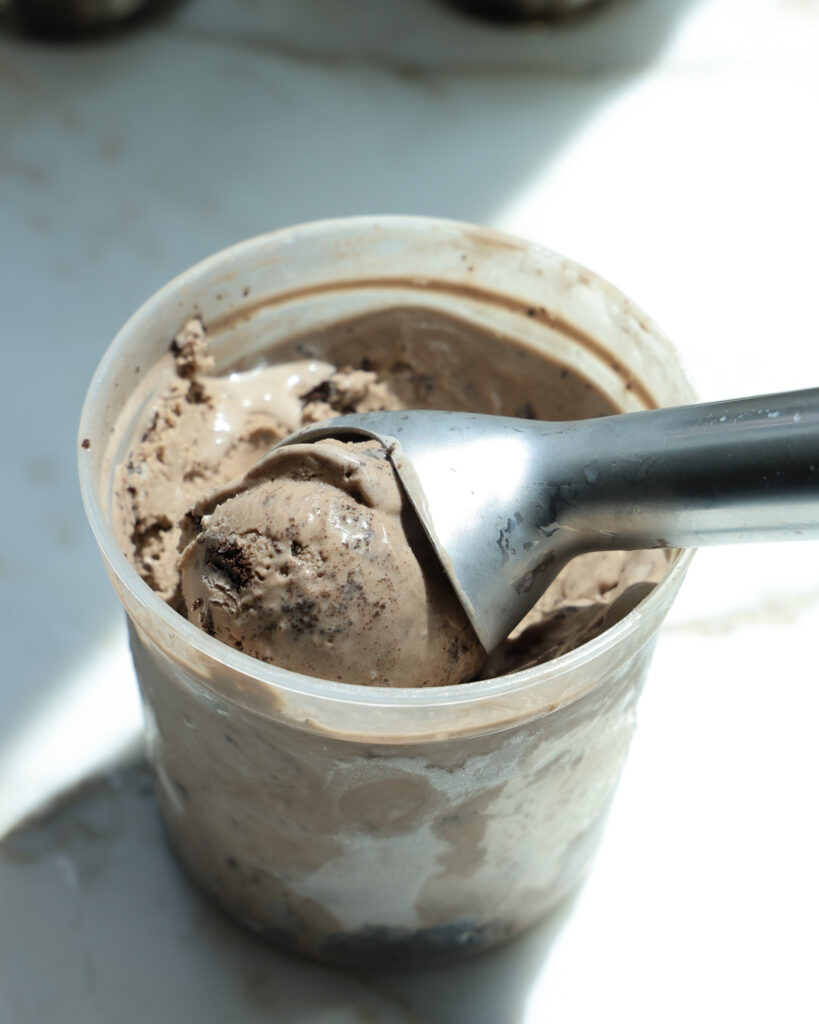
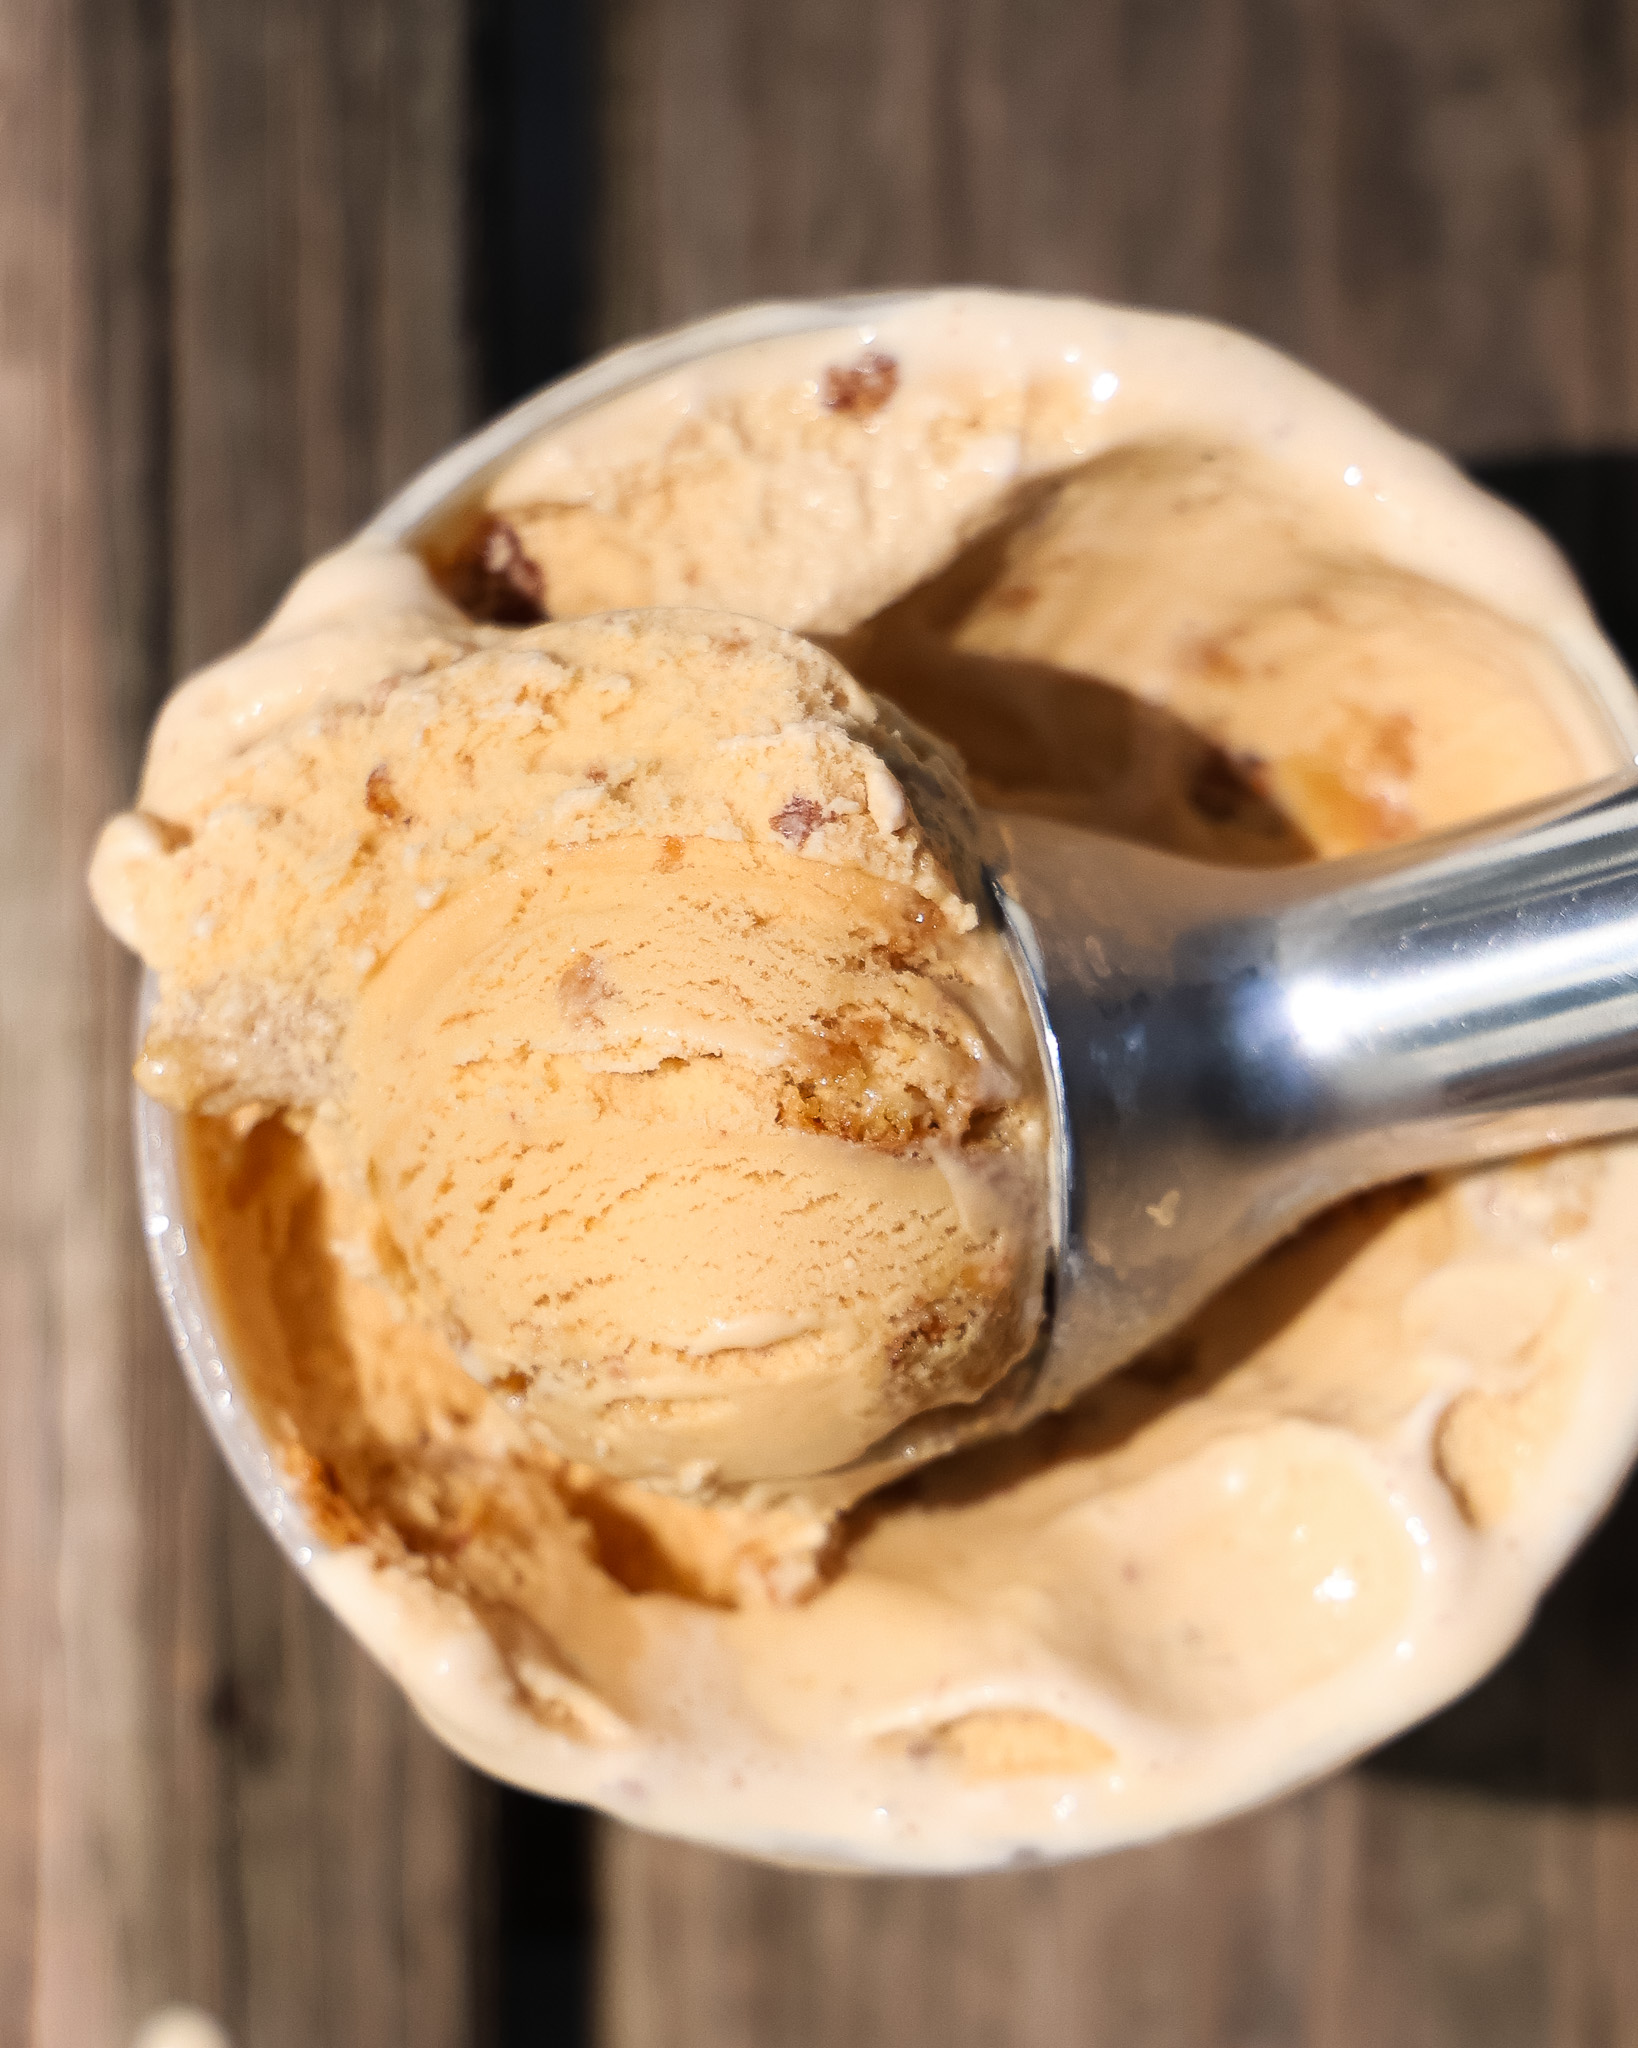
I’m not above using a brand name to show off a recipe, and let me tell you: Oreo Infused Ice Cream is the best ice cream I’ve ever had. Thank you, Nabisco, for this genius invention!!
Infusing ice cream has become one of my favorite hobbies. It’s so fun to make your ice cream base, slowly infuse it over a few days, and then on the weekend do a quick 20-minute churn to get the best ice cream of your life. And trust me, Oreo Ice Cream will be in the running for the best ice cream of your life.
Table of contents
- Where can I get a KitchenAid ice cream maker attachment?
- Why are Oreos a great choice for infusing ice cream?
- Ingredients you’ll need
- How to make homemade oreo ice cream
- What happens to the Oreos during the infusion process?
- Why aren’t we adding any cocoa to the Oreo ice cream base?
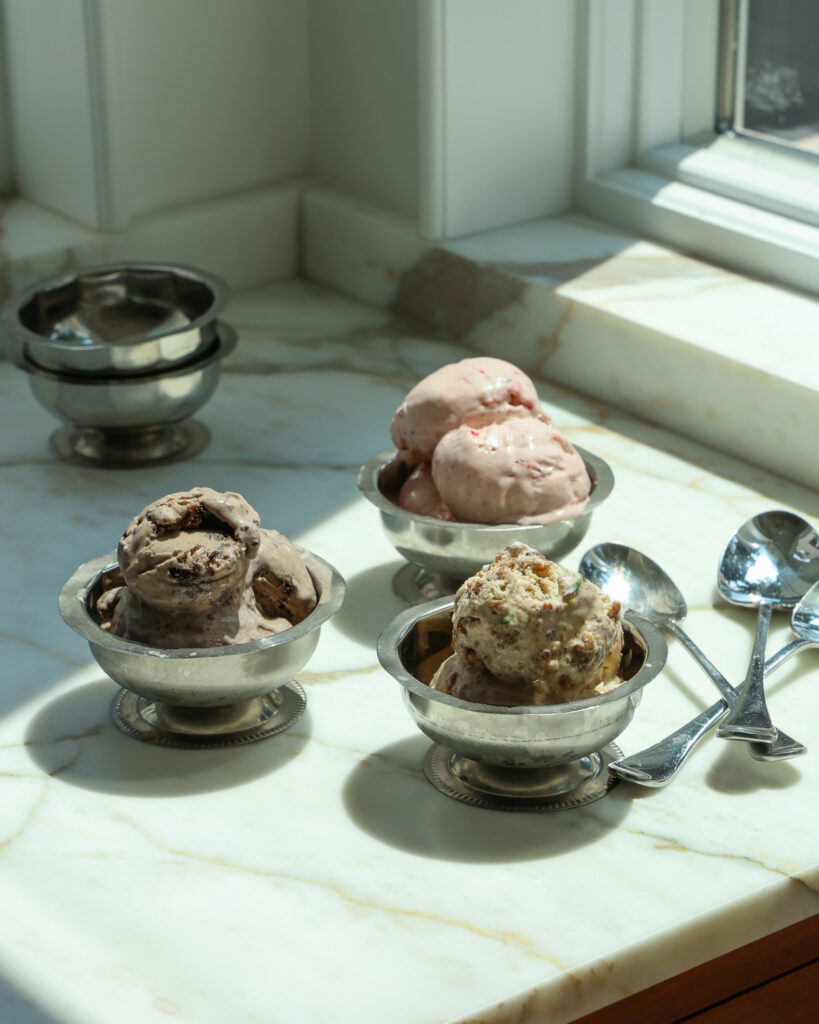
- My favorite mix-in suggestions
- How to freeze the ice cream base for later
- Why is this recipe in grams?
- Looking for more ice cream recipes?
Where can I get a KitchenAid ice cream maker attachment?
The easiest place to find one is online through KitchenAid, or at retailers like Target, Williams Sonoma, or Crate & Barrel. They usually run around $120, which feels like a lot upfront, but it’s still cheaper than most standalone ice cream machines and it doesn’t take up nearly as much space in your kitchen.
Why are Oreos a great choice for infusing ice cream?
Not all cookies work well in ice cream, but Oreos are uniquely suited to infusing and creating an amazing ice cream flavor:
- Low butter content – There’s a rumor that Oreos are vegan, which I cannot confirm or deny. BUT Oreos do have the benefit of being a packaged cookie, meaning they have a low natural butter content (you know when cookies have greasy bottoms? That’s kind of what I mean. Oreos don’t have that). This means the excess butter can’t make the ice cream base greasy or heavy. Instead, they easily infuse into the base without adding any additional fat that may impact the texture.
- Dutch-processed cocoa flavor – While Oreos don’t explicitly use Dutch-processed cocoa powder, they mimic that really delicious alkalized flavor. I think of it like a mellow, rich chocolate taste without bitterness. When infused, it translates into a chocolate ice cream that tastes natural and balanced rather than overly sweet, fudgy, or artificial.
- Nostalgia! – Few flavors bring you back the way Oreos do. Infusing them into a homemade ice cream takes a childhood favorite and transforms it into something elevated while keeping you connected to your roots.
Ingredients you’ll need
- 4 large egg yolks
- 1/2 cup (110g) granulated sugar, divided
- 1 1/2 cups (360g) whole milk
- 1 1/2 cups (360g) heavy cream
- 11 Oreos or similar brand, see note*
How to make homemade oreo ice cream
The heart of any great homemade Oreo ice cream is the custard base. This base is what gives the final ice cream its silky, scoopable texture and ensures the Oreo flavor infuses well. Here’s how to make it, step by step:
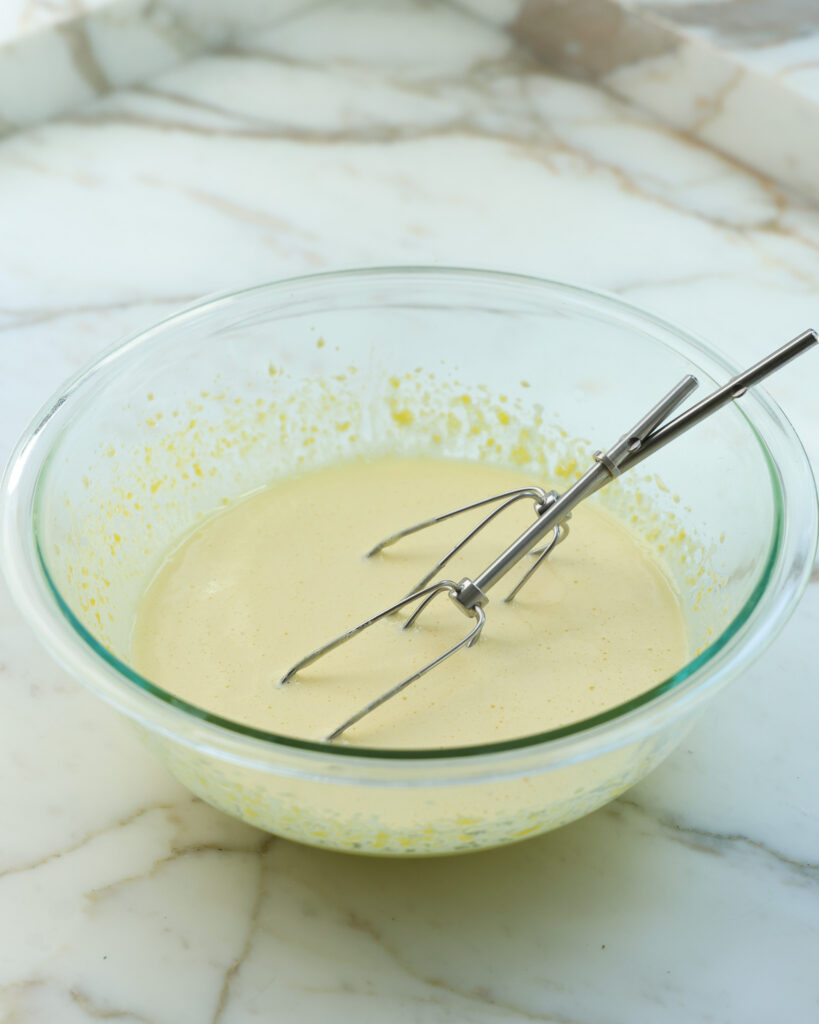
- Whisk the yolks and sugar – In a medium bowl, whisk together 4 egg yolks and half of the called-for sugar until the mixture turns pale yellow and thick. This step helps create structure and richness in the custard. And don’t wear yourself out, you can absolutely do this with an electric mixer.
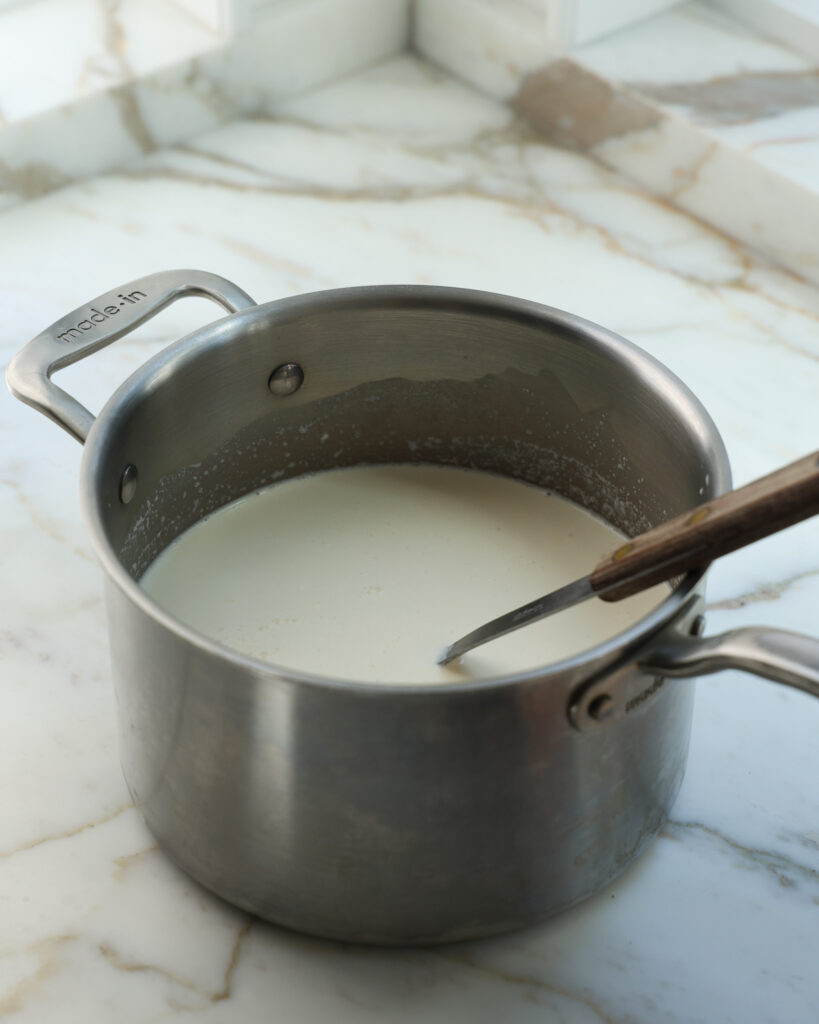
- Heat the dairy – In a saucepan, combine whole milk, heavy cream, and the remaining sugar. Heat gently over medium heat until the mixture is steaming and foamy around the edges, nearing 165°F. Be sure to stir often so the sugar fully dissolves and the milk doesn’t scorch.
- Temper the yolks – To prevent scrambling, slowly ladle about ¼ cup of the hot milk mixture into the yolks while whisking constantly. Repeat this 3–4 times until the yolks are warmed through. This process gradually raises the temperature of the yolks without cooking them.
- Cook the custard – Pour the tempered yolk mixture back into the saucepan with the remaining hot milk. Stir constantly over medium-low heat until the custard thickens slightly and coats the back of a spoon (165–170°F). This ensures a creamy texture once churned.
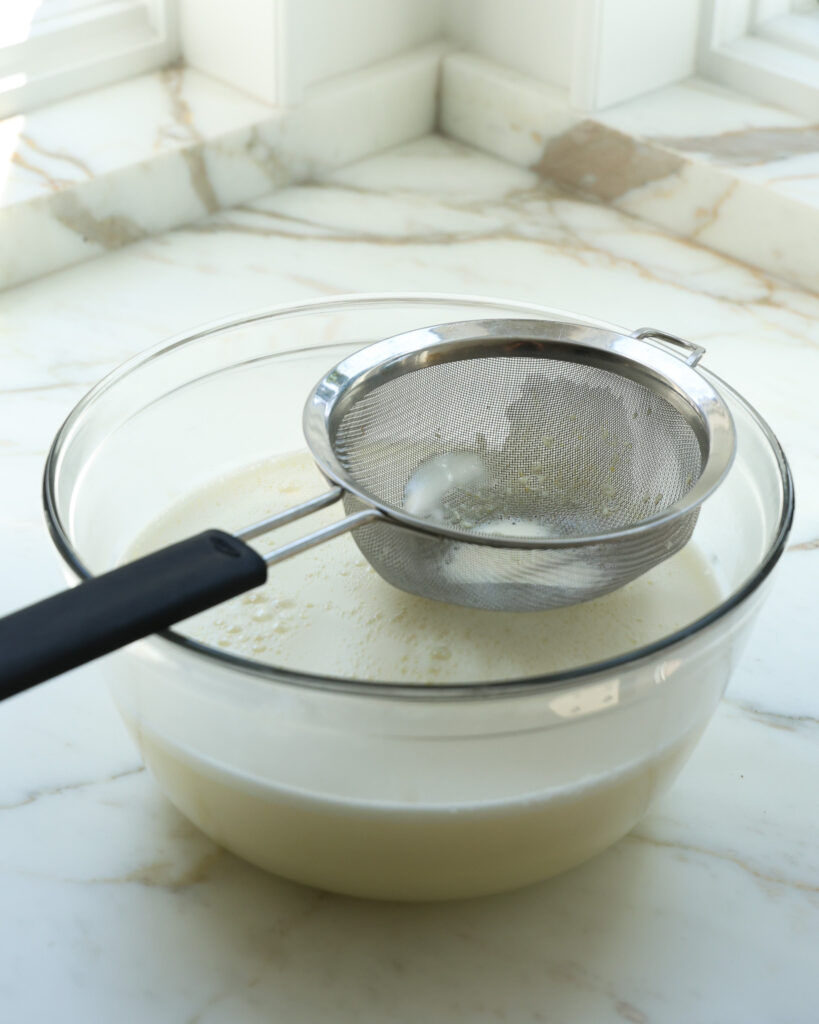
- Strain and infuse – Remove from heat and strain the custard through a fine mesh sieve into a clean bowl. This catches any bits of egg and creates a smooth base. Now, stir in 5 roughly chopped Oreos to begin the infusion process. The cookies will slowly dissolve into the custard over the next 1–3 days, transforming it into a flavorful Oreo infused ice cream base.
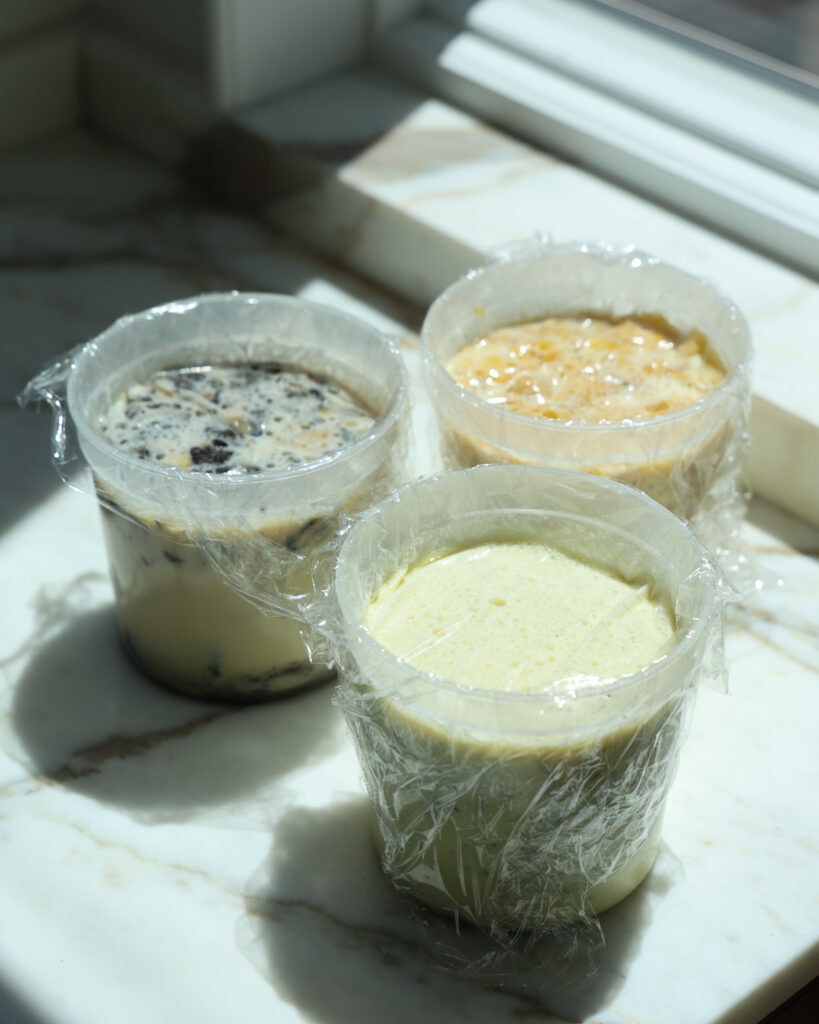
- Chill before churning – To prevent a film forming at the top of the custard, cover the surface of the mix with plastic wrap and refrigerate for at least 12 hours. This not only chills the base but also allows the Oreos to fully infuse.
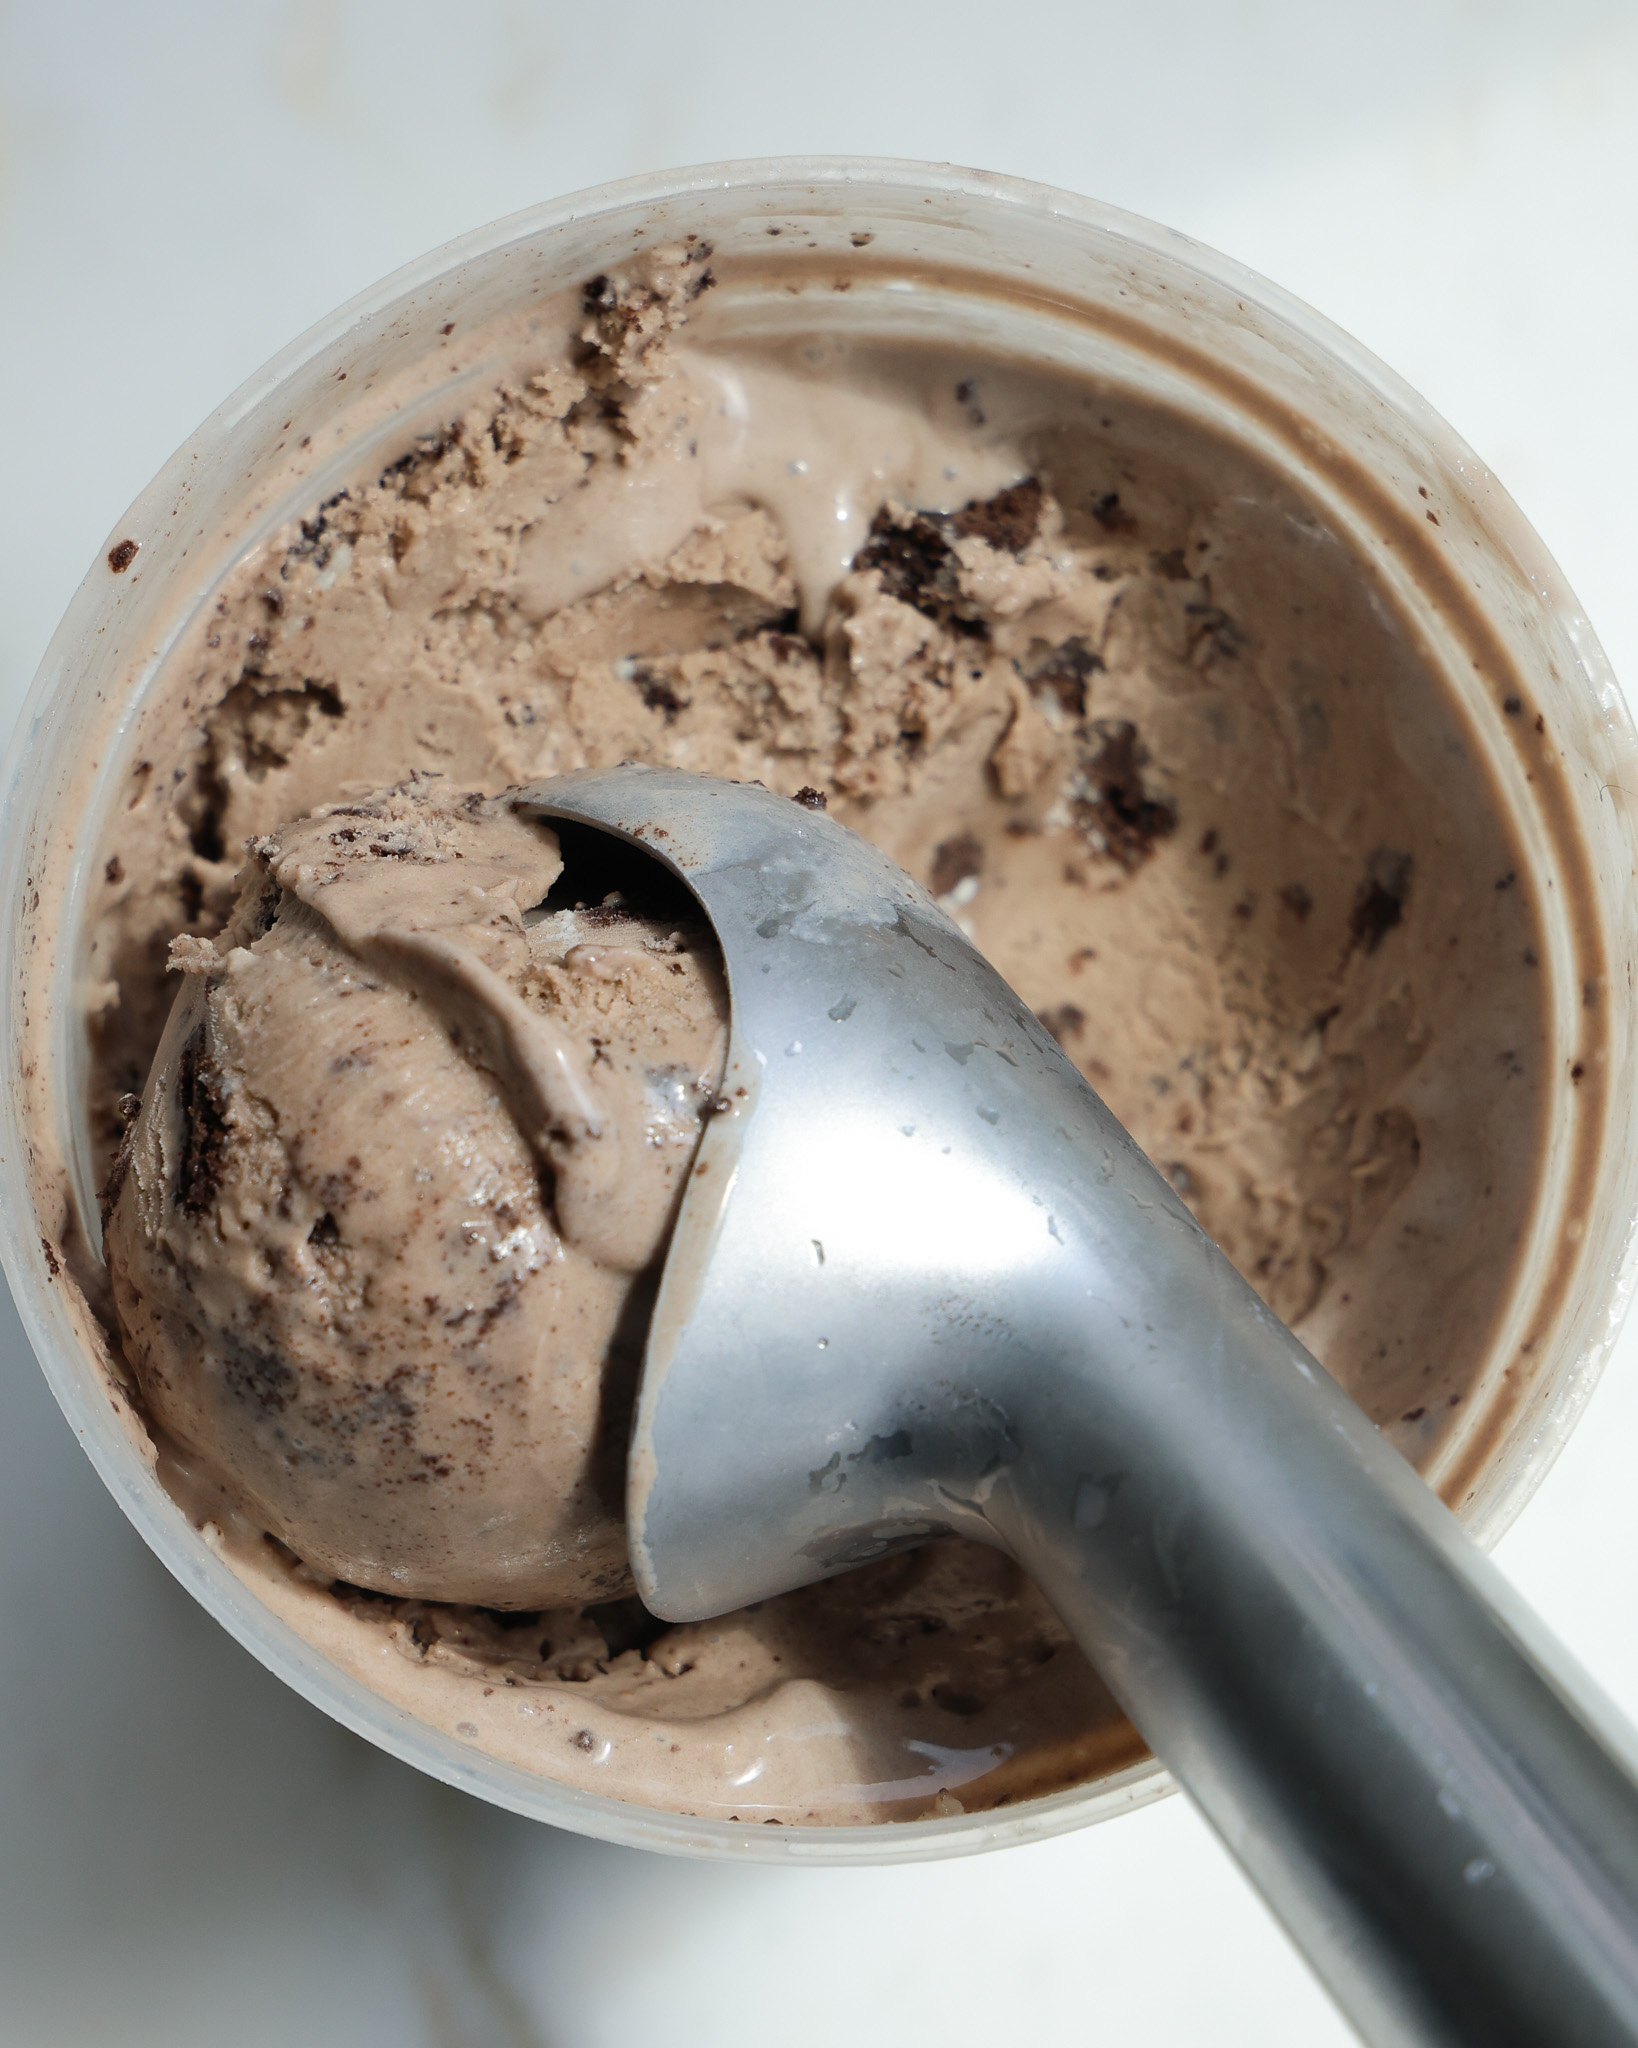
By the time you’re ready to churn, you’ll have a thick, chocolate-speckled custard that already tastes like Oreos before you’ve even added the final cookie mix-ins.
What happens to the Oreos during the infusion process?
Here’s where the magic happens. As the custard rests, the Oreos slowly break down and disintegrate. The dark cocoa wafers dissolve into the base, infusing it with deep chocolate flavor, the creamy filling stays intact, but it melds with the base, adding just the right amount of sweetness.
It might feel strange to strain out the base and not find much left to pull out, but this is exactly what makes the infusion work. Instead of chunks floating around in plain ice cream, the entire base takes on the essence of Oreos. The final churned ice cream tastes layered, complex, and far richer than a standard cookies-and-cream.
Why aren’t we adding any cocoa to the Oreo ice cream base?
The temptation might be to add cocoa powder for extra chocolate depth—but it isn’t necessary here. Oreos already contain a ton of rich chocolate flavor, which brings a balanced, chocolatey richness that dissolves seamlessly into the base. Adding cocoa powder could make the custard taste overly dark and chocolatey, masking the nostalgic Oreo flavor that we worked so hard to build. By relying solely on the cookies, the ice cream tastes exactly like Oreos—familiar, comforting, and perfectly balanced. Short answer: there’s enough chocolate here for even the biggest chocoholics.
My favorite mix-in suggestions
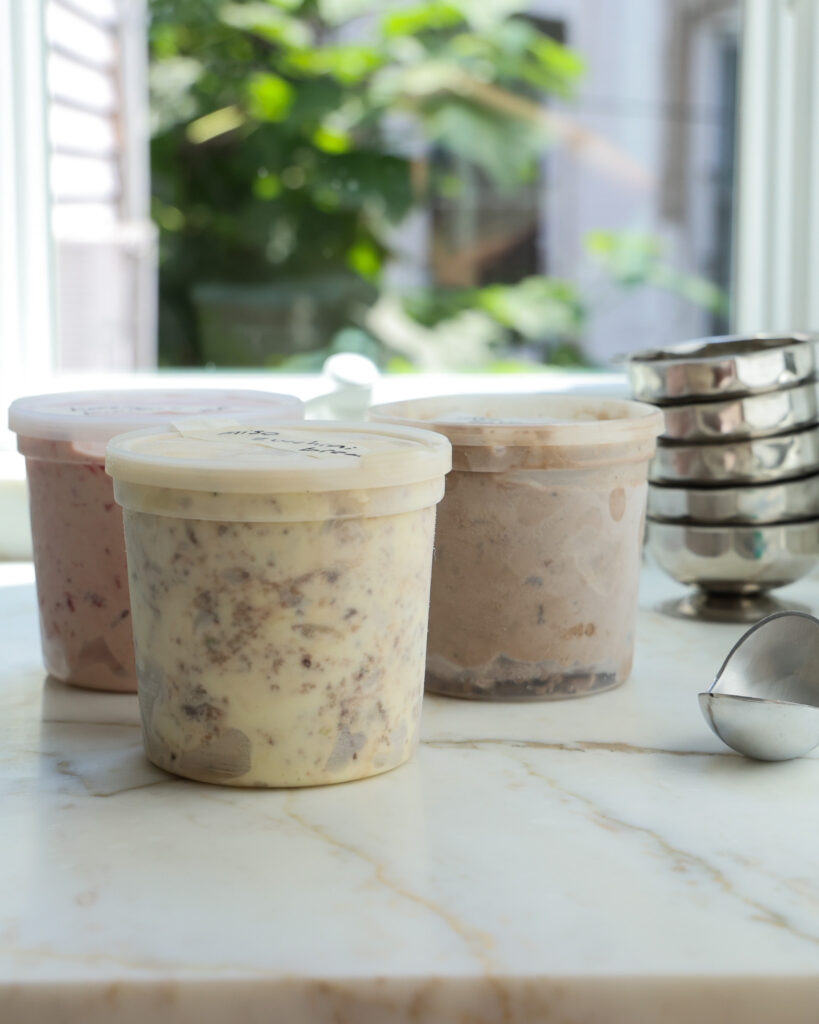
While the infusion guarantees Oreo flavor in every bite, the real fun comes after churning. At this stage, fold in chopped Oreos for texture, or take things up a notch with creative mix-ins like:
- Brownie brittle for a chocolatey crunch
- Peanut butter cups for a salty-sweet twist
- Banana added during infusion (a trick that makes a surprisingly delicious Oreo-banana ice cream – you can see my note in the recipe box for it).
- Chocolate cookies, if you really want to go for it
- Strawberry chunks, to balance the cocoa flavor with some nice tartness
These variations let you customize your Oreo infused ice cream to suit your cravings. But really, go nuts!
How to freeze the ice cream base for later
One of the best parts about making homemade Oreo ice cream is its flexibility. After stirring chopped Oreos into your custard base, you can:
- Infuse in the fridge for 1–3 days for maximum flavor.
- Freeze for later by infusing for one day, then transferring the base to the freezer for up to two weeks. When you’re ready, thaw it in the fridge for 24 hours before churning.
This means you can prep your ice cream days—or even weeks—in advance, then churn it fresh whenever you’re ready to serve.
Why is this recipe in grams?
Grams keep ice cream recipes precise, which really matters for getting a smooth, creamy texture. Measuring by volume can vary a lot, but weighing everything makes the base consistent every time.
I want to ensure you get the best results with this recipe (and I want to keep this recipe foolproof!) so I highly recommend getting a small, affordable kitchen scale if you want to move forward with this particular recipe.
Looking for more ice cream recipes?
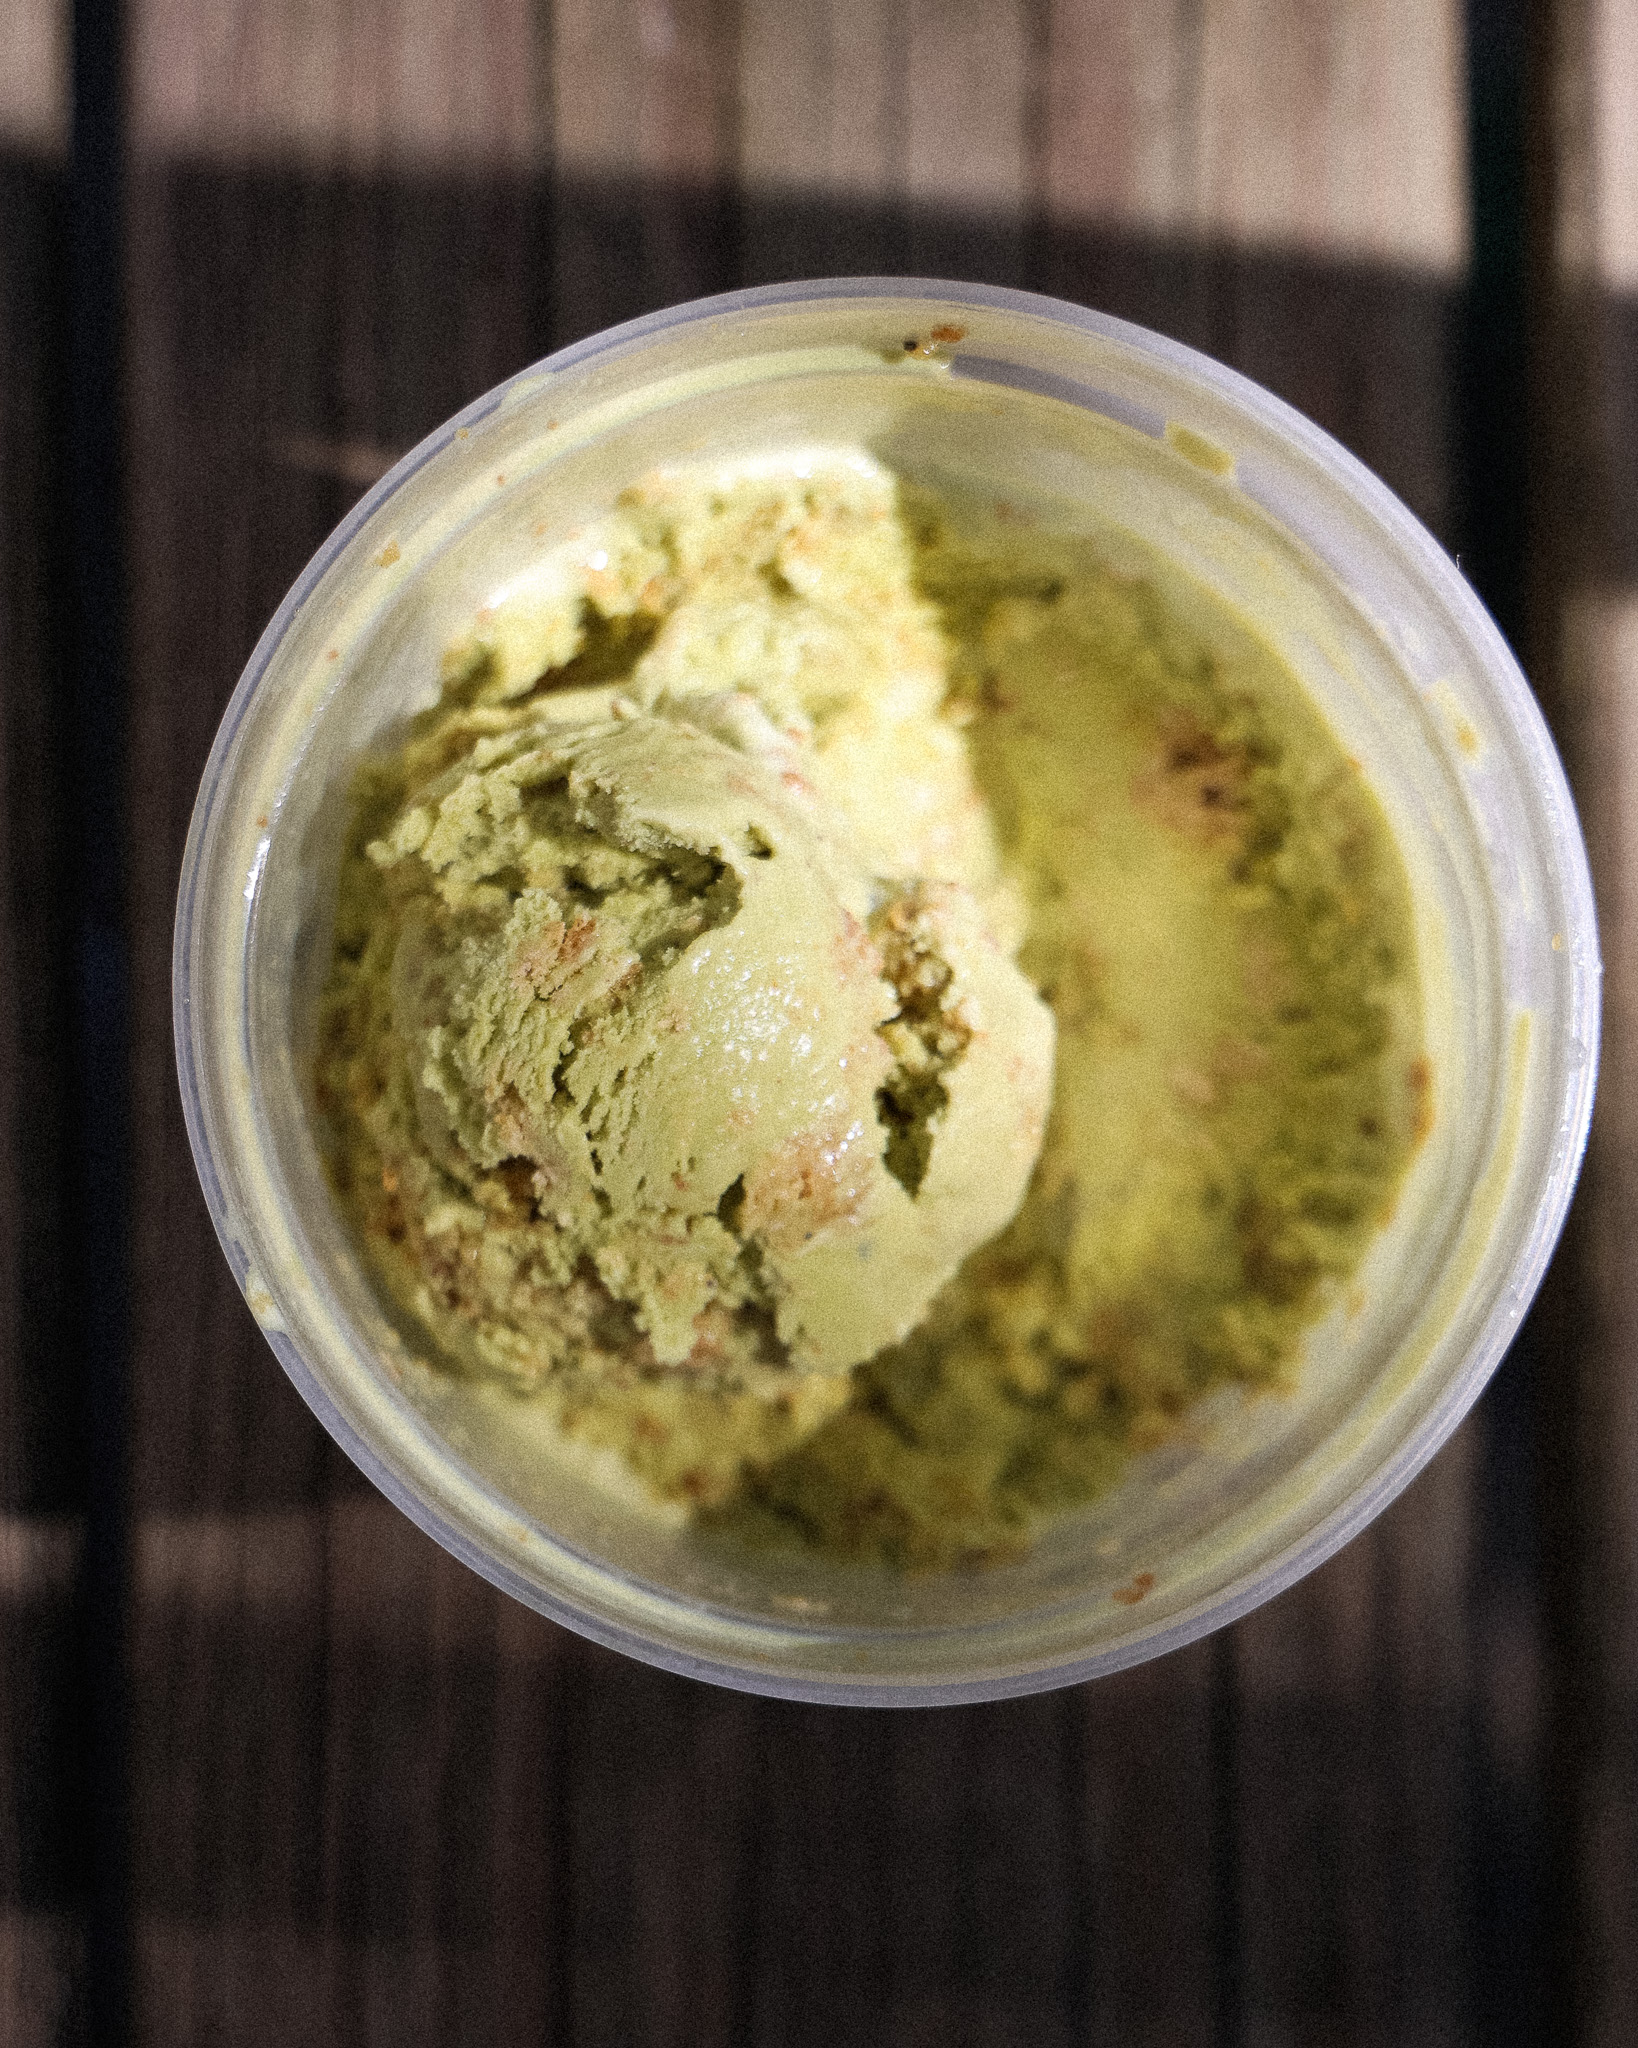
Matcha Mint Blondie Ice Cream
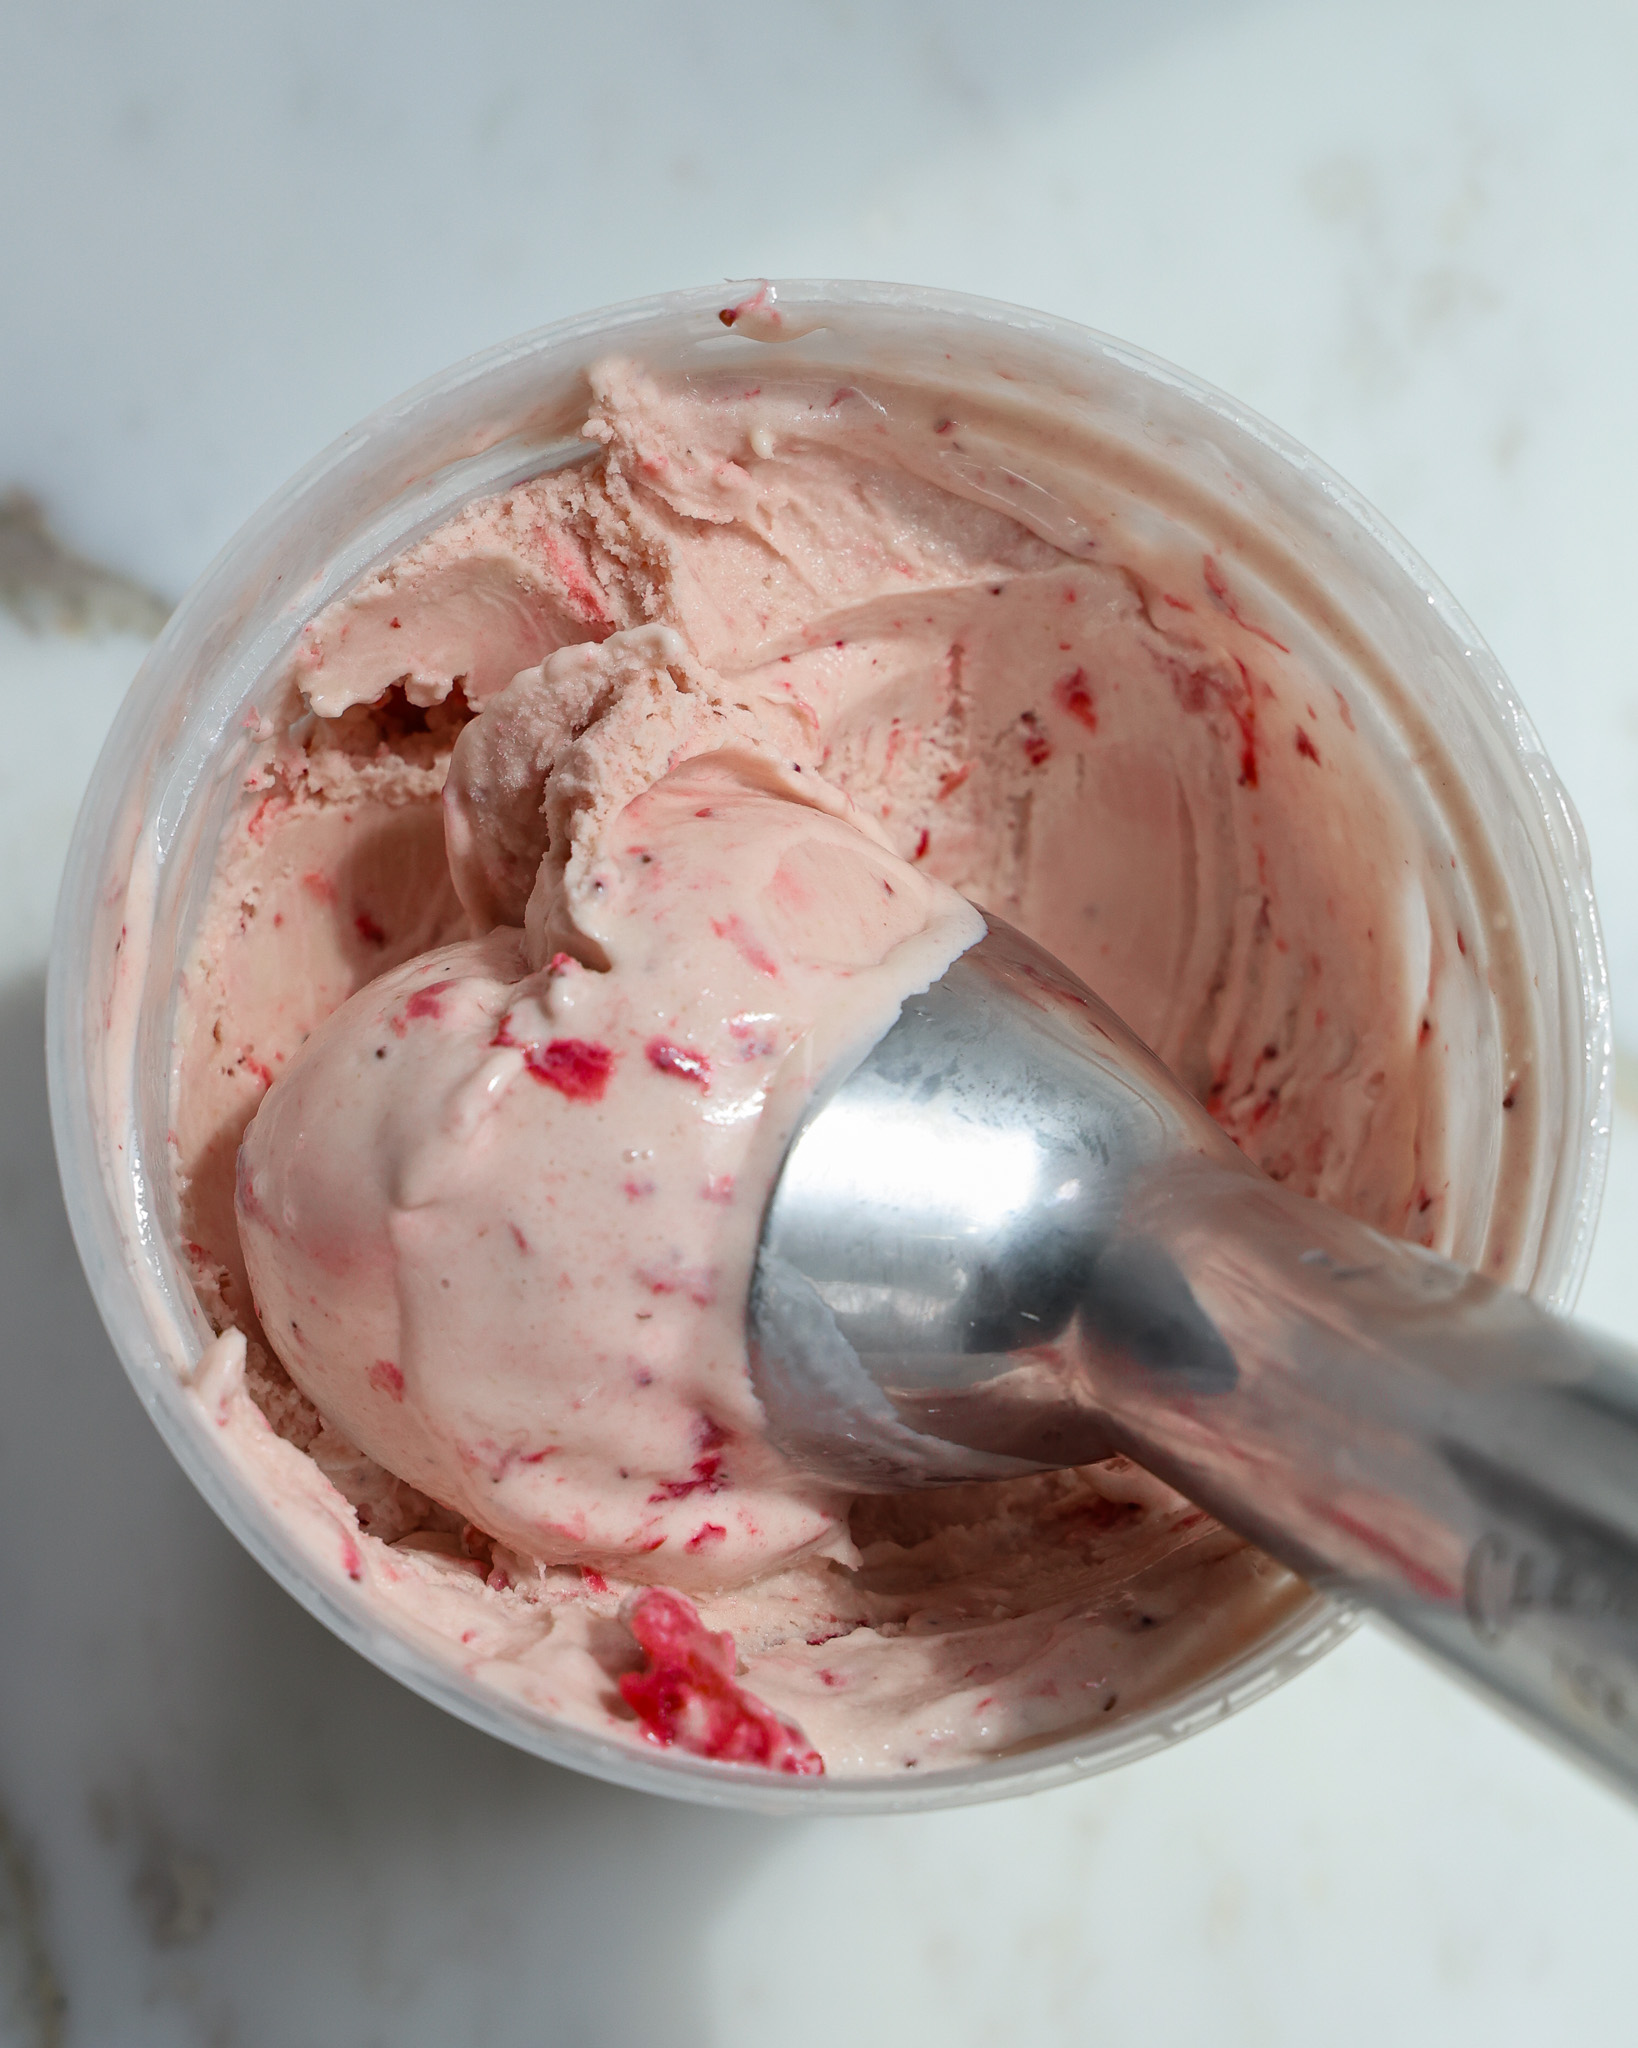
How to Add Fruit to Homemade Ice Cream

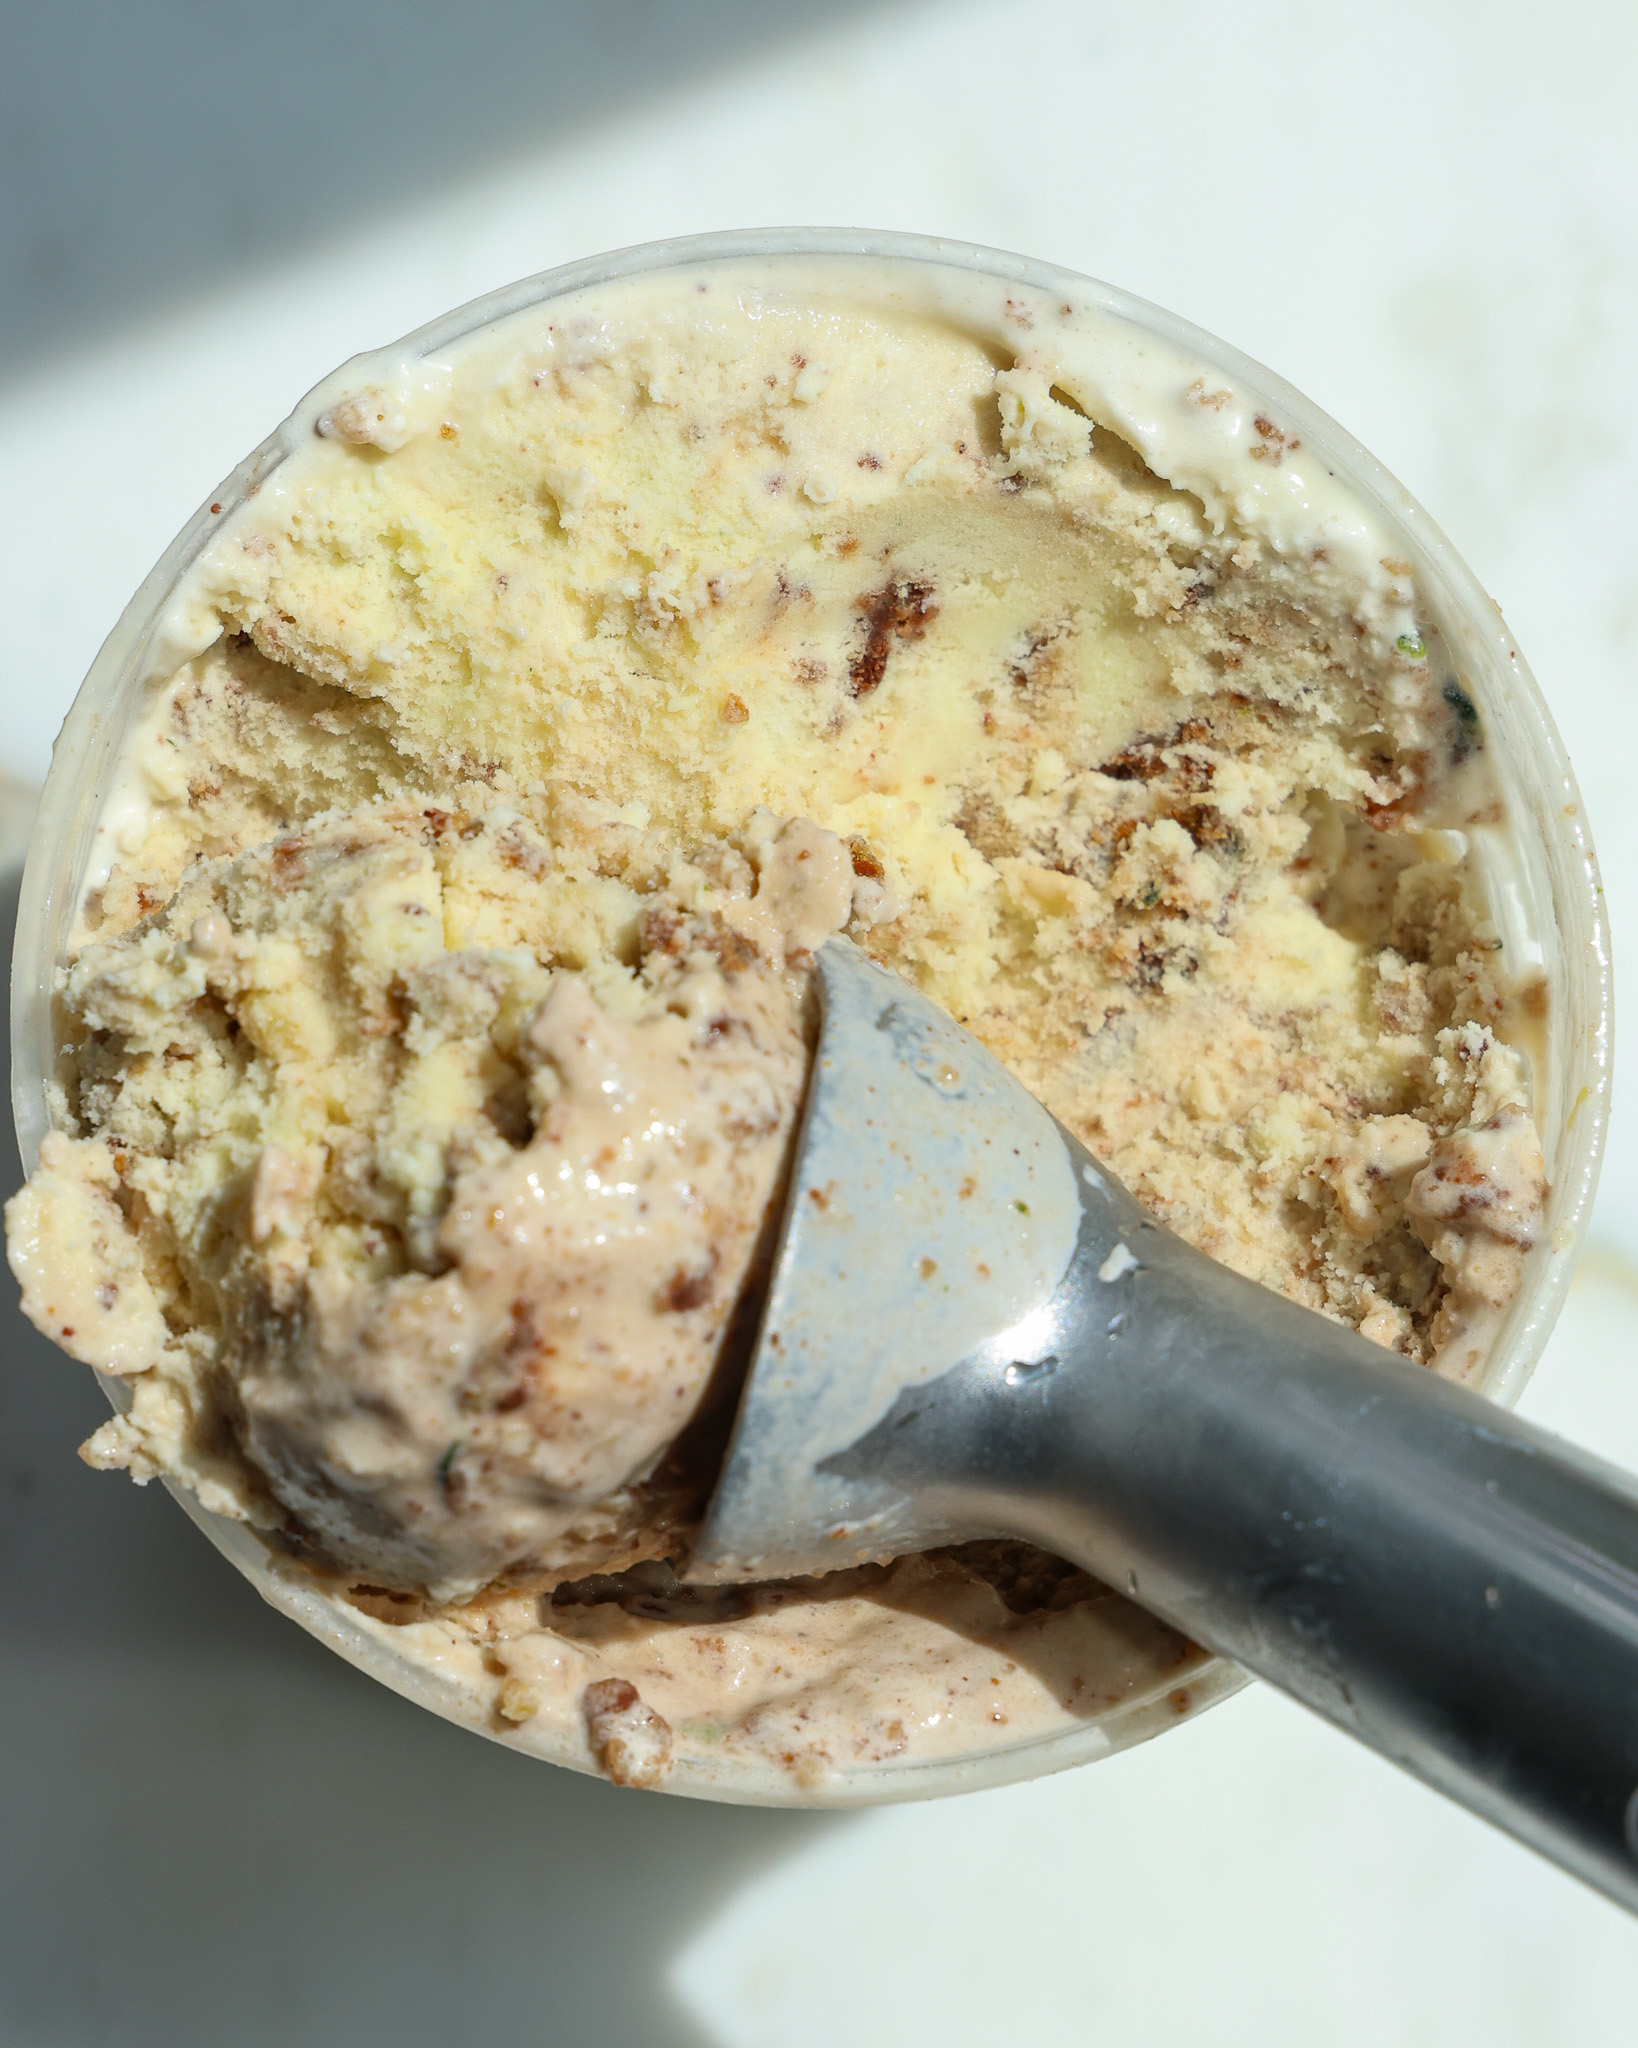
Brown Butter Ice Cream
And that’s it for this Oreo Infused Ice Cream! I’m craving it already.
If you make it, please tag me on Pinterest or Instagram so I can see! It’s my favorite thing to scroll through stories and see what you all are making.
And of course, feel free to leave any questions, comments, or reviews! This is the best place to reach me, and I’d love to hear from you <3
Equipment
- 1 medium bowl
- 1 cling wrap
- 1 spatula
Ingredients
- 4 large egg yolks
- 1/2 cup (110g) granulated sugar, divded
- 1 1/2 cups (360g) whole milk
- 1 1/2 cups (360g) heavy cream
- 11 Oreos or similar brand, see Note*
Instructions
- Place your KitchenAid Ice Cream Churner attachment in the back of the freezer to chill for 14-16 hours. (See Note**)
- In a medium bowl, whisk together 4 egg yolks and 55 grams of granulated sugar until the egg yolks are lightened to a pale yellow color and doubled in size.
- In a medium sauce pot, add 360 grams of whole milk, 360 grams of heavy cream, and the remaining 55 grams of sugar. Stir to combine and place over medium heat. Stirring often, let this heat up until foamy or until it reads 165°F with an instant-read thermometer.
- Reduce the heat to low and scoop a 1/4 cup of the hot milk mixture into the egg yolks. Whisk it into the yolks to temper them. Do this two more times to heat up the yolks. Then pour the egg yolk mixture directly into the pot.
- Stirring constantly, increase the heat to medium-low and mix the custard until it can coat the back of a spoon and reads between 165-170°F on an instant-read thermometer.
- Remove the mixture from the heat and strain it through a mesh sieve into a bowl.
- Roughly chop up 5 Oreos. Stir these into the mixture.
- To prevent a film from forming, directly place cling wrap on the surface of the mixture to seal it. Cover the bowl and store in the fridge for 1-3 days to infuse. If you want to let this rest for a longer period of time, let the mixture infuse for 1 day, then transfer to the freezer for up to two weeks. When you are ready to use it, transfer it to the fridge to thaw for 24 hours. Then it will be ready for use.
- When you are ready to churn, take the custard base out of the fridge. Strain the mixture through a mesh sieve into the churner. Use a spoon or spatula to gently press the mixture out of the sieve. It will capture most of the Oreo icing filling.
- Churn for 20-30 minutes, or until the ice cream is thick and has the texture of a stiffer soft serve.
- Chop up the remaining 6 Oreos and gently fold them into the churned ice cream.
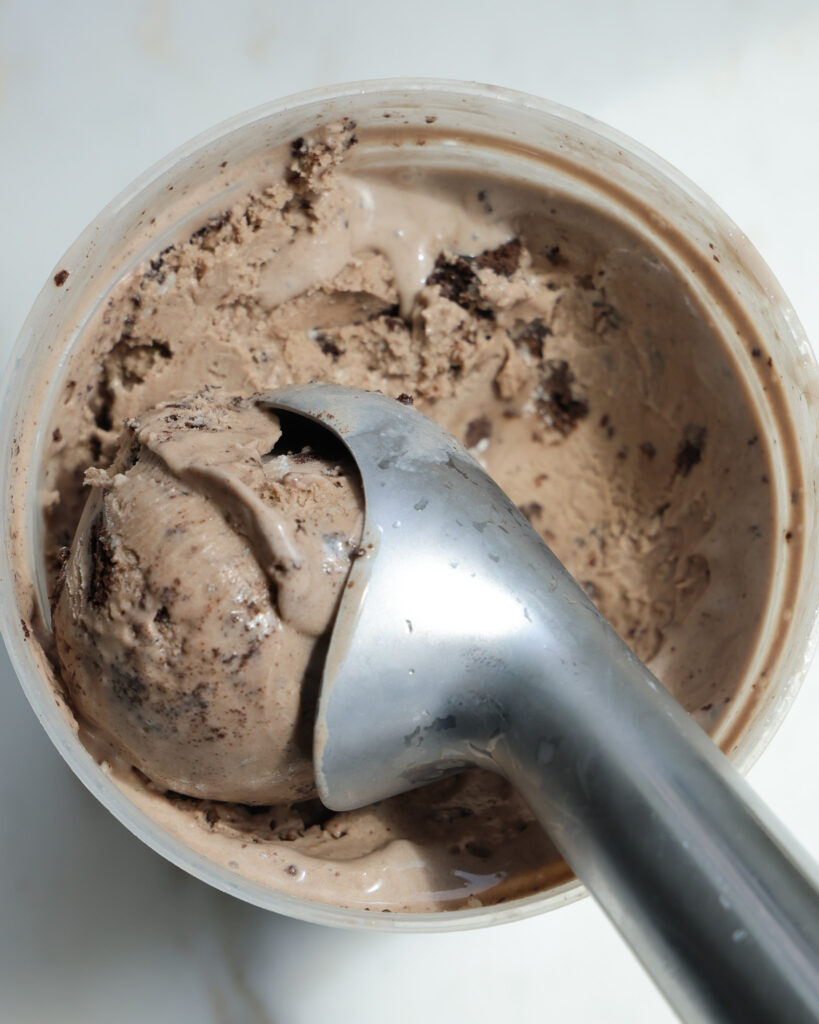
- Transfer the ice cream from the churner to your preferred container. I love plastic deli quart containers for this. Cover and freeze another 2-3 hours, then it is ready to scoop and serve.
Comments
This looks amazing! To infuse the banana, did you mash it up and add it at step 7?
Correct!
This looks delicious. Do you have any recommendations for a dairy-free ice cream base? I plan to try this recipe substituting coconut cream and soymilk for the milk and cream, but I’m worried it won’t end up as creamy as yours.
Oh dear, I’m not a dairy free ice cream expert so I don’t have a perfect answer for you, but I’m sure some vegan blogs may have suggestions on how to use coconut cream!
So good! I love the nostalgic flavor of letting my oreos “melt” in my glass of milk. I have been playing around with a lot of different ice cream recipes and my husband said this was the best one yet!
Can I use Oreo thins instead of regular Oreos?
Absolutely!
This was so easy and so good.
Music to my ears! I am so happy you liked it!
Leave a Comment
Made this recipe? Tell me all your thoughts or if you’ve got any questions!