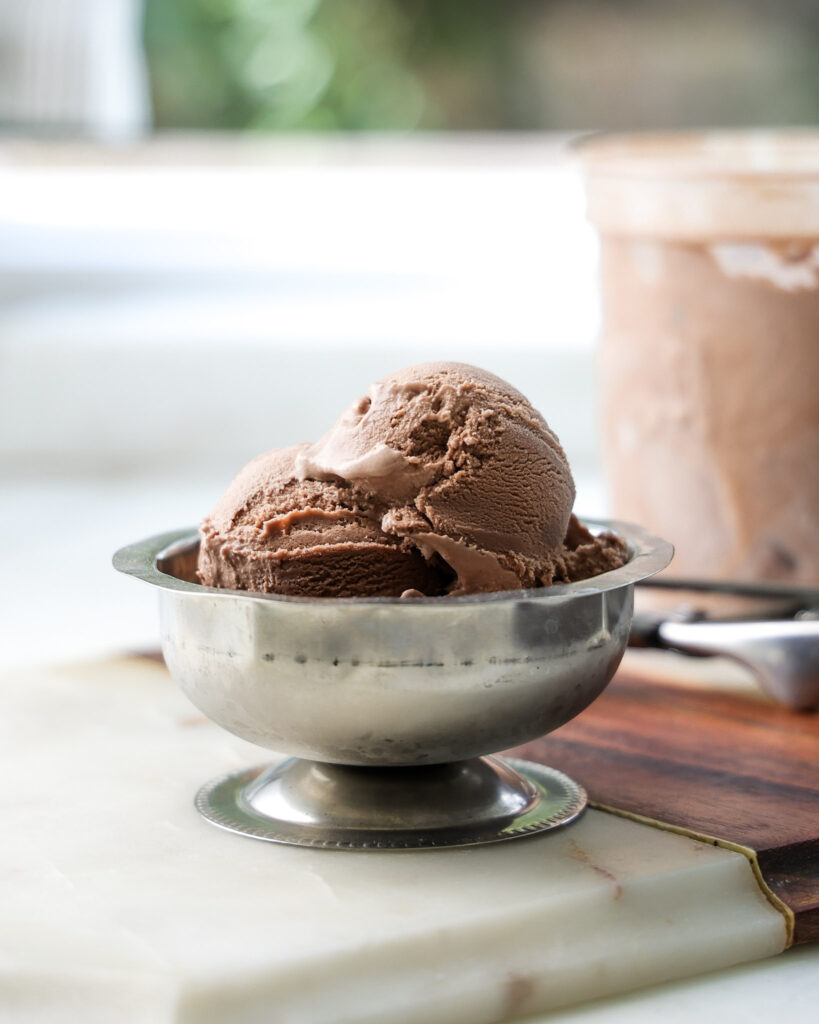
We’ve been here before—it’s officially summer, you’re trying to make Chocolate Ice Cream in your KitchenAid stand mixer, you’ve got the attachment ready to go, and somehow the internet has given you zero actual measurements to work with. Just vibes. What is a person supposed to do with that? Especially after you’ve already committed and bought the attachment (which…please purchase it, it’s genuinely so good and worth having in your freezer situation at all times).
So we’re fixing that today. This is my go-to, no-stress way to make chocolate ice cream. This recipe uses a KitchenAid stand mixer attachment but you can also make this in a regular ice cream machine if that’s what you have.
No guessing, no vague instructions, just proper measurements and a base that works every time.
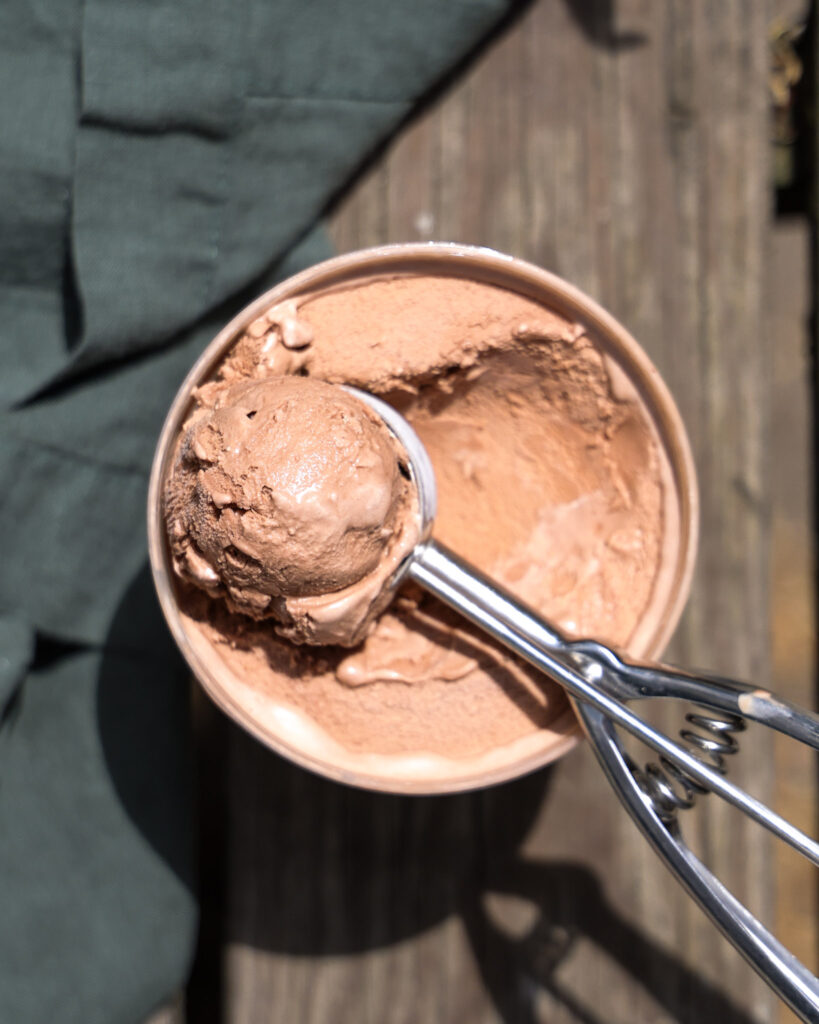
Table of contents
- Where can I get a KitchenAid ice cream maker attachment?
- Ingredients you’ll need to make homemade chocolate ice cream
- What are eggs doing in this chocolate ice cream base?
- What is a crème anglaise?
- How to make chocolate ice cream
- Do I need to strain out my ice cream base?
- Mix-in suggestions
- Serving suggestions
- Things to know when using a KitchenAid ice cream attachment
- Tips for making ice cream at home
- How to store homemade ice cream
- Why is this recipe in grams?
- Watch the recipe here
- Looking for more ice cream recipes?
Where can I get a KitchenAid ice cream maker attachment?
The easiest place to find one is online through KitchenAid, or at retailers like Target, Williams Sonoma, or Crate & Barrel. They usually run around $120, which feels like a lot upfront, but it’s still cheaper than most standalone ice cream machines and it doesn’t take up nearly as much space in your kitchen.
Ingredients you’ll need to make homemade chocolate ice cream
When you are making ice cream, you are essentially whipping a crème anglaise. Here are the ingredients you will need to make the ice cream base, plus the one addition that makes that ice cream turn into chocolate ice cream!
- 4 large egg yolks
- 1/2 cup (110g) granulated sugar, divided
- 1 1/2 cups (360g) whole milk
- 1 1/2 cups (360g) heavy cream
- 1/4 cup (28g) Dutch-processed cocoa powder
- Additional mix-ins of your choice, up to 16 ounces
What are eggs doing in this chocolate ice cream base?
Eggs are an important stabilizer in ice cream. They make it so that instead of just eating frozen and whipped condensed milk (which happens in some no-churn recipes!), you get a creamy, fluffy, but still smooth and rich, ice cream base. The eggs form a custard, which thickens the ice cream base and gives you rich and smooth ice cream as a result.
You’ll see many high-quality ice creams (Haagen Dazs, most famously) have egg yolks listed in their ingredients. Other recipes rely on xantham gum as a stabilizer, but since that ingredient is harder to find, I prefer using egg yolks in my ice cream base.
What is a crème anglaise?
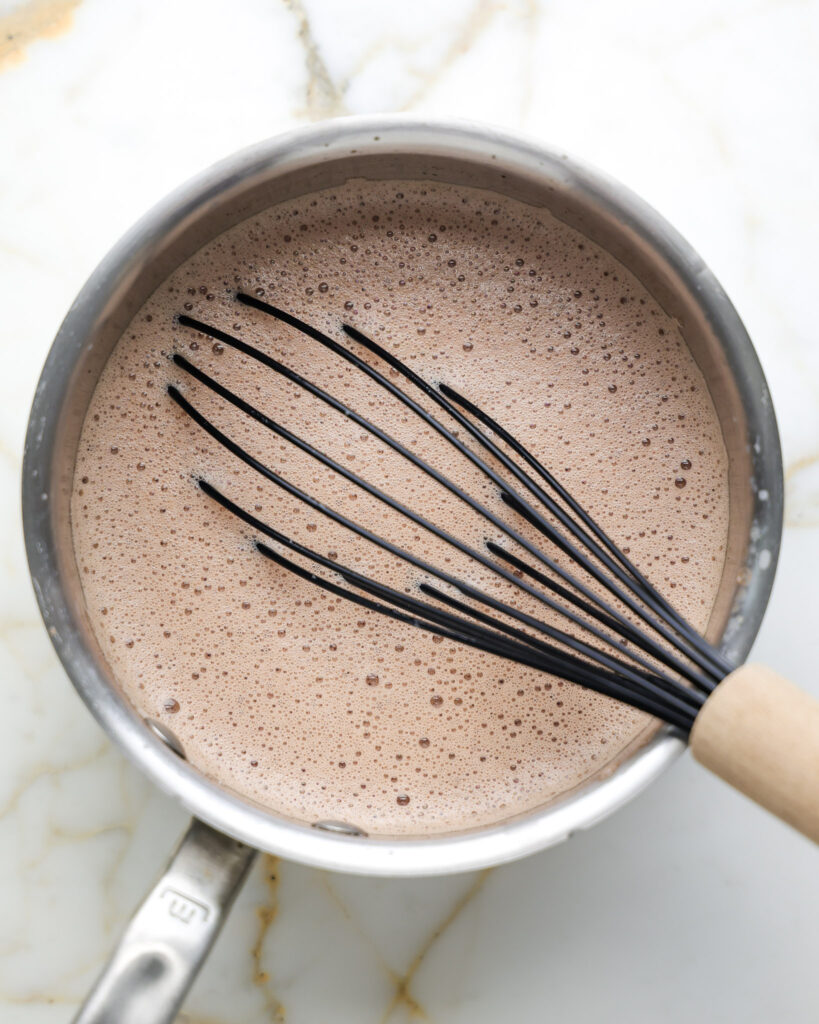
A crème anglaise is a French custard sauce used in desserts. It’s essentially the custard we are making here. But what’s surprising is many don’t realize that a crème anglaise also doubles as a classic vanilla ice cream base, since the ingredients are nearly identical.
In this recipe we are quickly making the crème anglaise base, then allowing it to chill before churning it in the ice cream maker. From there, it gives you a rich chocolate ice cream.
How to make chocolate ice cream
- Place your KitchenAid Ice Cream Churner attachment in the back of the freezer to chill for 14-16 hours. (See Note)
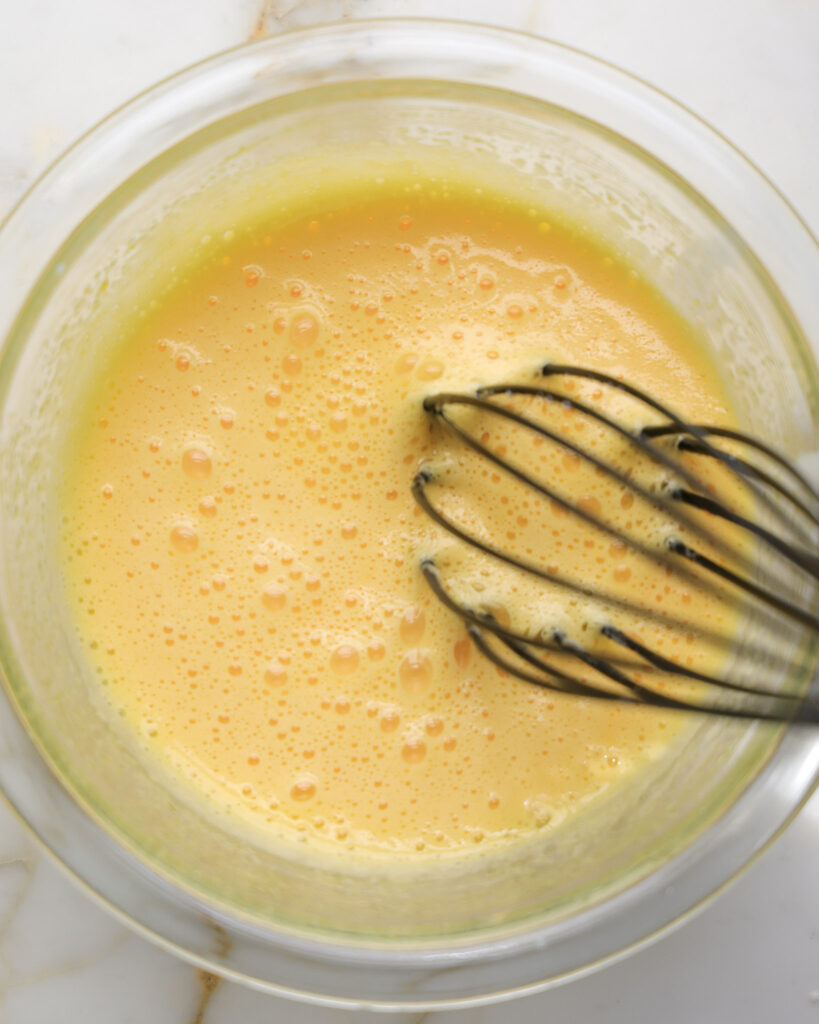
- In a medium bowl, whisk together 4 egg yolks and 55 grams of granulated sugar until the egg yolks are lightened to a pale yellow color. You should be able to pull up your whisk and see the yolk mixture fall down into the bowl in a “ribbon,” and that’s when the mixture is ready.
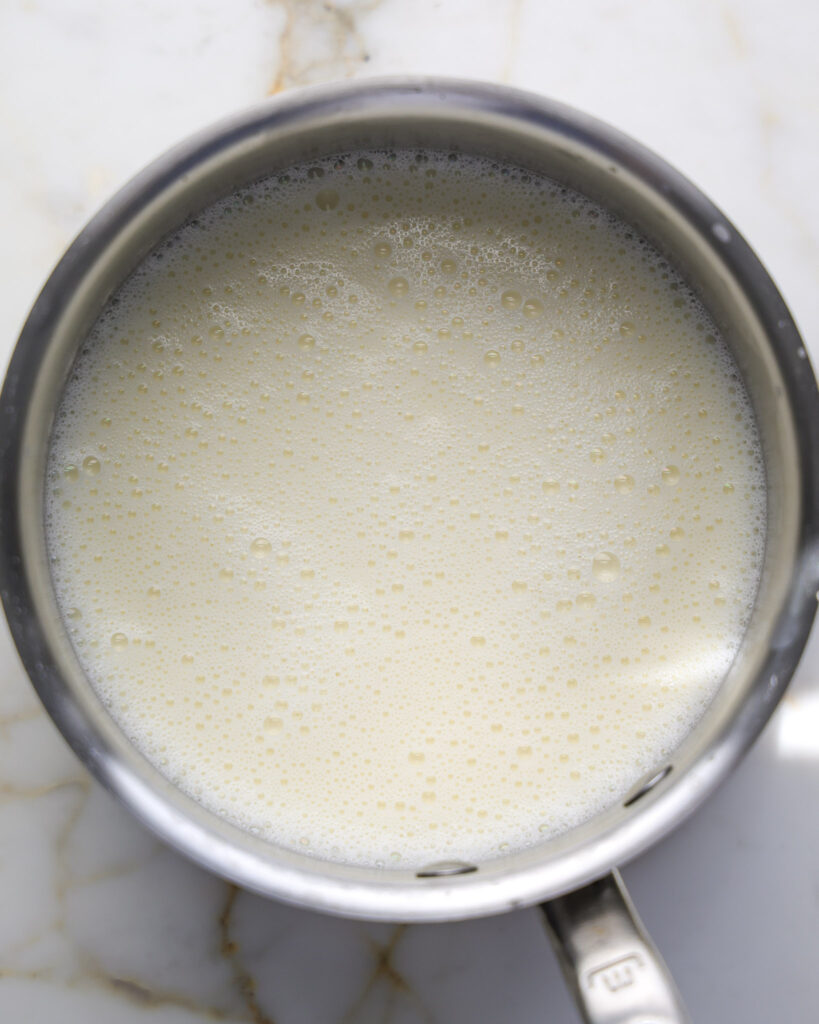
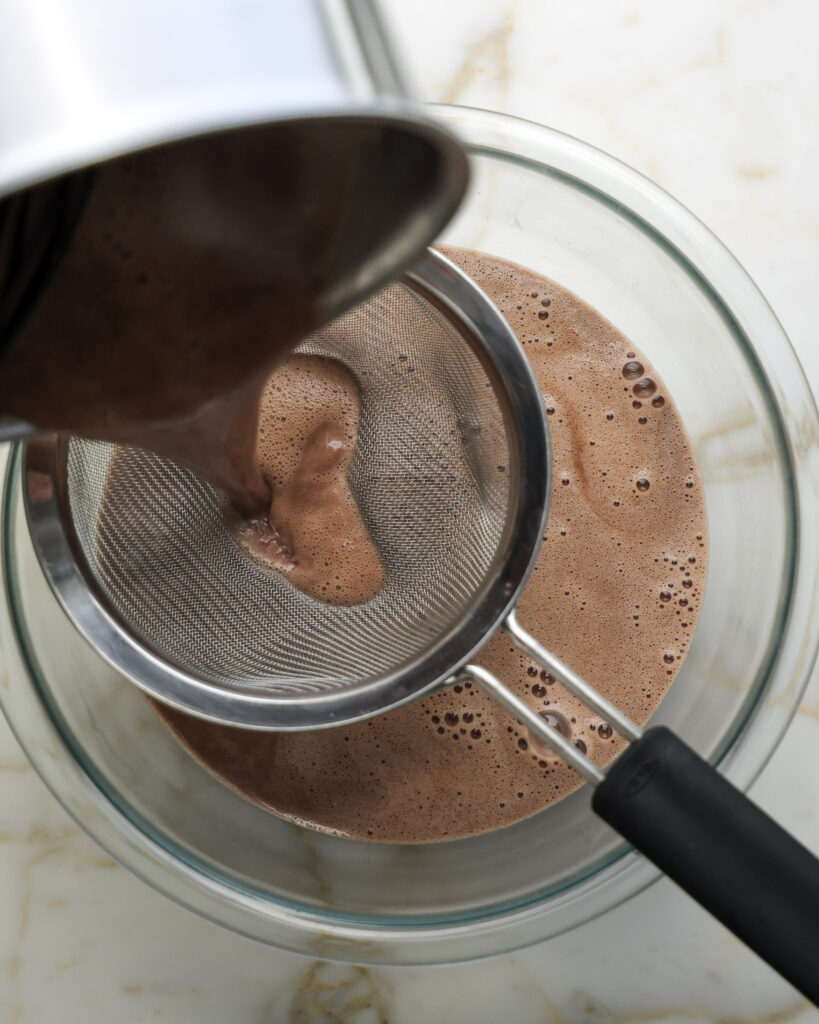
- In a small pot, add 360 grams of whole milk, 360 grams of heavy cream, and the remaining 55 grams of sugar. Stir to combine and place over medium heat. Stirring often, let this heat up until foamy, or until it reads 165°F with an instant-read thermometer.
- Reduce the heat to low and scoop 1/4 cup of the hot milk mixture into the egg yolks. Whisk it into the yolks to temper them. Do this two more times to heat up the yolks without curdling them. Then pour the egg yolk mixture directly into the pot.
- Increase the heat to medium-low and mix the custard until it can coat the back of a spoon and reads 170°F on an instant-read thermometer.
- Remove the custard from the heat and whisk in 28 grams of cocoa powder until it is fully combined.
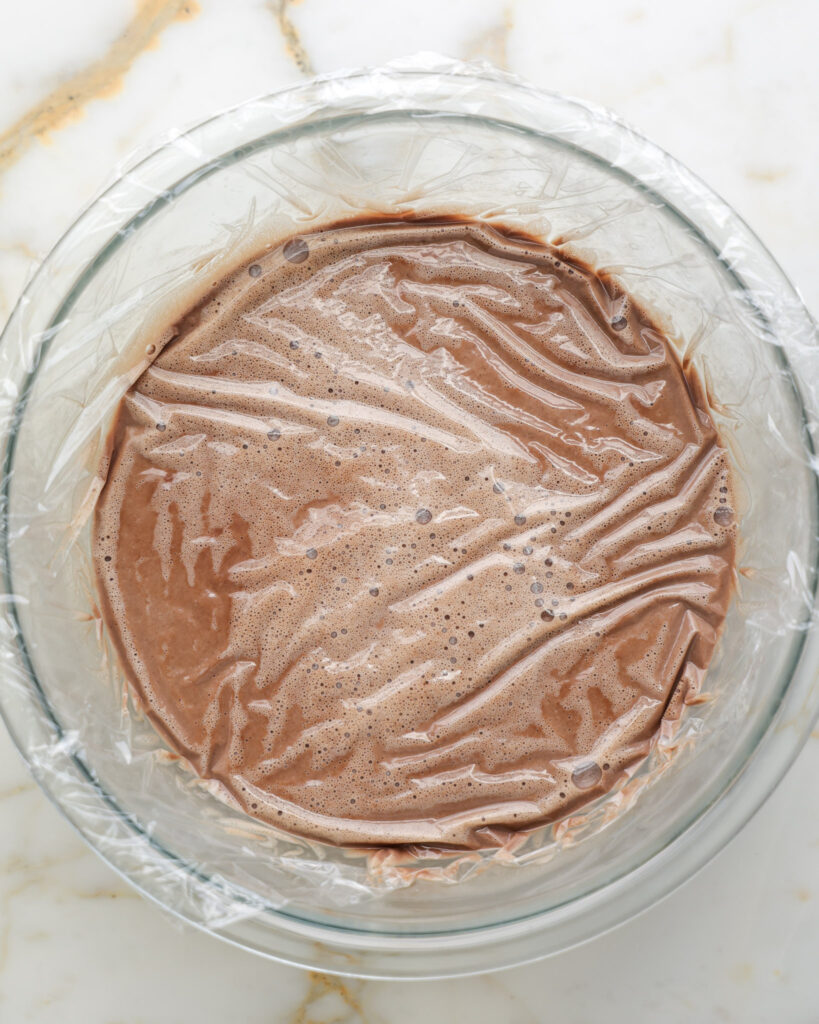
- Strain the mixture through a mesh sieve into a bowl. To prevent a film from forming, directly place cling wrap on the surface of the mixture to seal it. Cover the bowl and chill in either the freezer for 2 hours or in the fridge for 12-16 hours. If you’re storing it in the freezer, check halfway through to ensure it didn’t solidify.
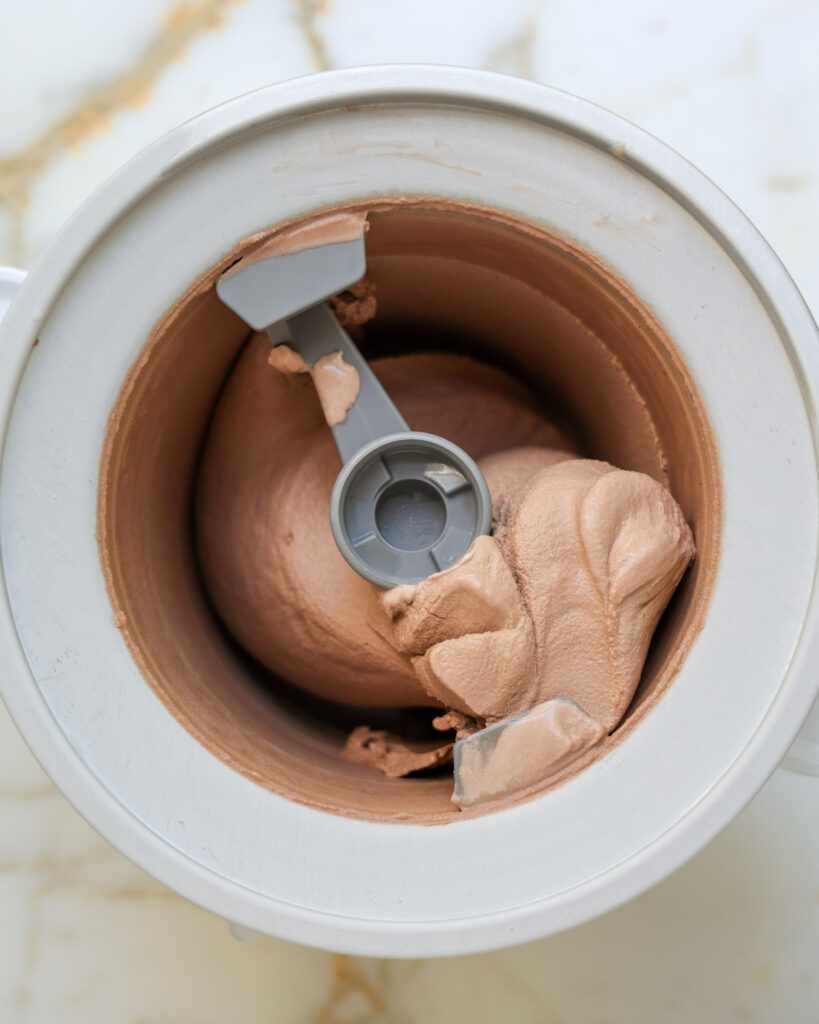
- When you are ready to churn, take the frozen KitchenAid attachment out of the freezer and pour in the custard. Churn on the stir setting for 20-30 minutes, or until the ice cream is thick and the texture of soft serve.
- Gently fold in your desired mix-ins if you’re adding any and pour the ice cream into a 9 by 5-inch loaf pan.
- Cover and freeze another 2-3 hours for a firm scoop, and serve!
Do I need to strain out my ice cream base?
The short answer: yes. Especially when whisking in cocoa powder, there can be bits of unmixed powder along with some flecks of custard at the bottom of your bowl. To make sure you get the smoothest chocolate ice cream possible, it is best to strain the ice cream through a fine mesh sieve into the bowl that you will be storing it in.
Mix-in suggestions
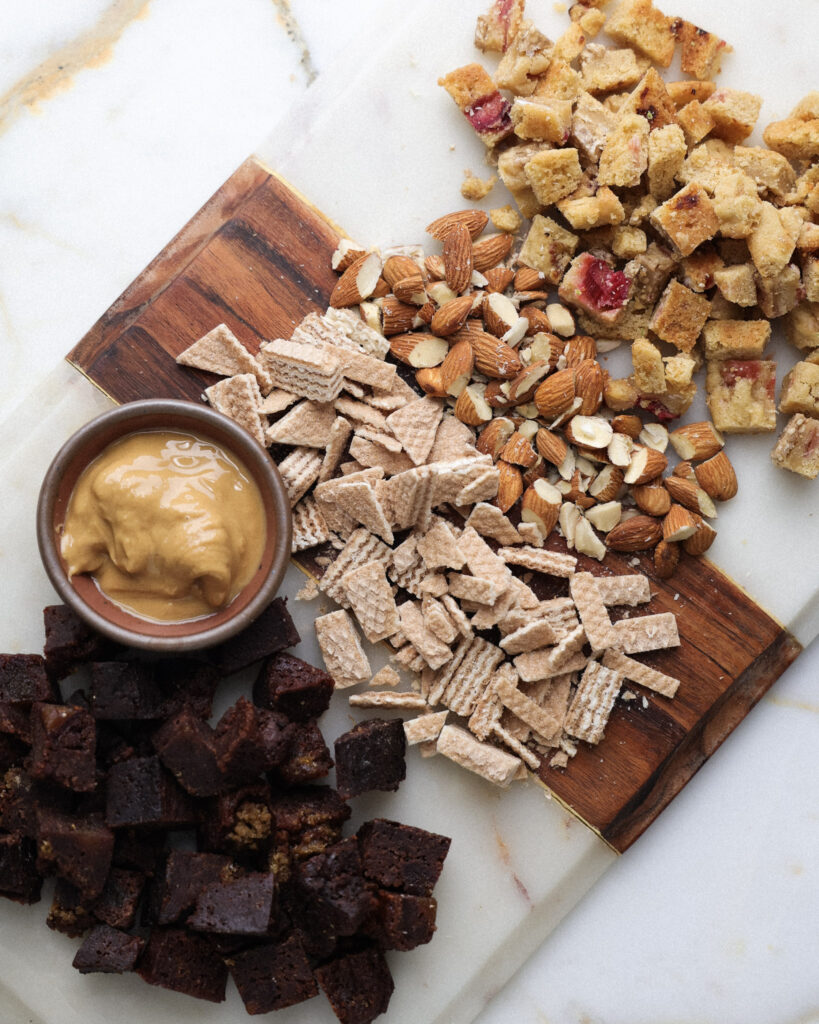
Honestly, whatever you can think of, can probably be mixed in! I’m thinking about seeing my friends growing up add gummy bears to their chocolate ice cream, which was always wild to me, but hey, you do you.
A few of my favorite mix-ins are:
- Cookie dough (obviously)
- Wafer cookies
- Brownie pieces
- Brownie batter (that’s been allowed to sit in the fridge to thicken!)
- Sprinkles
- Pretzels
- Peanut butter cups
- Crushed graham crackers
- Shortbread cookie crumbles
- Orange zest (for an elevated feel)
- Fudge chunks or chopped chocolate bars
- Waffle cone pieces
You can also add some caramel, peanut butter, fudge sauce, or even jams. Just make sure anything liquid-ish is added at the very end so it doesn’t mess with the texture.
Honestly, there’s no wrong answer here – just don’t overdo it or you’ll lose the ice cream in the mix-ins, which defeats the whole point.
Serving suggestions
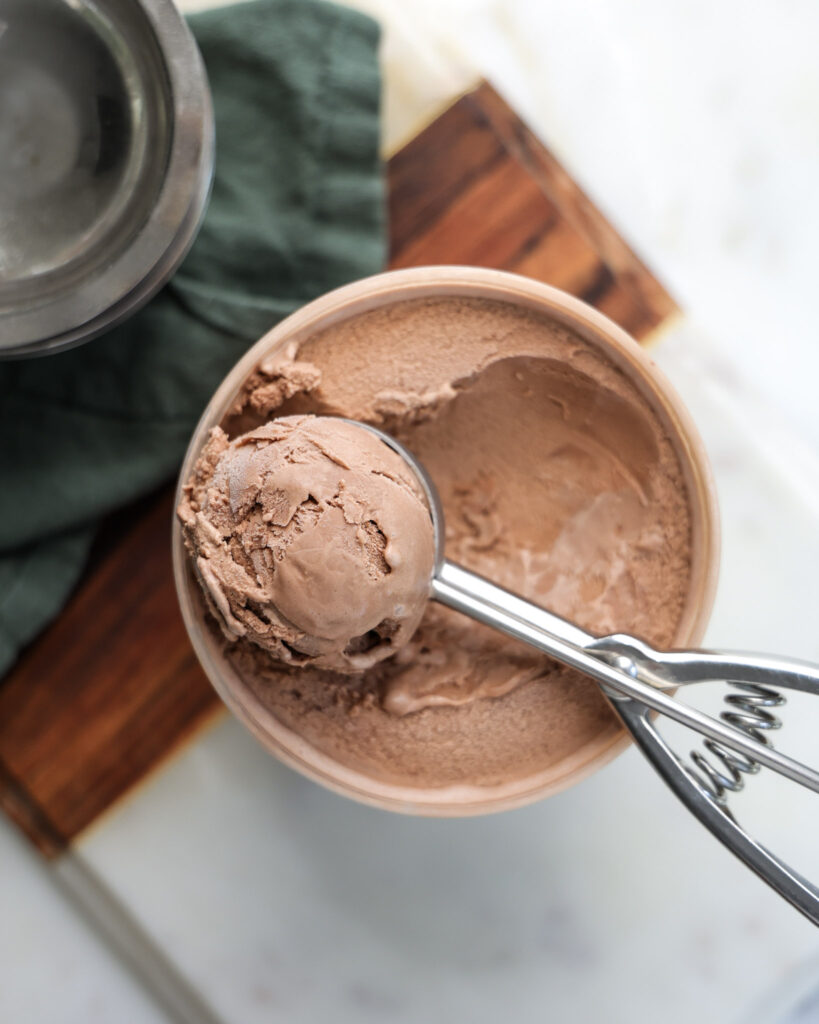
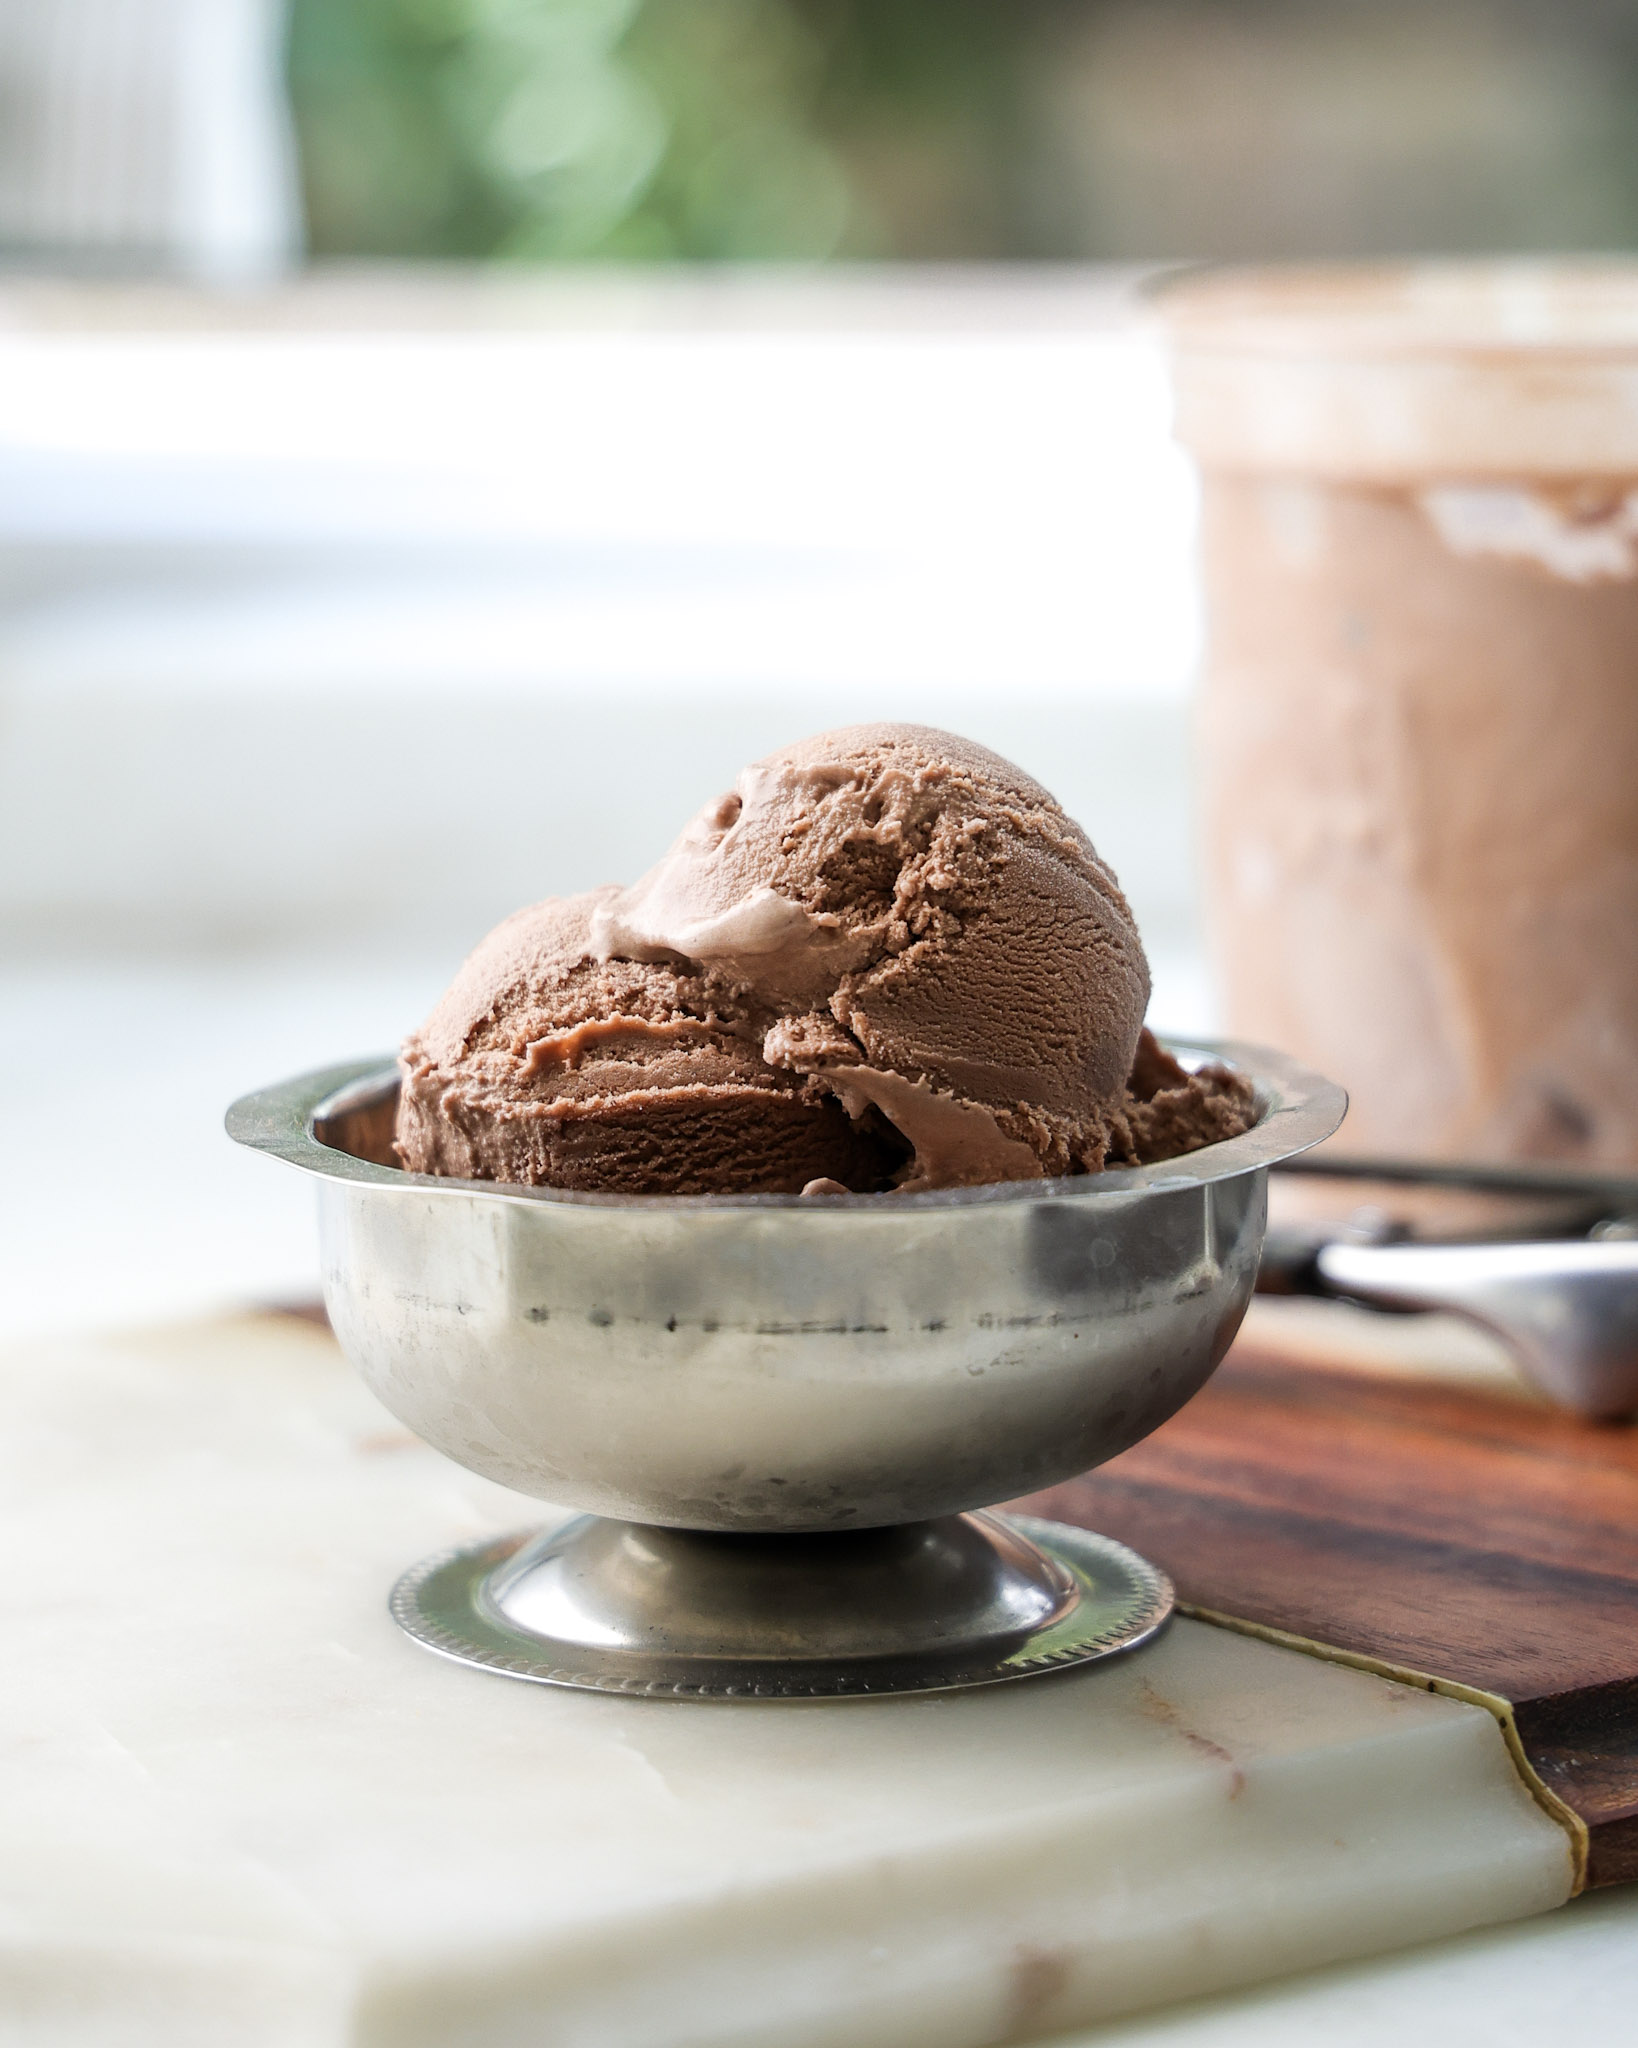
Serve this chocolate ice cream on cones, in a dish, drizzled with chocolate sauce or with a dollop of whipped cream.
Or, use it to stuff between two cookies to make ice cream sandwiches (like a chipwhich only so much better) or to make a chocolate milkshake.
Things to know when using a KitchenAid ice cream attachment
Here are a few tips I wish I knew before I started using my KitchenAid ice cream attachment:
- You can’t skip the freezing time – When they say to freeze the bowl 14-16 hours, they MEAN it. I’ve tried using it with less freezing time, and my KitchenAid bowl wasn’t cold enough to get the ice cream to that soft-serve texture I wanted.
- The attachment doesn’t lock in, it just lightly holds the ice cream tool – This took me by surprise, but the ice cream paddle itself doesn’t “lock” into the KitchenAid. It just lightly suspends on the attachment, making it so that the ice cream bowl holds it in place. I was first taken aback by this, but found it helpful as I added mix-ins to the bowl.
- Your ice cream can finish in 20 minutes, but the longer you mix, the better – The stiffer you can get your ice cream before you freeze it, the more air your ice cream will have. This will make sure you get a more classic, creamy ice cream texture, as opposed to the dense texture you get when you don’t churn ice cream long enough. Try to churn for a minimum of 25 minutes if you can!
- Don’t add your mix-ins to the mixer while it is churning – Other ice cream machines can handle this, but I noticed the KitchenAid paddle just ends up wanting to kick your toppings out. It also makes it harder for the ice cream to churn well. Add your fillings at the end!
Tips for making ice cream at home
And here are a few tips I learned along the way!
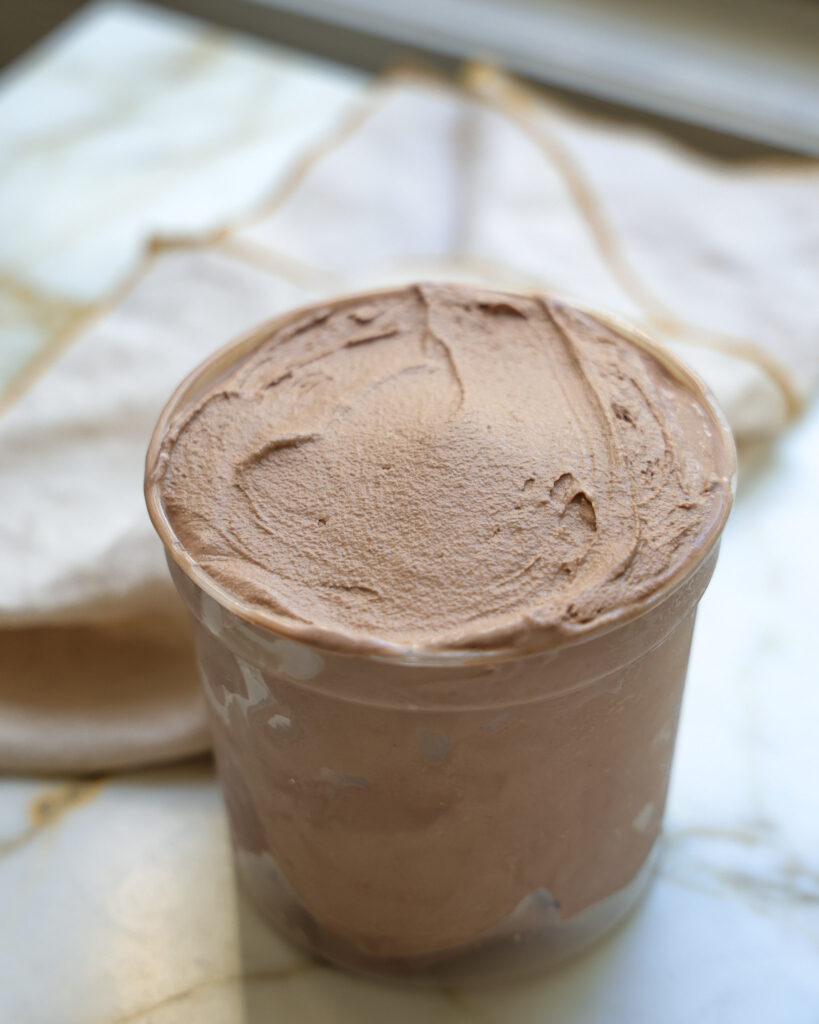
Gently stir in your fillings, and try to keep as much air in the ice cream as possible. Once the churning is done, you want to keep your ice cream in that “churned” state for as long as possible. Any mixing, pressing or fussing will take away some of the texture you worked so hard for! So when adding your mix-ins, just do a few big mixes, then quickly transfer it to the loaf pan you are freezing it in.
To make other flavors like chocolate, peppermint, or anything that involves a syrup or extract, add those while the ice cream is churning. For any flavors that involve a filling, like strawberry or cookie dough, add those at the end.
To store your ice cream, cover it in cling wrap and freeze for 2-3 hours. This is when it will be prime for scooping (see below). Any longer and it will be tougher to scoop — think of it like that really, really frozen ice cream you buy at the store!
How to store homemade ice cream
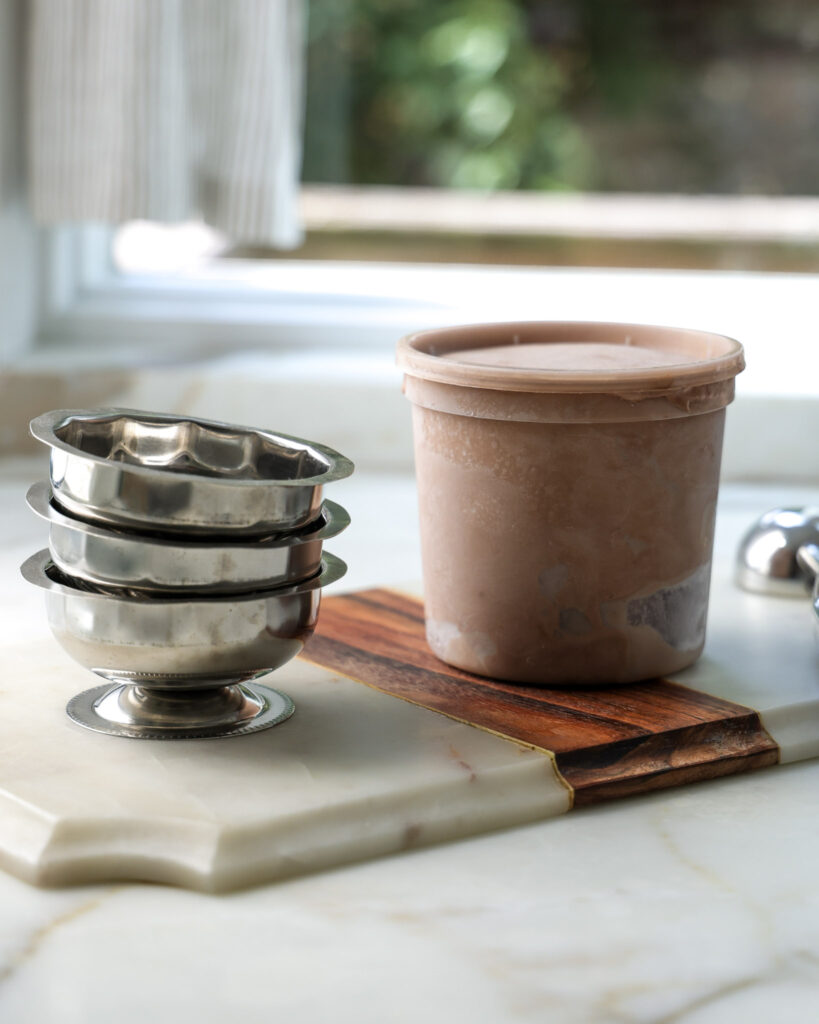
Homemade ice cream will keep well in the freezer for up to 6 months. Store it in an airtight container, and press a piece of plastic wrap or parchment directly on the surface before sealing the lid – this helps prevent ice crystals from forming. Realistically though, this is not the kind of thing that lasts very long.
Why is this recipe in grams?
Grams keep ice cream recipes precise, which really matters for getting a smooth, creamy texture. Measuring by volume can vary a lot, but weighing everything makes the base consistent every time.
I want to ensure you get the best results with this recipe (and I want to keep this recipe foolproof!) so I highly recommend getting a small affordable kitchen scale if you want to move forward with this particular recipe.
Watch the recipe here
The video may not fully represent the recipe. For best results, follow the instructions as written.
Looking for more ice cream recipes?
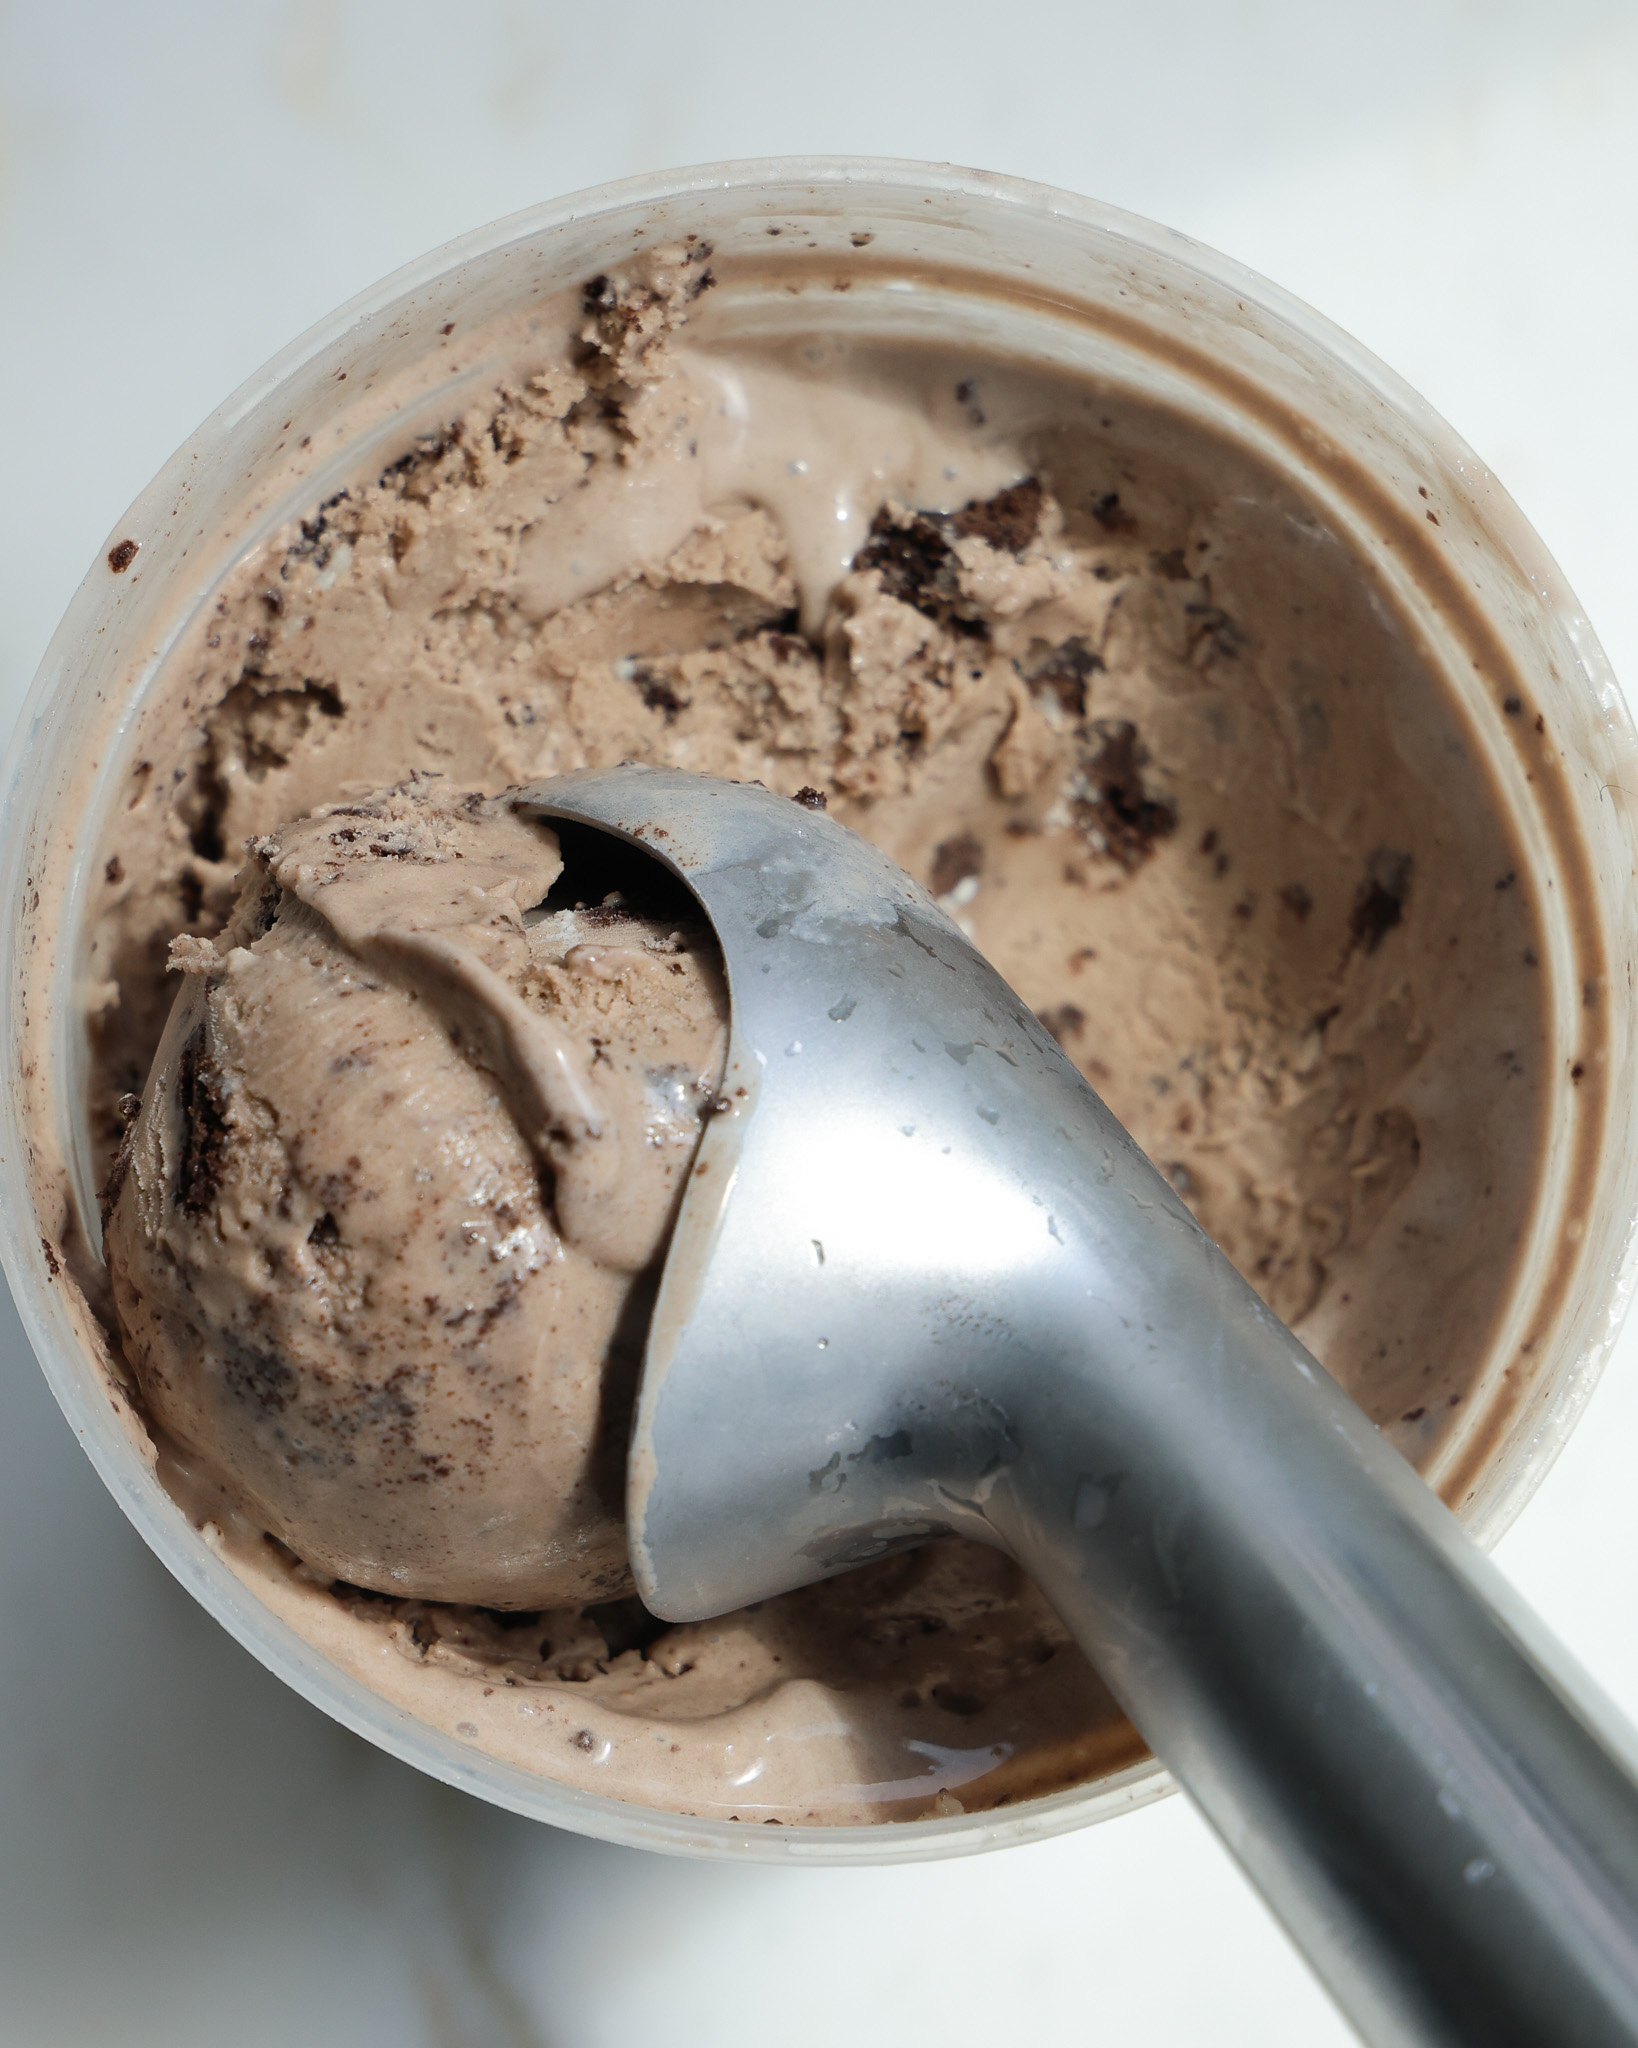
Oreo Infused Ice Cream
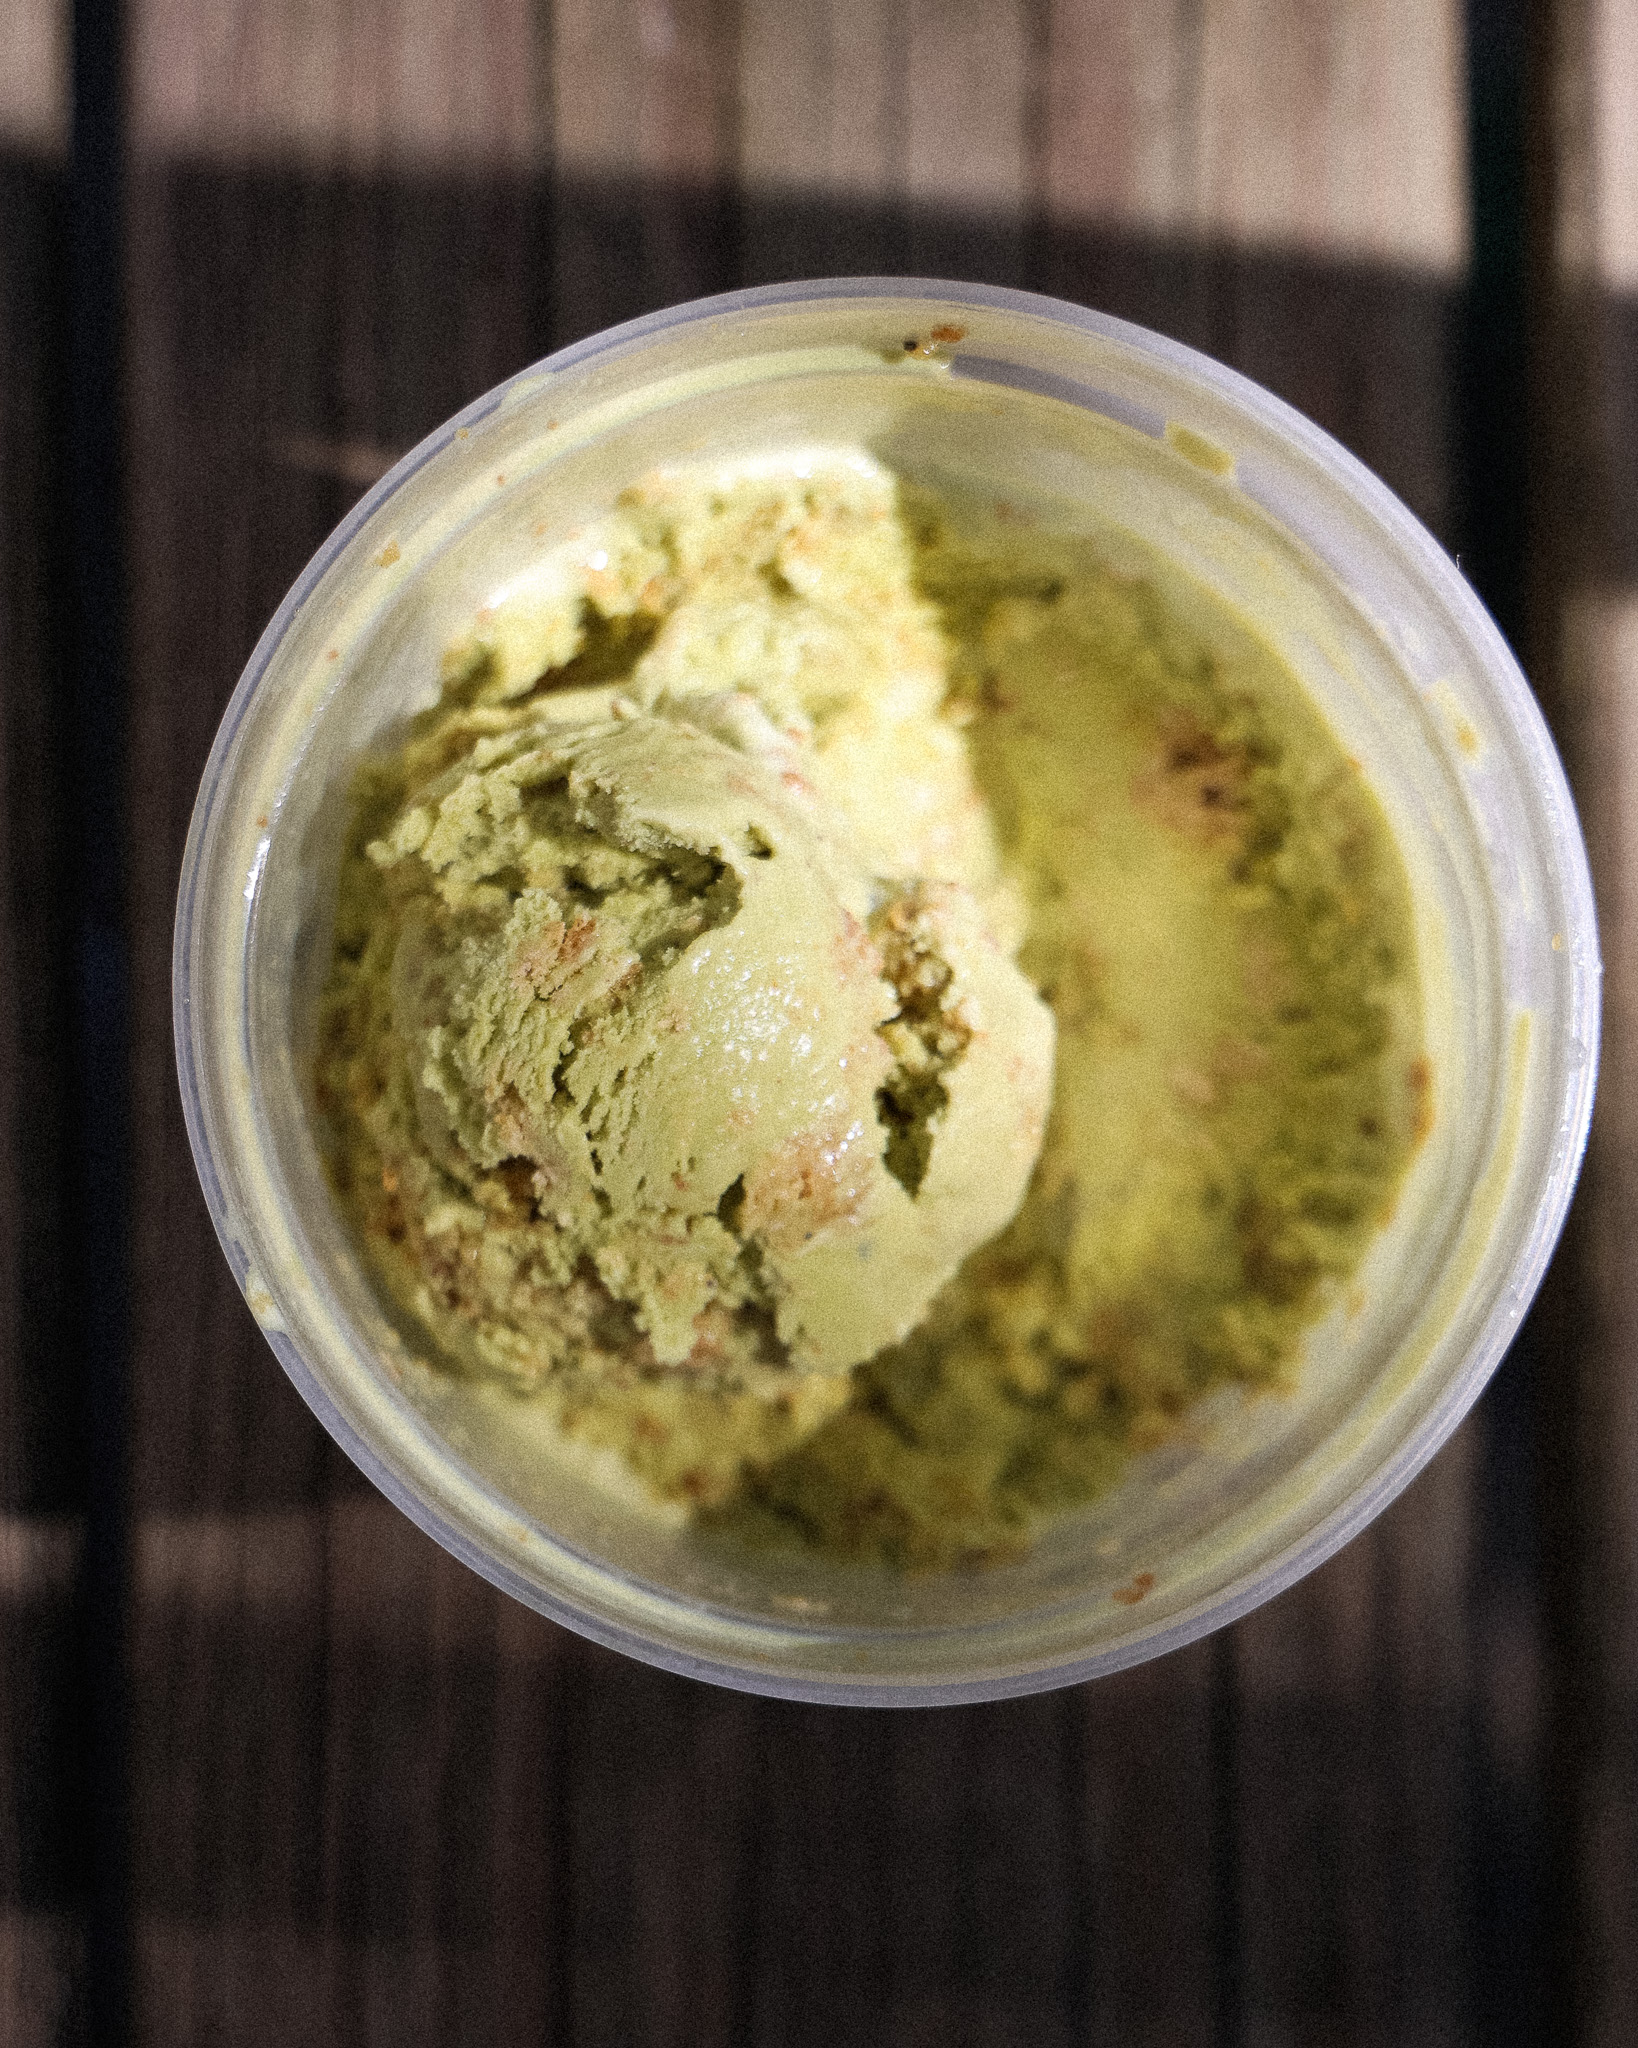
Matcha Mint Blondie Ice Cream

Brown Butter Ice Cream
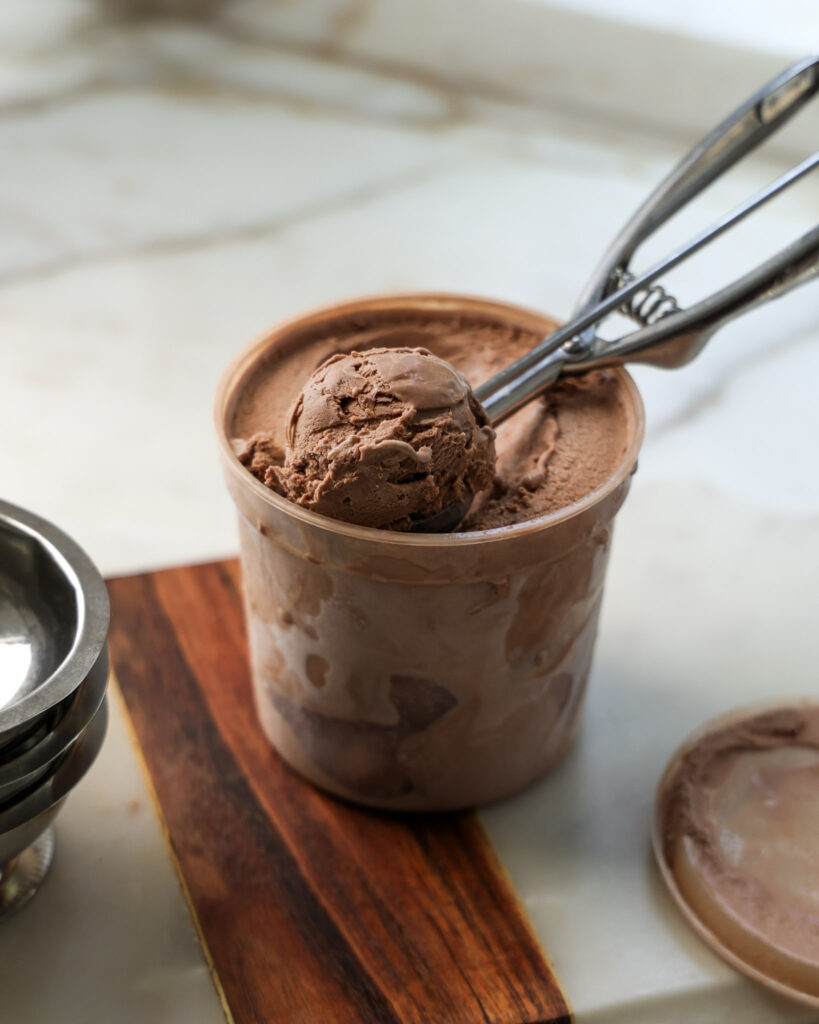
And that’s it for How to Make Chocolate Ice Cream with a KitchenAid Attachment! If you have one at home, I hope this was helpful for you.
If you make it, please tag me on Pinterest or Instagram so I can see! It’s my favorite thing to scroll through stories and see what you all are making.
And of course, feel free to leave any questions, comments, or reviews! This is the best place to reach me, and I’d love to hear from you <3
Equipment
- 1 whisk
- 1 medium bowl
- 1 small pot
- 1 cling wrap
- 1 spatula
- 1 9×5-inch loaf pan or any suitable container for freezing & storing ice cream
Ingredients
- 4 large egg yolks
- 1/2 cup (110g) granulated sugar, divided
- 1 1/2 cups (360g) whole milk
- 1 1/2 cups (360g) heavy cream
- 1/4 cup (28g) Dutch-processed cocoa powder
- 16 ounces mix-ins of your choice, optional
Instructions
- Place your KitchenAid Ice Cream Churner attachment in the back of the freezer to chill for 14-16 hours. (See Note)
- In a medium bowl, whisk together 4 egg yolks and 55 grams of granulated sugar until the egg yolks are lightened to a pale yellow color. You should be able to pull up your whisk and see the yolk mixture fall down into the bowl in a "ribbon," and that's when the mixture is ready.
- In a small pot, add 360 grams of whole milk, 360 grams of heavy cream, and the remaining 55 grams of sugar. Stir to combine and place over medium heat. Stirring often, let this heat up until foamy or until it reads 165°F with an instant-read thermometer.
- Reduce the heat to low and scoop a 1/4 cup of the hot milk mixture into the egg yolks. Whisk it into the yolks to temper them. Do this two more times to heat up the yolks without cooking them. Then pour the egg yolk mixture directly into the pot.
- Increase the heat to medium-low and whisk the custard constantly until it can coat the back of a spoon and reads 170°F on an instant-read thermometer.
- Remove the mixture from the heat and whisk in 28 grams of cocoa powder until it is fully combined.
- Strain the custard through a mesh sieve into a bowl. To prevent a film from forming, directly place cling wrap on the surface to seal it. Cover the bowl and store in the freezer for 2 hours or the fridge for 12-16 hours to chill. If you're storing it in the freezer, check halfway through to ensure it didn't solidify.
- When you are ready to churn, take the frozen KitchenAid attachment out of the freezer and pour in the custard. Churn on the stir setting for 20-30 minutes, or until the ice cream is thick and the texture of soft serve.
- If you'd like, gently fold in up to 16 ounces of desired mix-ins.
- Pour the ice cream into a 9 by 5-inch loaf pan. Cover and freeze another 2-3 hours for a firm scoop, and serve!
Comments
I have a KitchenAid and have been using it regularly for many years, but I’ve never made ice cream with it before. I decided to try this recipe, and it turned out to be delicious—much better than store-bought ice cream.
So SO glad you liked it! And thrilled you have the ice cream attachment!
Thanks for the recipe. Finally I have a recipe where I don’t have too much or little mixture.
Could I also leave out the cacao powder? And just maybe add some vanilla
I have another recipe for vanilla on my site! You can search “Kitchen Aid Ice Cream” and it should pop up!
Hi!
Do you wight up the egg yolks?
Thank you!
Hi! Do you mean weigh or whip?
Can I double the recipe? Will it fit in the kitchenaid ice cream attachment bowl?
It may overflow a bit, I would increase it by 1.5 and it should be right at the top!
Delicious! Incredibly happy with how this turned out. Was a little worried it wouldn’t be chocolatey enough but it is perfect. Just like store bought if not better. And I rarely leave reviews…
OMG this is the best compliment! I’m so glad you loved it and thank you for taking the time to leave a review!
Hi! I’m so excited to make this! Do you have any recipes or recommendations for cookie dough and brownie mix-ins? I’m trying to make a spin on B&J Half Baked and wanted to use your recipes as the base but looking for recommendations on making the mix-ins! Thanks in advance for both the recipe and advice!
I’m so excited for you to try it! That is so sweet – I have a flourless brownie recipe that would be great to let cool, break up and mix in. As for the cookies, you can truly use any of the cookie recipes, the blog post has a link to all of my cookies under the ‘mix-ins’ section. Let your heart decide and let me know what you choose <3
Mixing up a batch with chunks of Ghirardelli chocolate chunks. Yummy! Thanks for this easy to follow recipe!
YUM! I hope you love it 🙂
Leave a Comment
Made this recipe? Tell me all your thoughts or if you’ve got any questions!