
I have a bone to pick with the KitchenAid company. While I love their ice cream attachment, I was looking up how to make ice cream with a stand mixer, and their website had NO RECIPE MEASUREMENTS. In that case, what’s a girl to do? How was I supposed to know the amount of cream, milk, and eggs to use so I wouldn’t overwhelm my stand mixer? So of course, using my ice cream background and knowledge, I decided to take testing into my own hands.
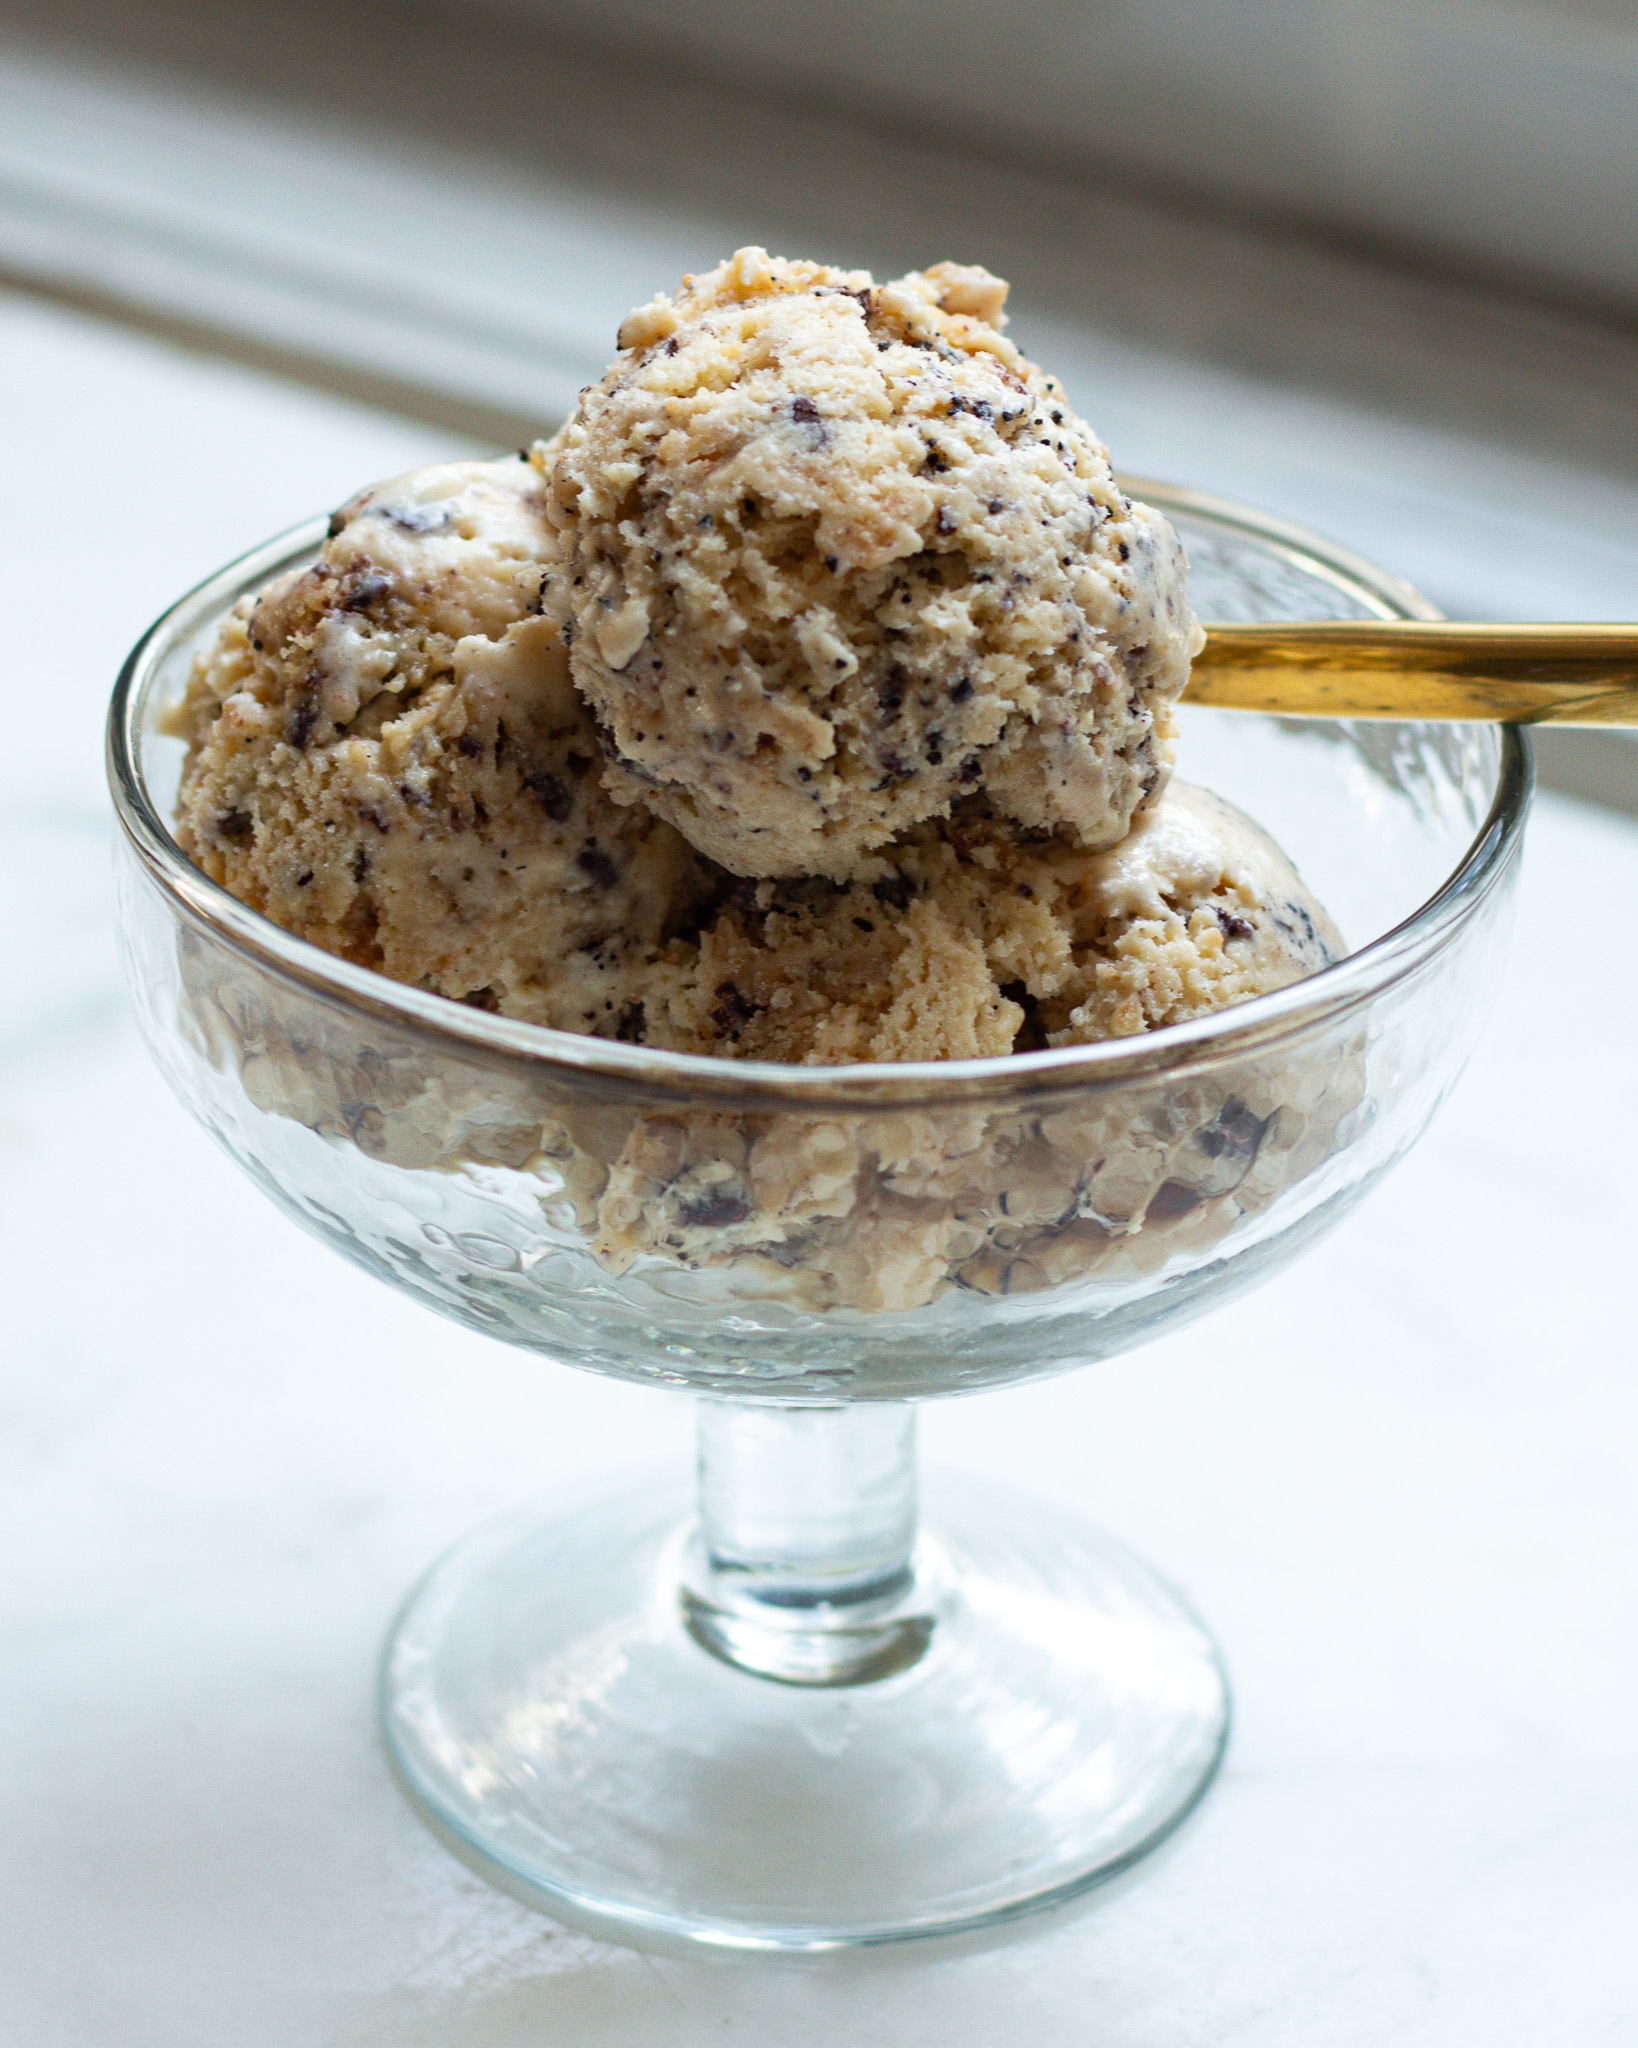
If you are looking for an ice cream recipe to make in your stand mixer, you have found the right place. This ice cream recipe fits perfectly into the KitchenAid ice cream churner attachment, is simple to make, and freezes perfectly into a 9-by-5-inch loaf pan. Not only is this the creamiest, smoothest ice cream recipe, it’s also classically French (we’ll get to that later), and supremely rich and delicious. This is your ultimate guide to making at-home ice cream in a stand mixer.
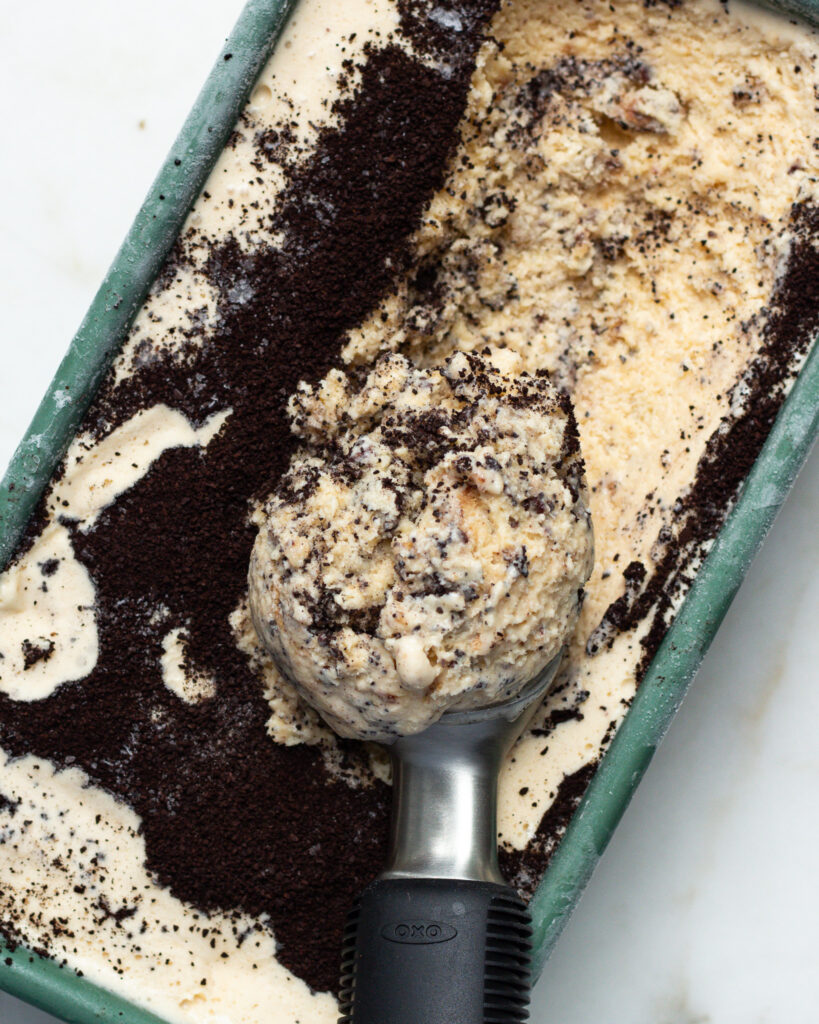
Table of contents
- Where can I get a KitchenAid Ice Cream Maker?
- Ingredients to make home made ice cream
- What are the eggs doing in this ice cream base?
- What is a crème anglaise?
- Things to know when using a KitchenAid ice cream attachment
- Tips for making ice cream at home
- Looking for other sweet treats?
- Watch the recipe here
Where can I get a KitchenAid Ice Cream Maker?
The best (and cheapest) place I’ve found you can order one is here. They tend to run about $70, which is pricey, but cheaper than most ice cream churners! Plus, it saves space in your kitchen.
Ingredients to make home made ice cream
When you are making ice cream, you are essentially whipping a crème anglaise. Here are the ingredients you will need to make the ice cream base:
- 4 large egg yolks
- 1/2 cup granulated sugar, 3.9 ounces / 110 grams, separated
- 1 1/2 cups whole milk, 12.7 ounces / 360 grams
- 1 1/2 cups heavy cream, 12.7 ounces / 360 grams
- 1 teaspoon vanilla bean paste or vanilla extract
- Additional mix-ins of your choice up to 16 ounces
What are the eggs doing in this ice cream base?
Eggs are an important stabilizer in ice cream. They make it so that instead of just eating frozen and whipped condensed milk (which happens in some no-churn recipes!), you get a creamy, fluffy, but still smooth and rich, ice cream base. The eggs form a custard, which thickens the ice cream base and gives you rich and smooth ice cream as a result.
You’ll see many high-quality ice creams (Haagen Dazs, most famously) have egg yolks listed in their ingredients. Other recipes rely on xantham gum as a stabilizer, but since that ingredient is harder to find, I prefer using egg yolks in my ice cream base.
What is a crème anglaise?
A crème anglaise is a French custard sauce used in desserts. It’s essentially the custard we are making here. But what’s surprising is many don’t realize that a crème anglaise also doubles as a classic vanilla ice cream base, since the ingredients are nearly identical.
In this recipe we are quickly making the crème anglaise base, then allowing it to chill for 12 hours before churning it in the ice cream maker. From there, it gives you a rich vanilla ice cream base. Perfect for any KitchenAid Stand Mixer ice cream!
Things to know when using a KitchenAid ice cream attachment
Here are a few tips I wish I knew before I started using my KitchenAid ice cream churner:
- You can’t skip the freezing time – When they say 14-16 hours, they MEAN it. I’ve tried using it will less freezing time, and my KitchenAid bowl wasn’t cold enough to get the ice cream to that soft-serve texture I wanted.
- The attachment doesn’t lock in, it just lightly holds the ice cream churner tool – This took me by surprise, but the ice cream paddle itself doesn’t “lock” into the KitchenAid. It just lightly suspends on the attachment, making it so that the ice cream bowl holds it in place. I was first taken aback by this, but found it helpful as I added mix-ins to the bowl.
- Your ice cream can finish in 20 minutes, but the longer you mix, the better – The stiffer you can get your ice cream before you freeze it, the more air your ice cream will have. This will make sure you get a more classic, creamy ice cream texture, as opposed to the dense texture you get when you don’t churn ice cream long enough. Try to churn for a minimum of 25 minutes if you can!
- Don’t add your mix-ins to the mixer while it is churning – Other ice cream churners can handle this, but I noticed the KitchenAid churner just ends up wanting to kick your toppings out. It also makes it harder for the ice cream to churn well. Add your fillings at the end!
Tips for making ice cream at home
And here are a few tips I learned along the way!
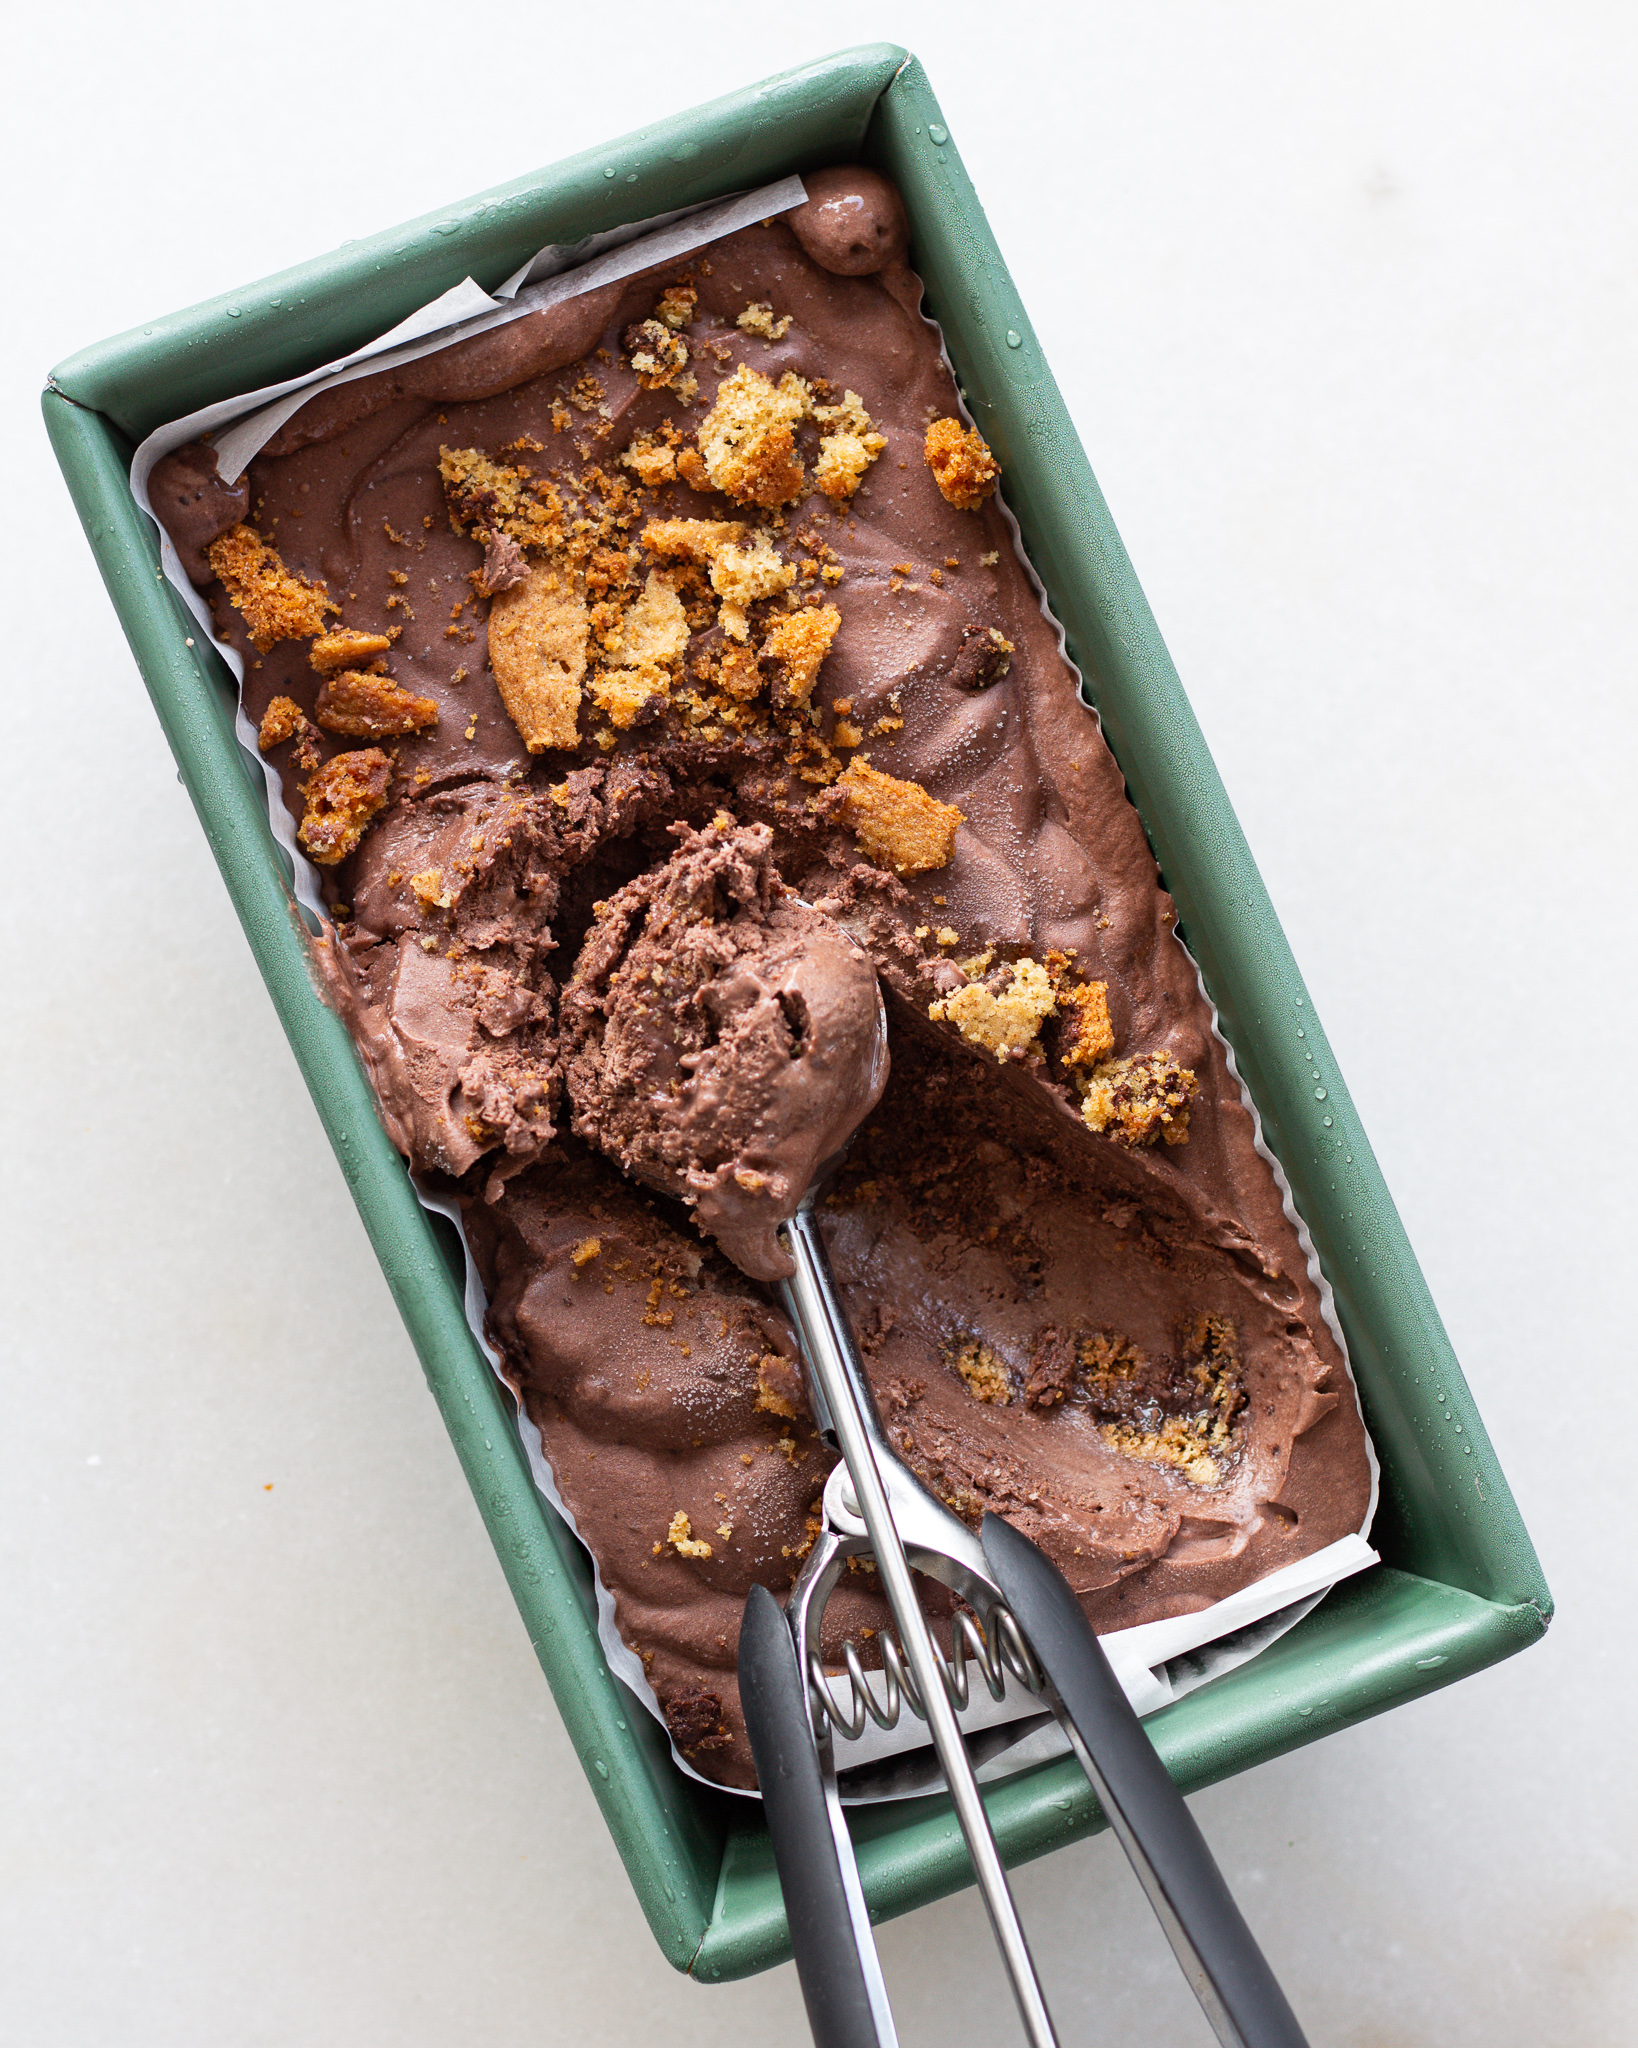
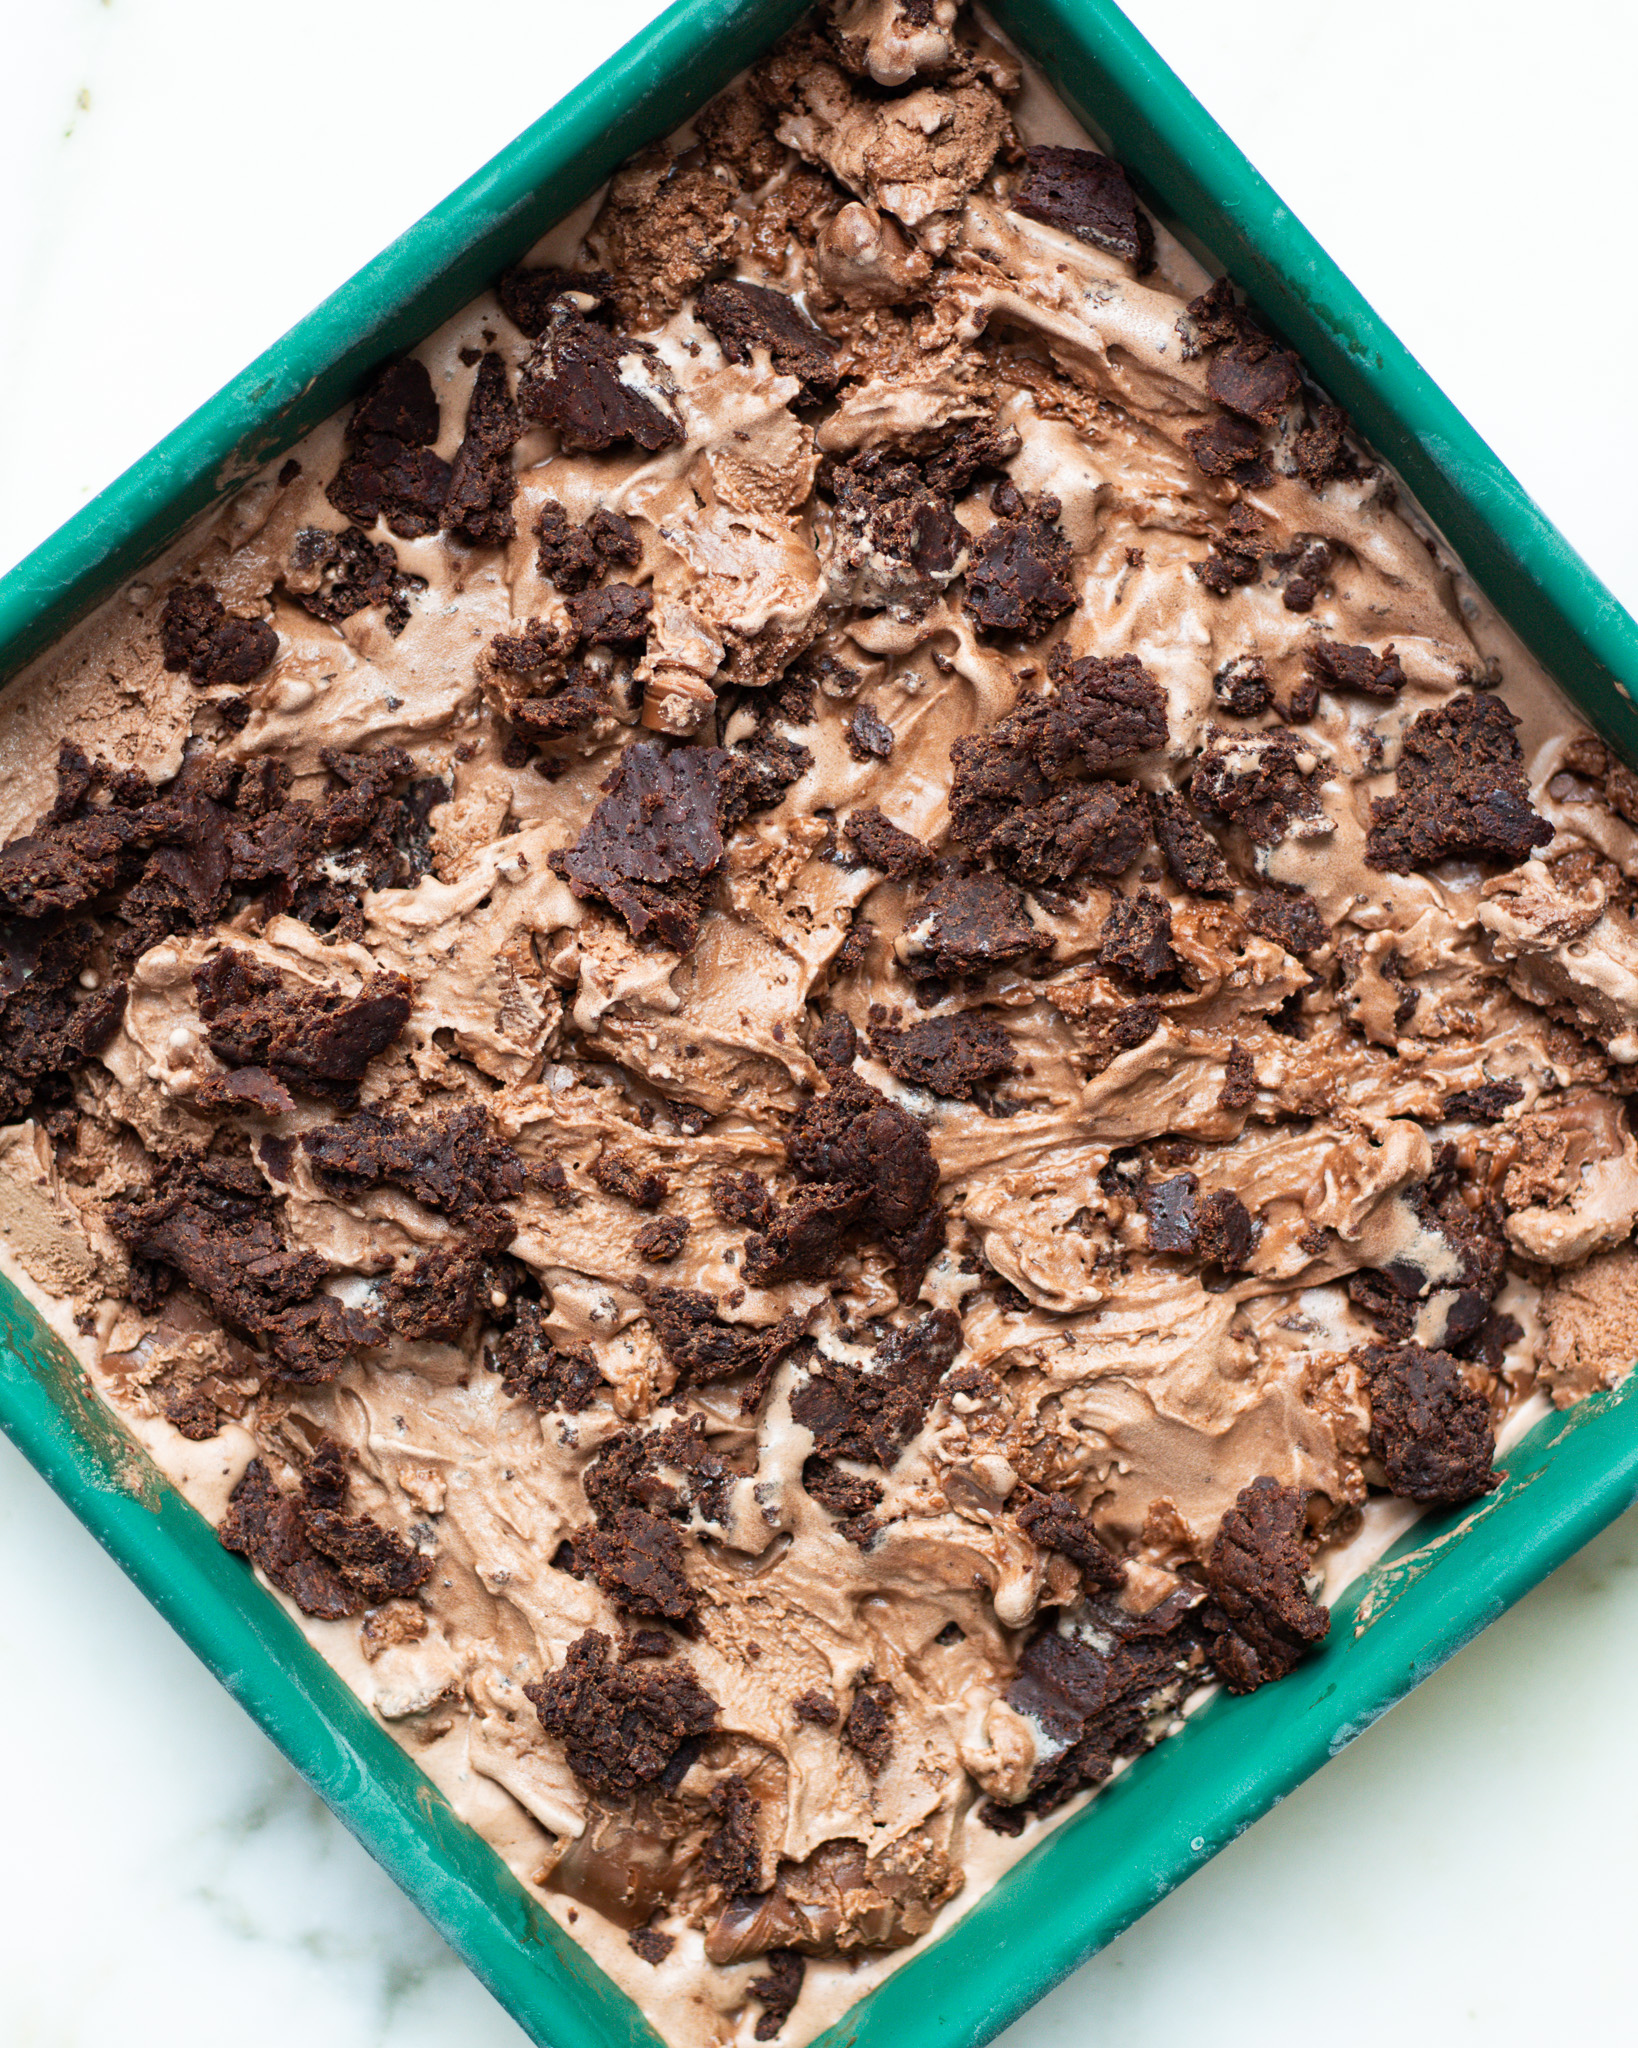
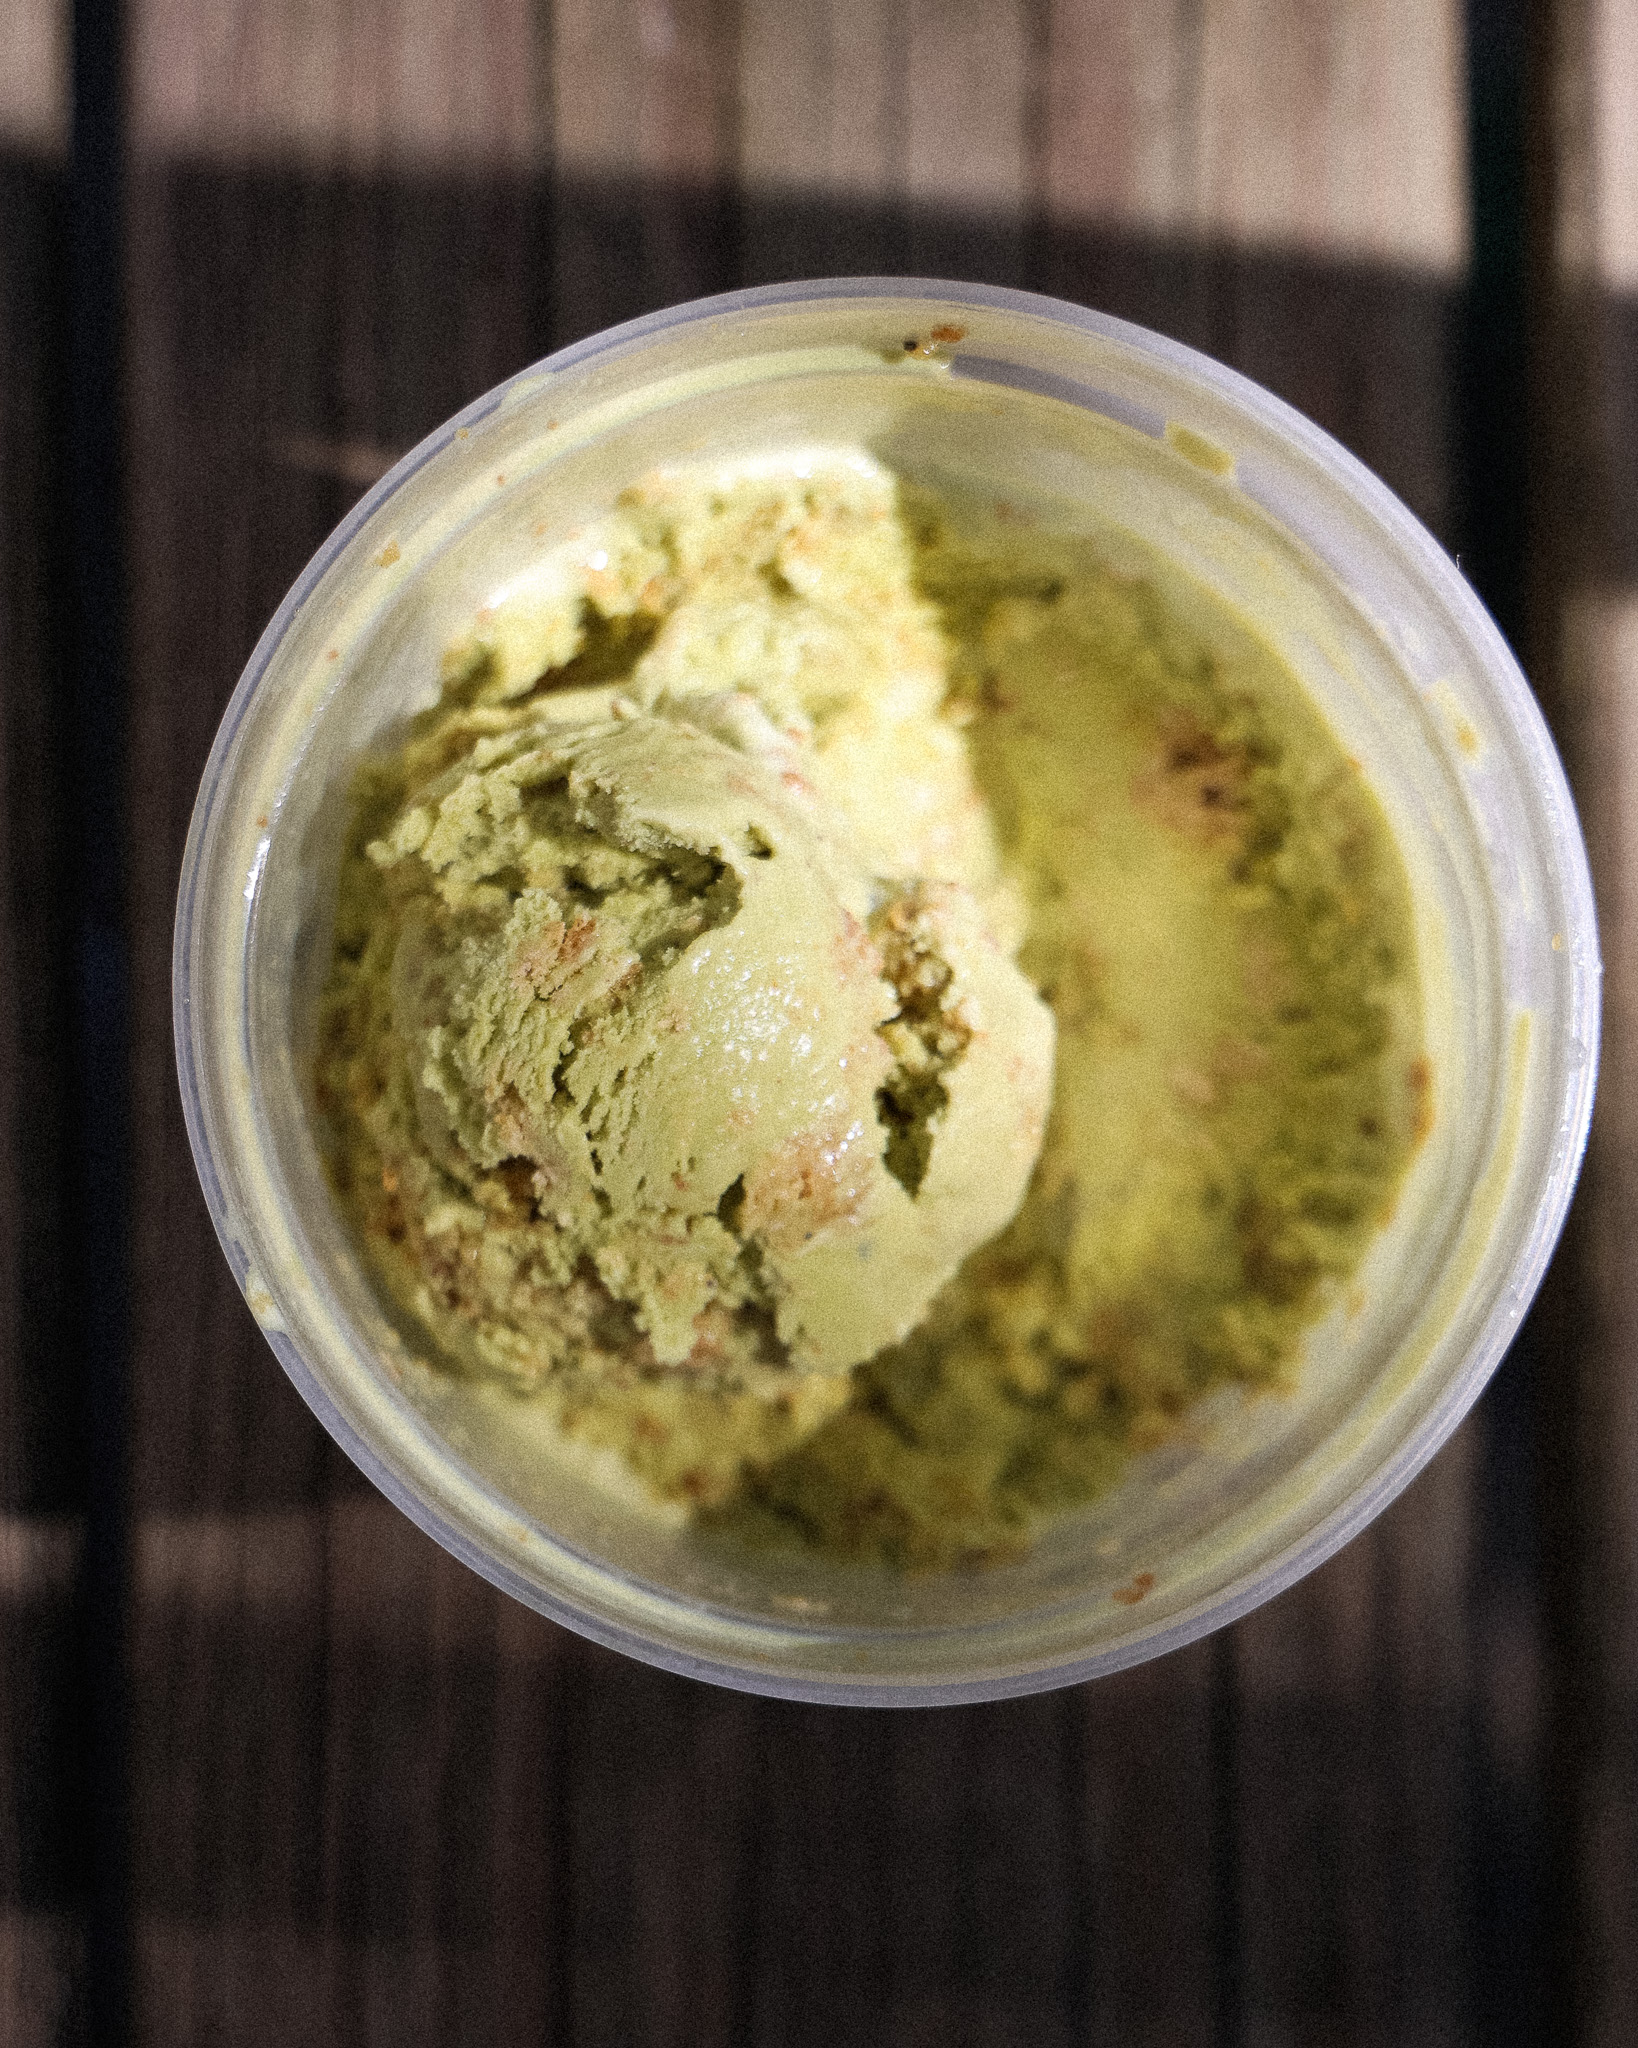
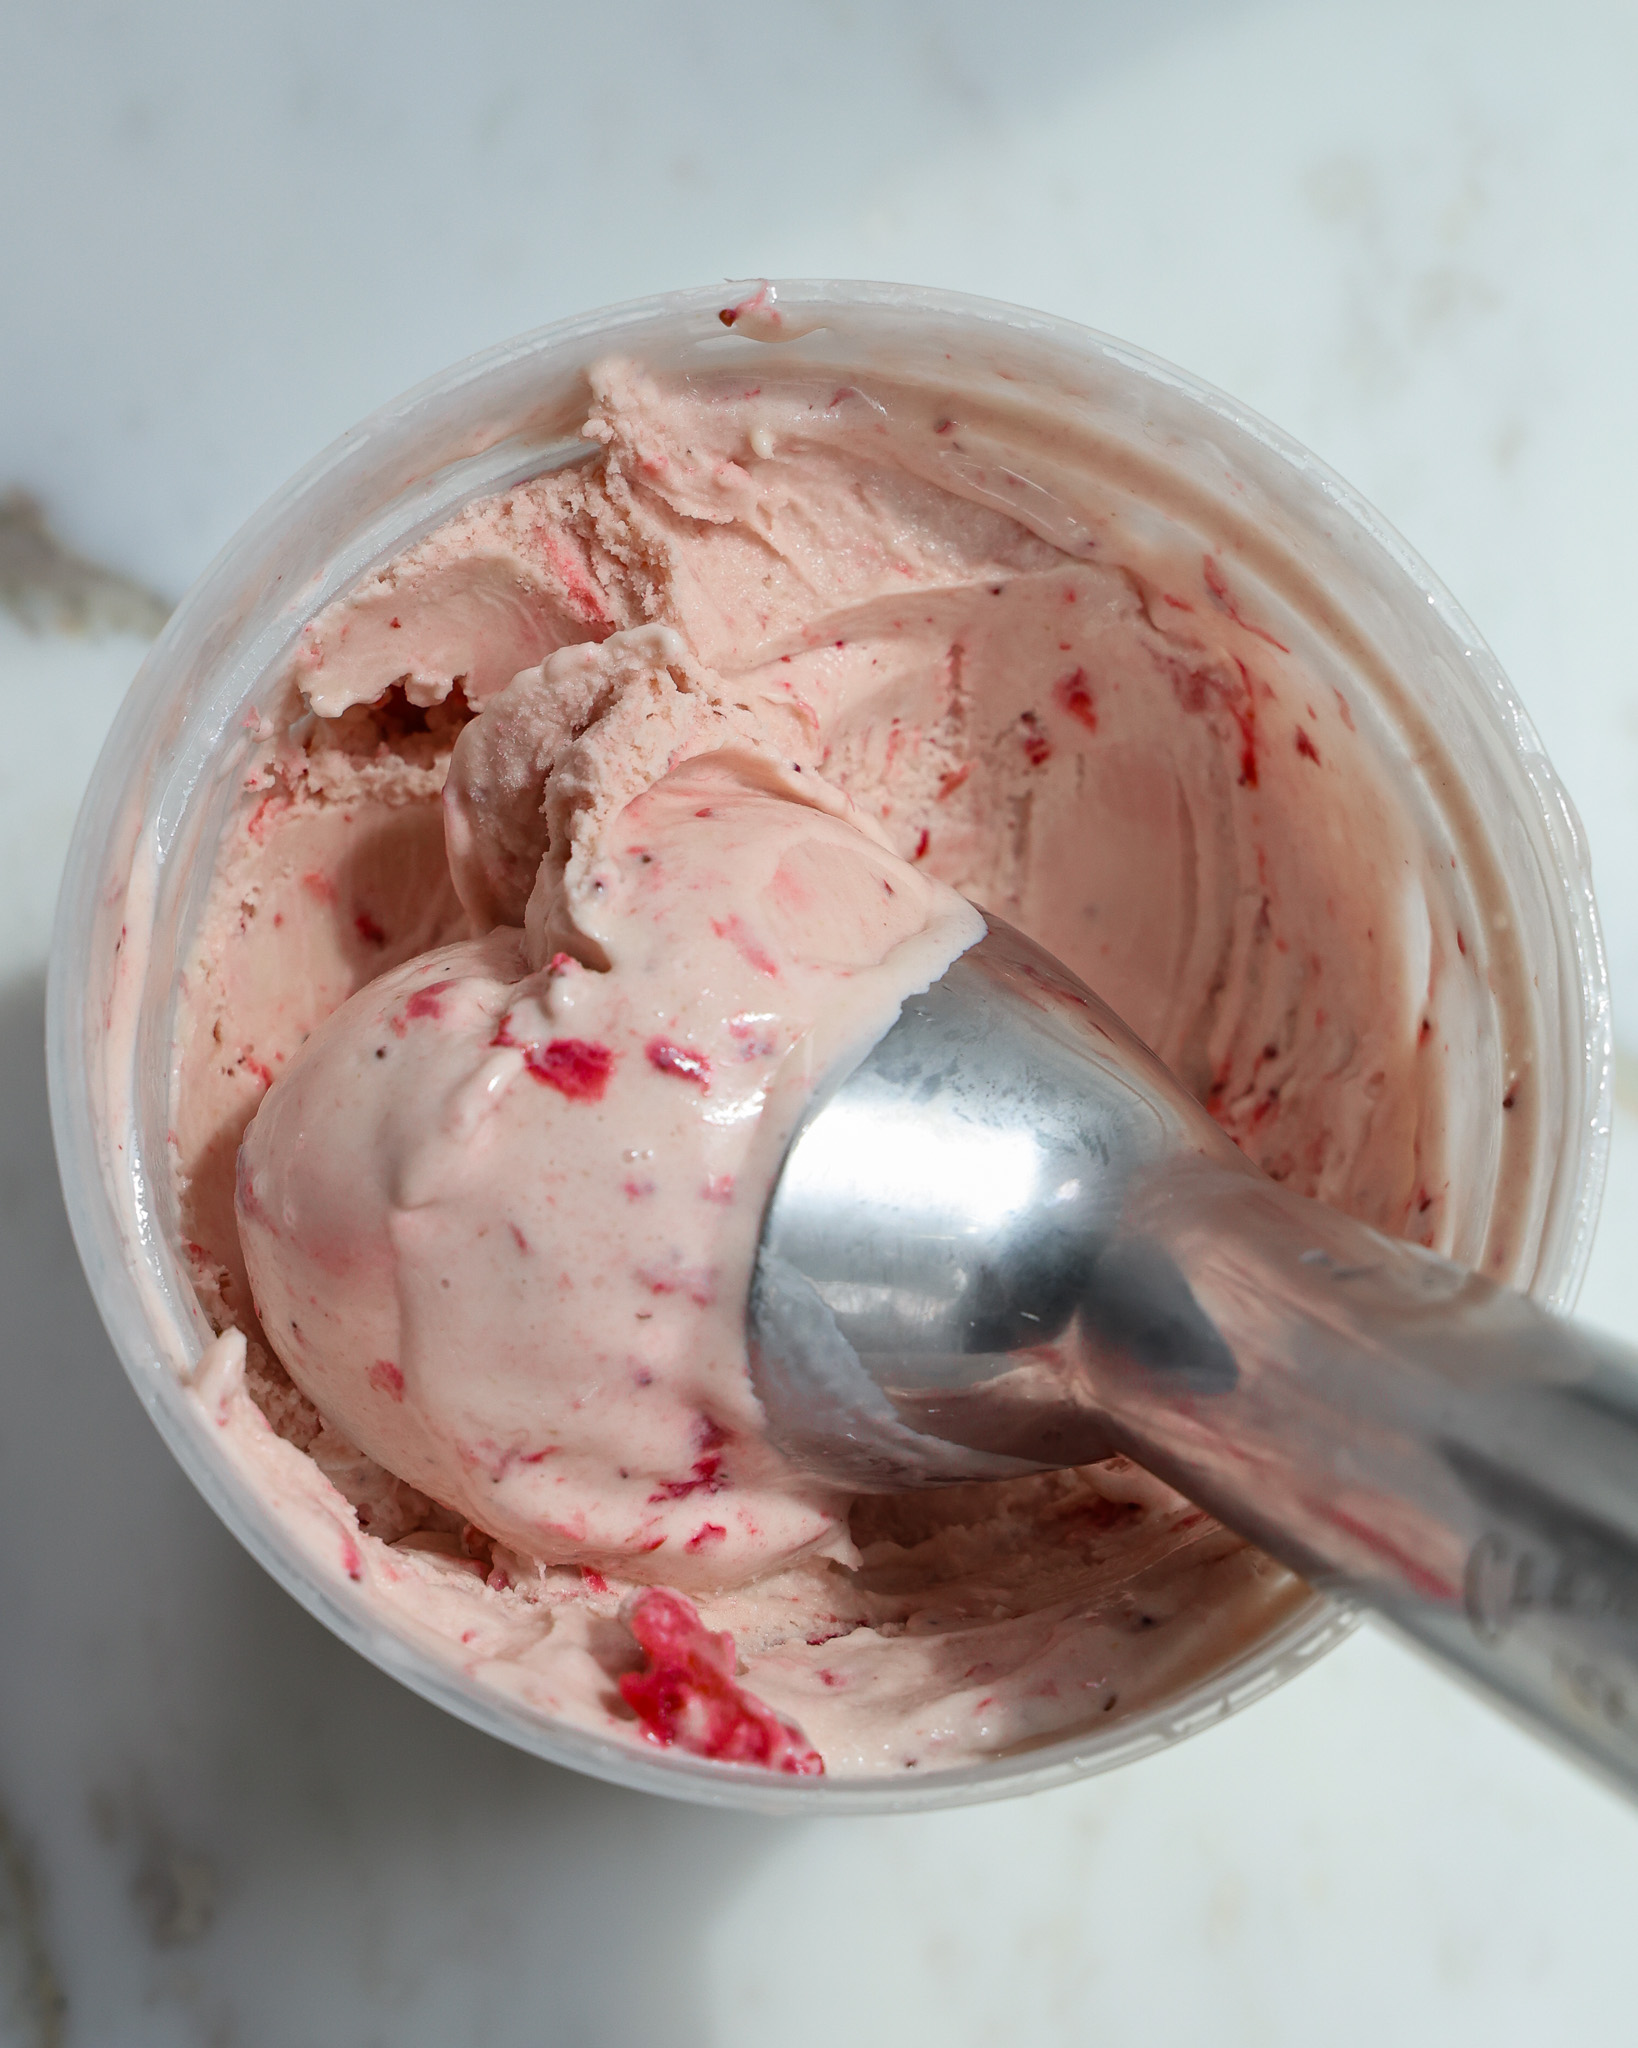
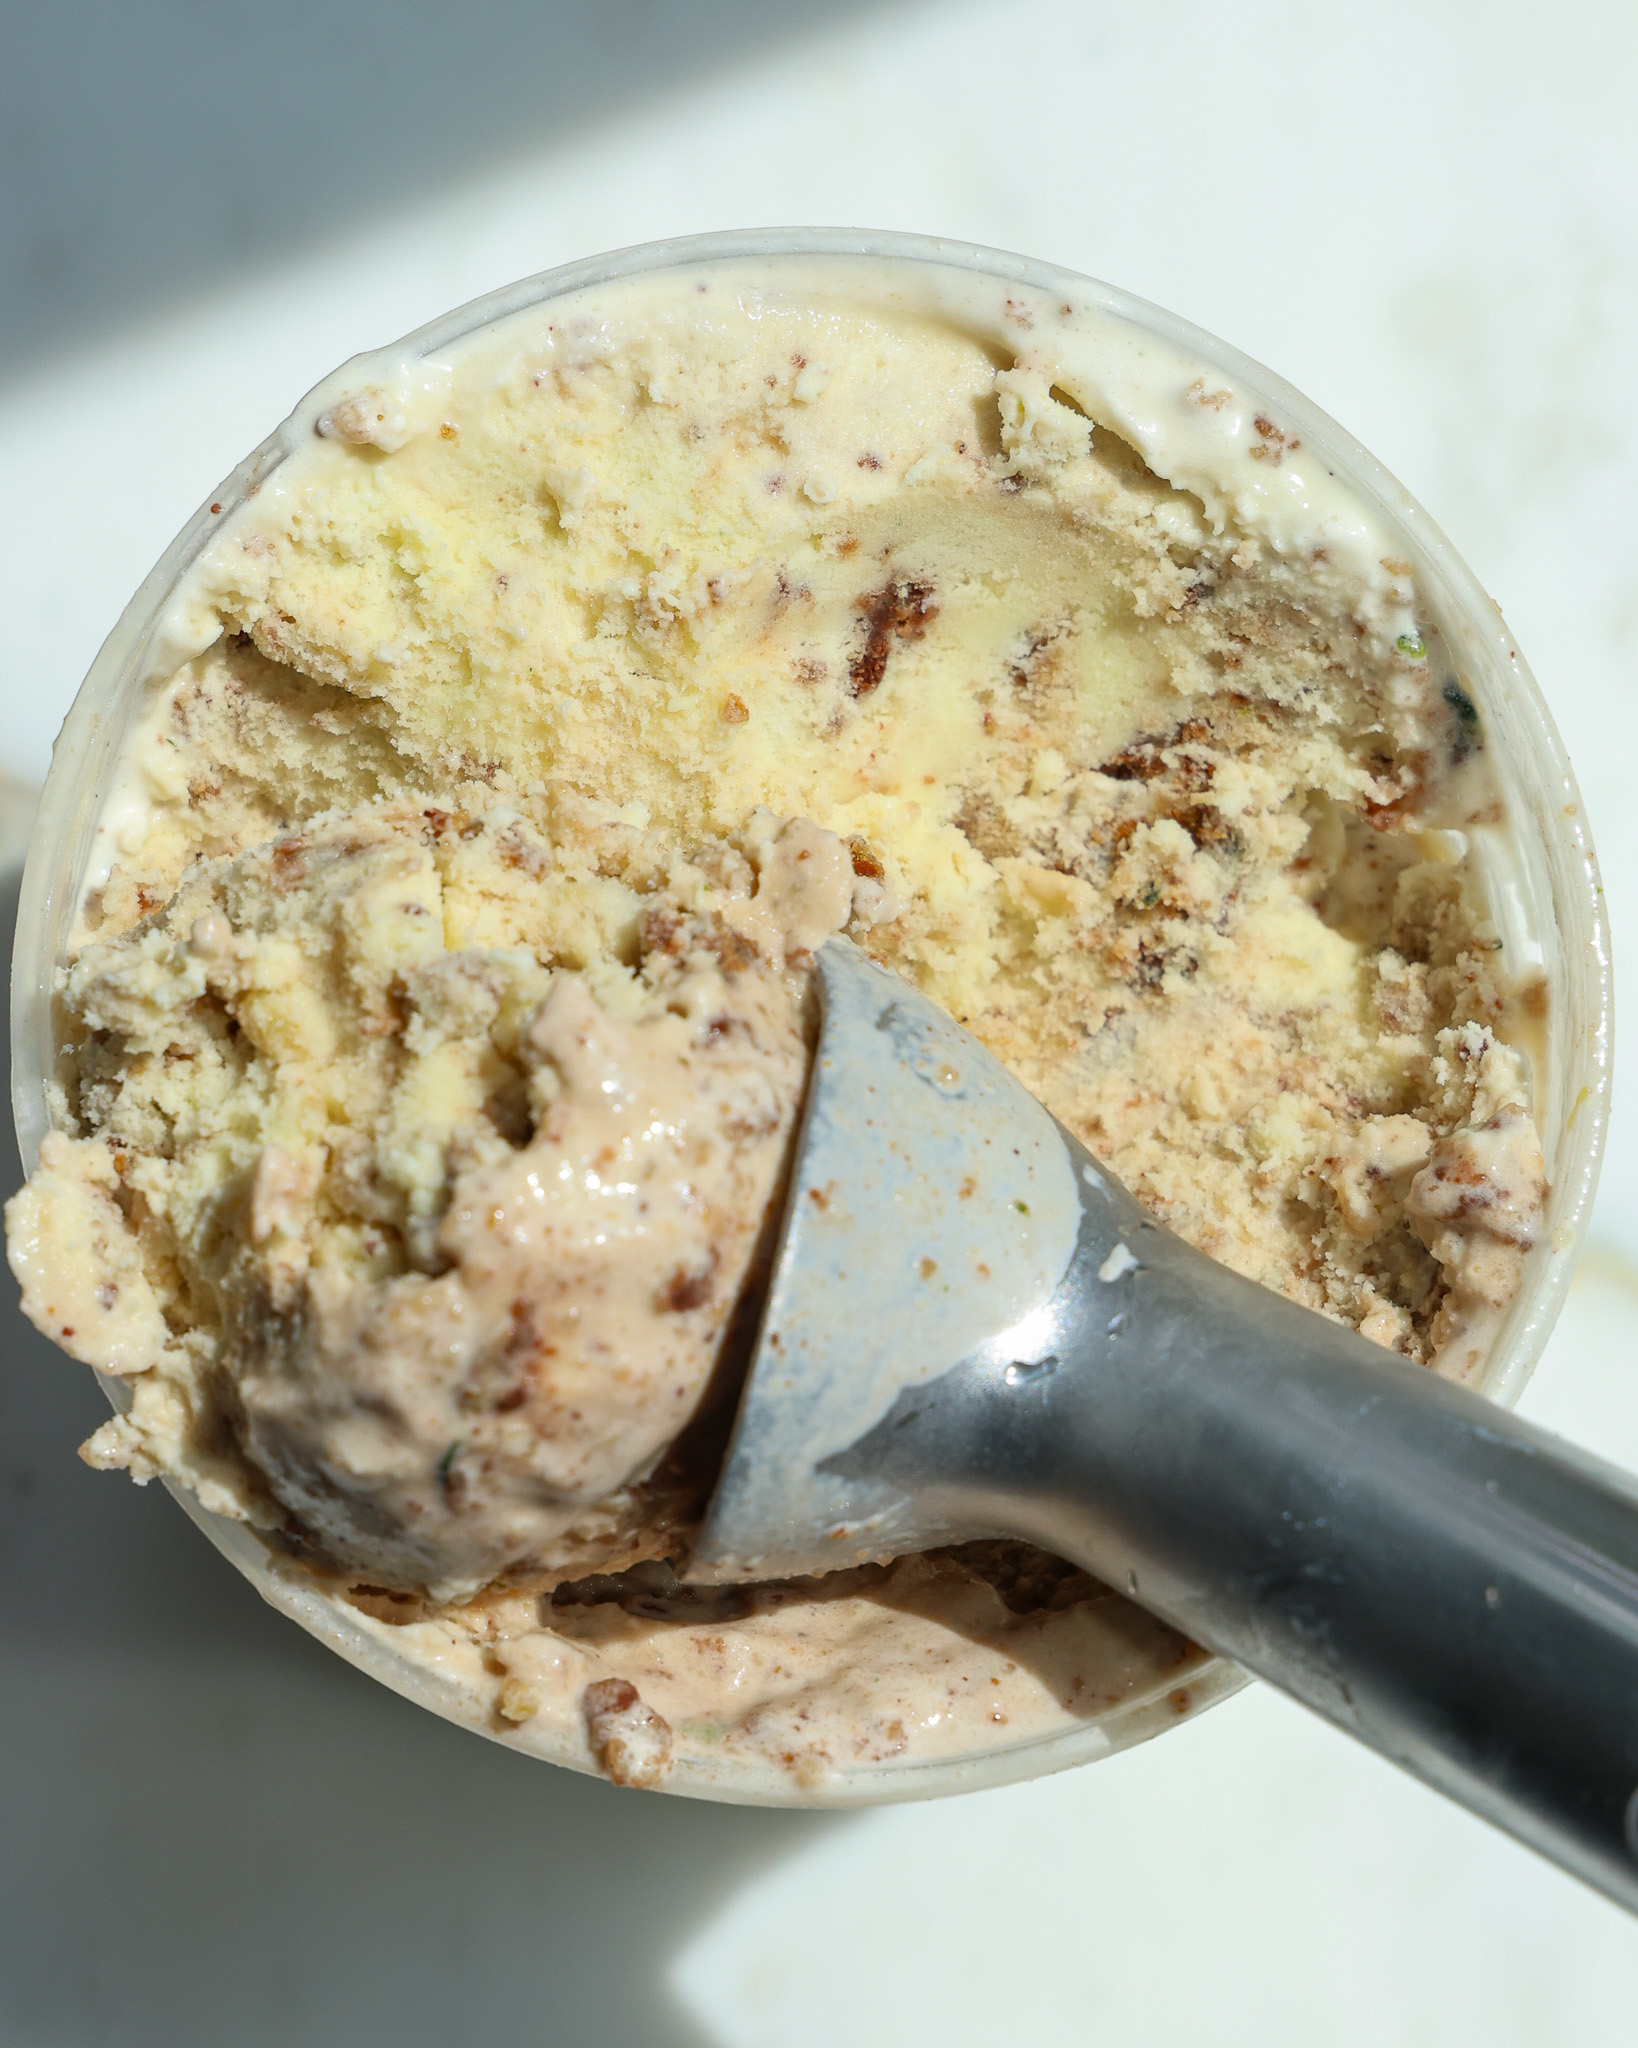
- Gently stir in your fillings, and try to keep as much air in the ice cream as possible. Once the churning is done, you want to keep your ice cream in that “churned” state for as long as possible. Any mixing, pressing or fussing will take away some of the texture you worked so hard for! So when adding your mix-ins, just do a few big mixes, then quickly transfer it to the loaf pan you are freezing it in.
- To make other flavors like chocolate, peppermint, or anything that involves a syrup or extract, add those while the ice cream is churning. For any flavors that involve a filling, like strawberry or cookie dough, add those at the end.
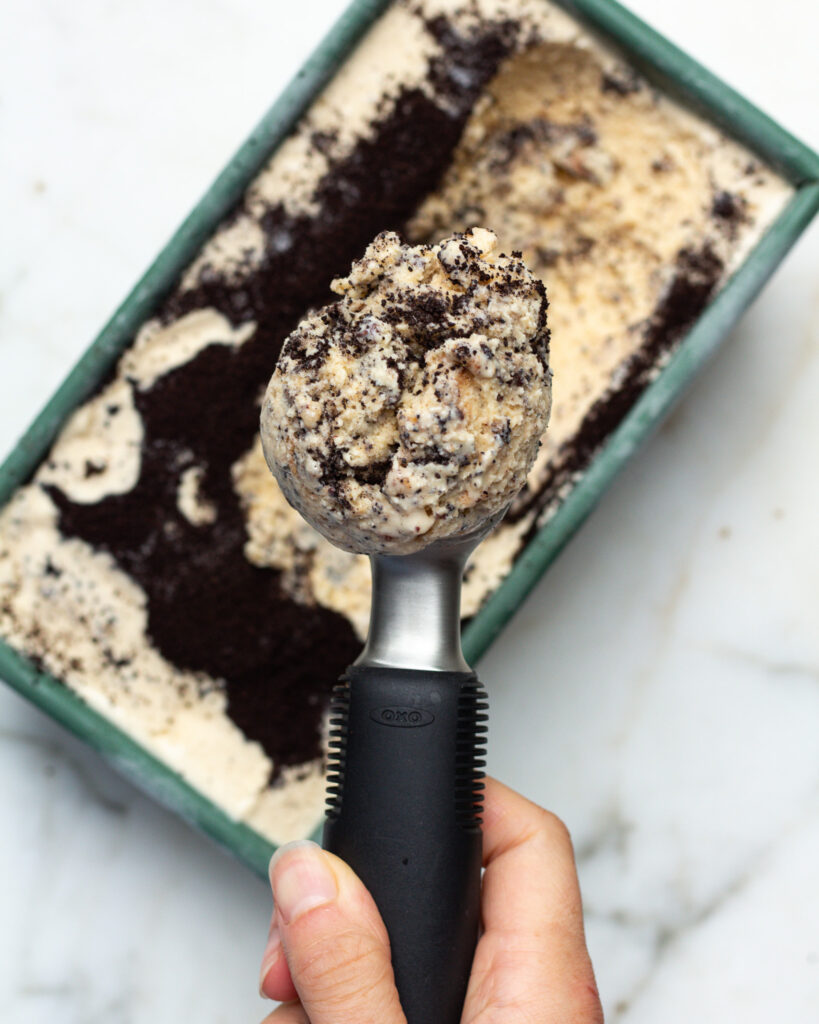
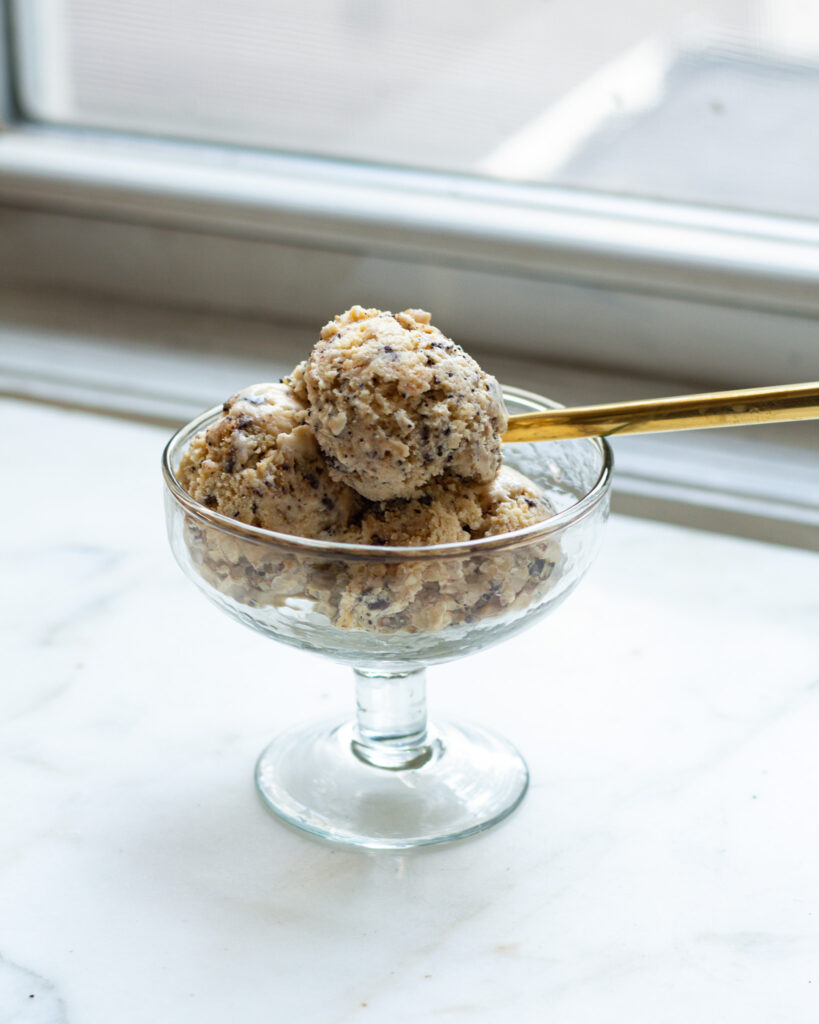
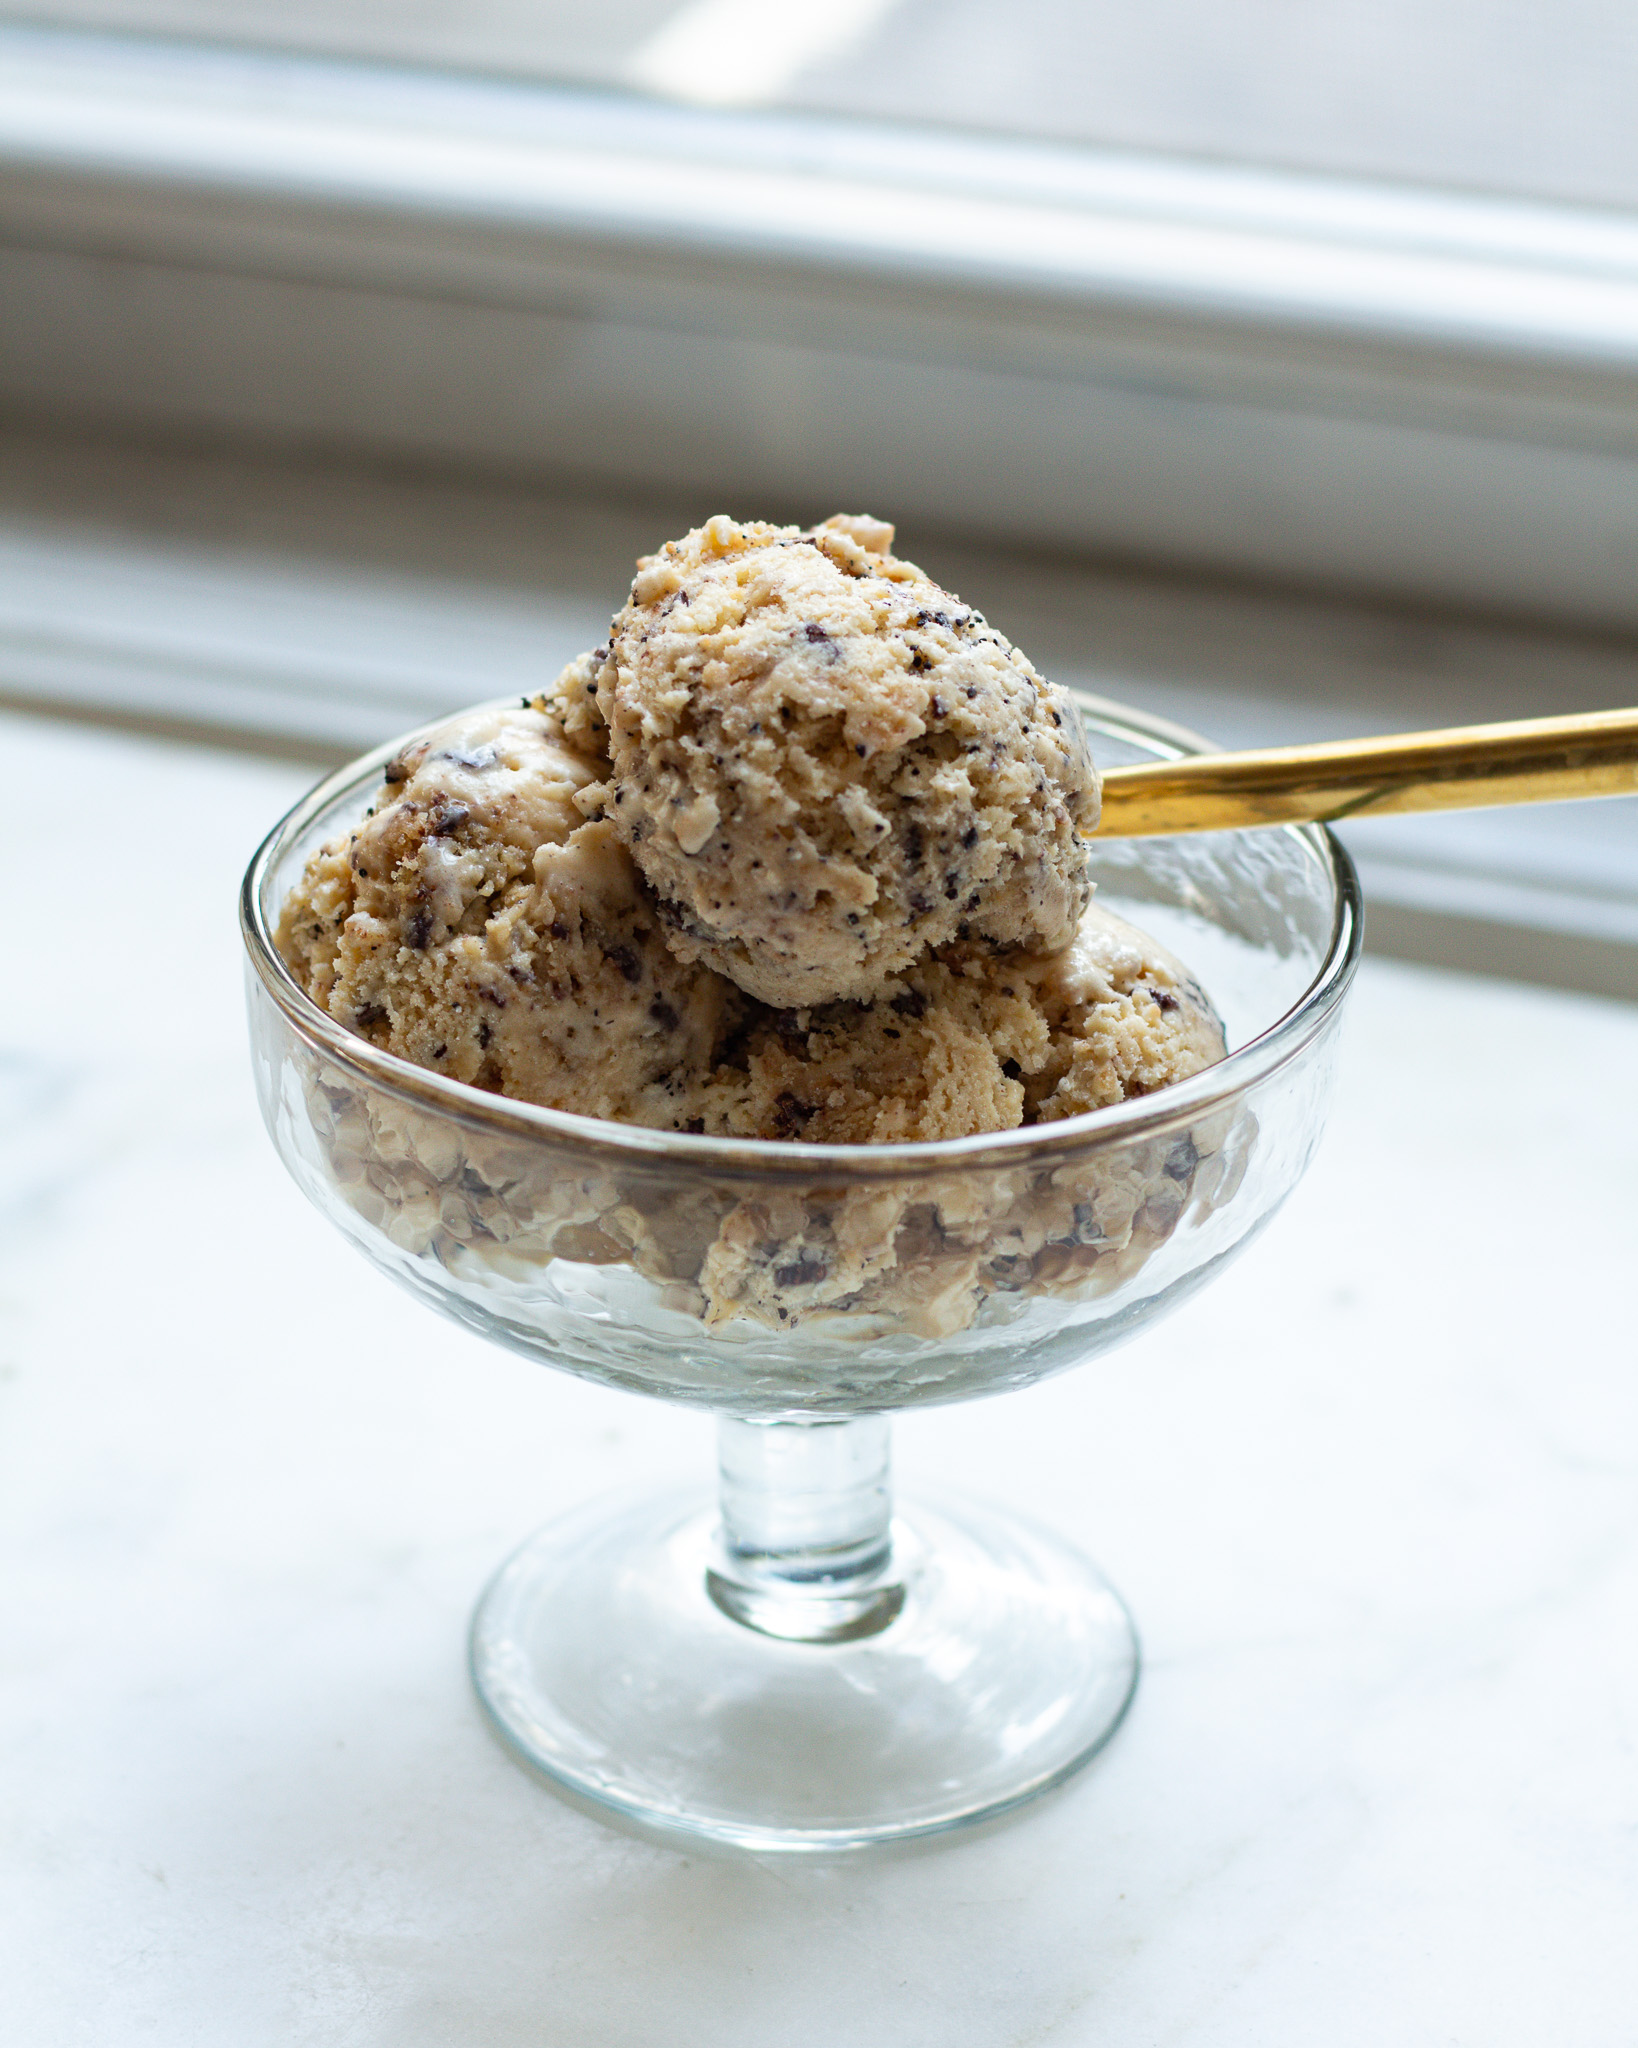
- To store your ice cream, cover it in seran wrap and freeze for 2-3 hours. This is when it will be prime for scooping (see below). Any longer and it will be tougher to scoop — think of it like that really, really frozen ice cream you buy at the store!
- Homemade ice cream typically keeps for 6 months in the freezer, but I hope yours will be gone long before then!
Looking for other sweet treats?
Here are a few of my favorites!
No-Churn Chocolate Bourbon Ice Cream

Banana Ice

Mason Jar Ice Cream
And that’s it for how to make ice cream with a KitchenAid attachment! If you have one at home, I hope this was helpful for you.
If you make it, please tag me on Pinterest or Instagram so I can see! It’s my favorite thing to scroll through stories and see what you all are making.
And of course feel free to leave any questions, comments or reviews! This is the best place to reach me, and I’d love to hear from you <3
Watch the recipe here
The video may not fully represent the recipe. For best results, follow the instructions as written.
Equipment
- 1 whisk
- 1 medium bowl
- 1 Seran wrap optional
- 1 Spatula
- 1 9×5' baking dish or any pan suitable for freezing the ice cream
Ingredients
- 4 large egg yolks
- 1/2 cup granulated sugar , 3.9 ounces / 110 grams, separated
- 1 1/2 cups whole milk , 12.7 ounces / 360 grams
- 1 1/2 cups heavy cream, 12.7 ounces / 360 grams
- 1 teaspoon vanilla bean paste or vanilla extract
- Additional mix-ins of your choice, up to 16 ounces
Instructions
- Place your KitchenAid Ice Cream Churner attachment in the back of the freezer to chill for 14-16 hours. (See Note)
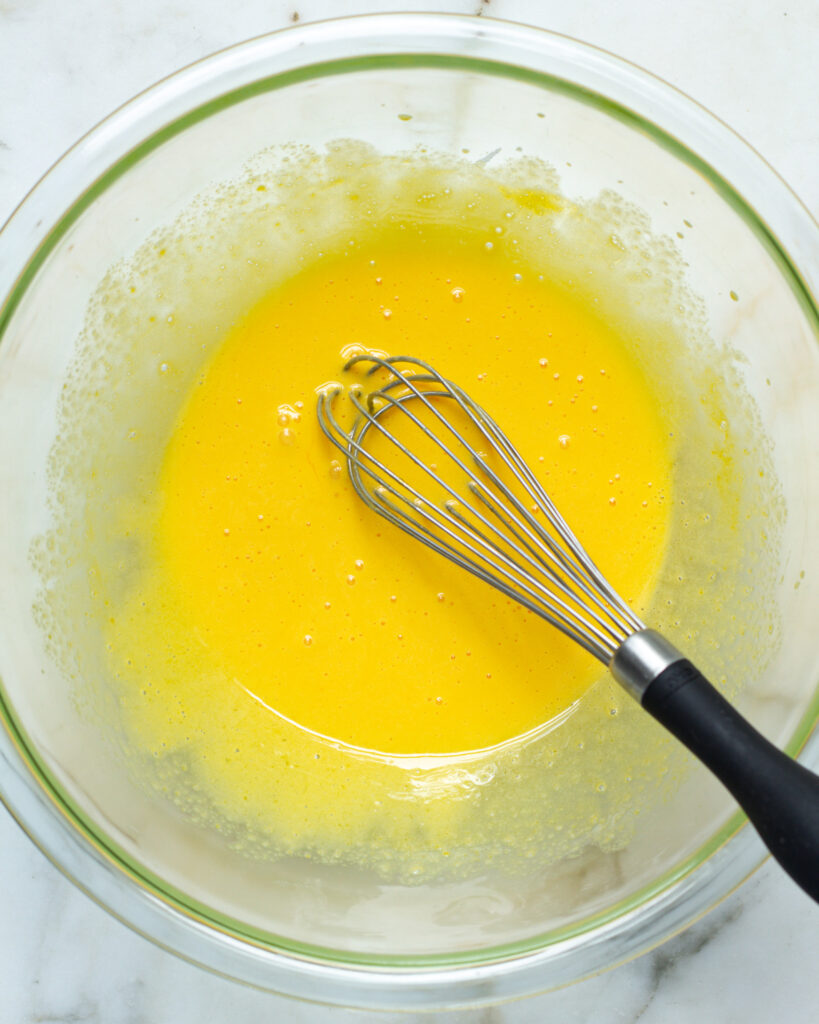
- In a medium bowl, whisk together the egg yolks and 1/4 cup of the granulated sugar (55 grams) until the egg yolks are lightened to a pale yellow color. You should be able to pull up your whisk and see the yolk mixture fall down into the bowl in a "ribbon," and that's when the mixture is ready.
- In a medium sauce pot, add the whole milk, heavy cream, remaining 1/4 cup (55 grams) of sugar, and vanilla bean paste. Stir to combine and place over medium heat. Stirring often, let this heat up until foamy or until it reads 165°F with an instant-read thermometer.
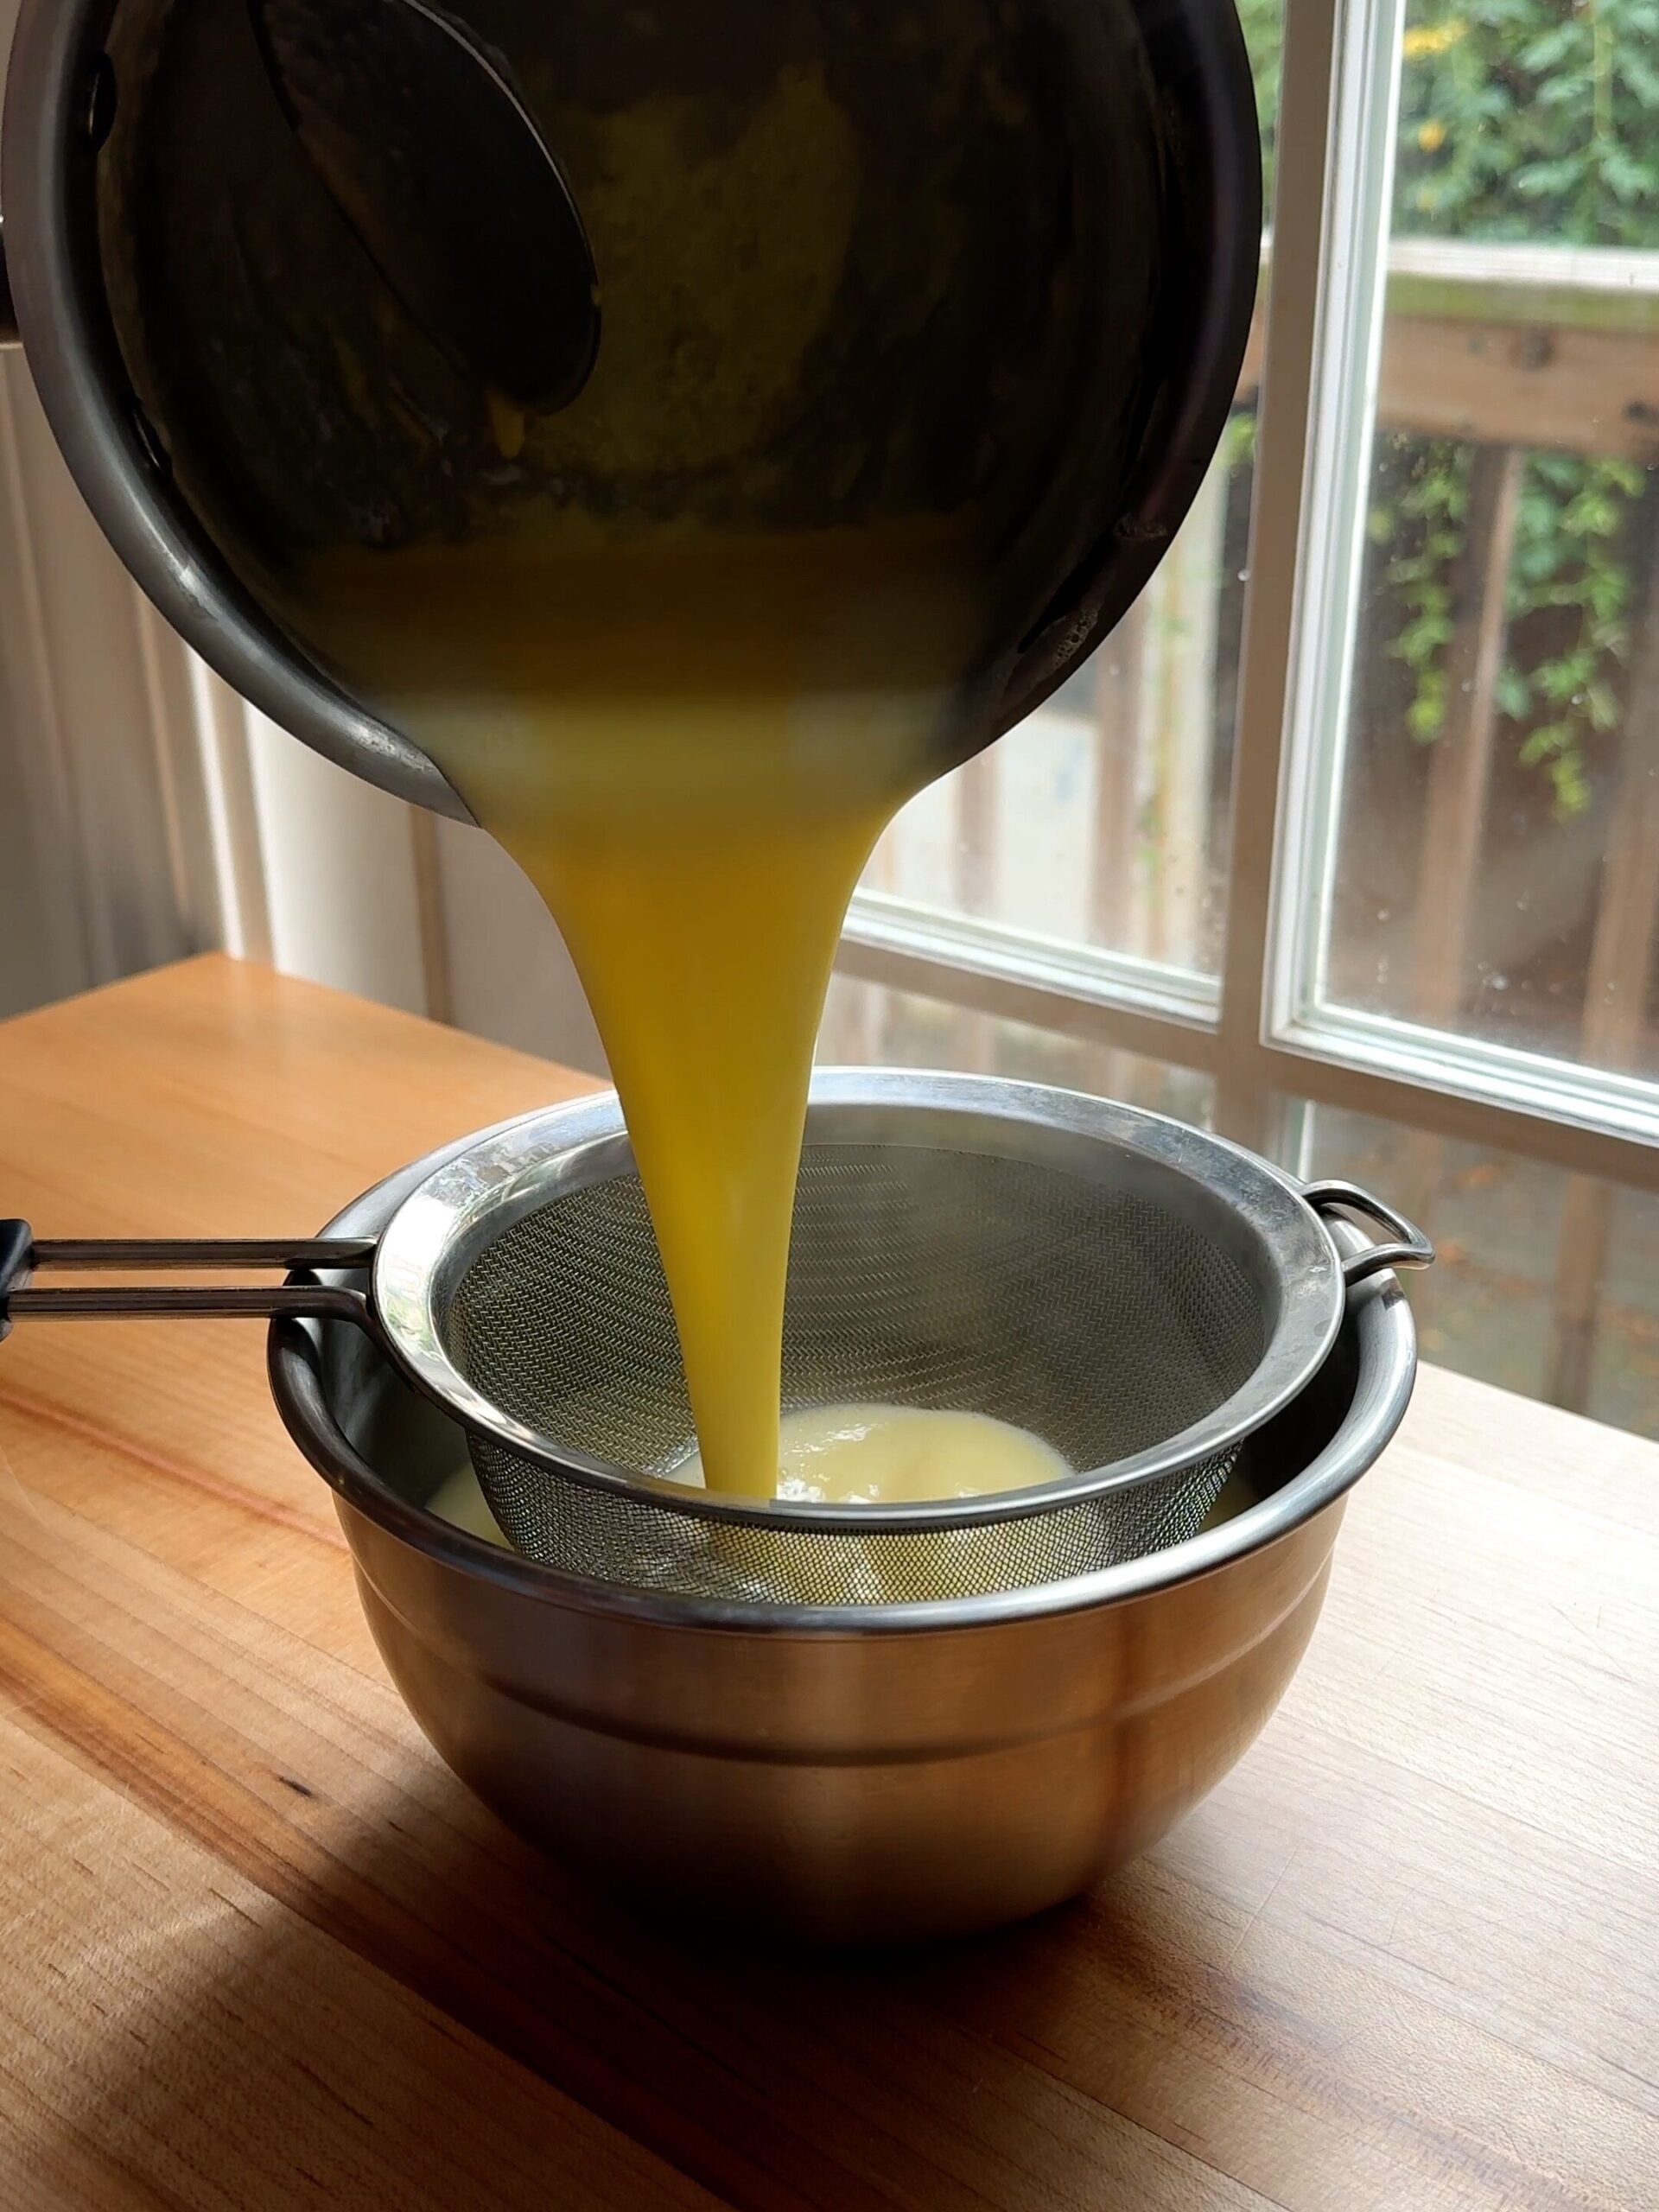
- Reduce the heat to low and scoop a spoonful (about 1/4 cup) of the hot milk mixture into the egg yolks. Whisk it into the yolks to temper them. Do this three more times to heat up the yolks. Then pour the egg yolk mixture directly into the pot.
- Stirring constantly, increase the heat to medium-low and mix the custard until it can coat the back of a spoon and reads 170°F on an instant-read thermometer.
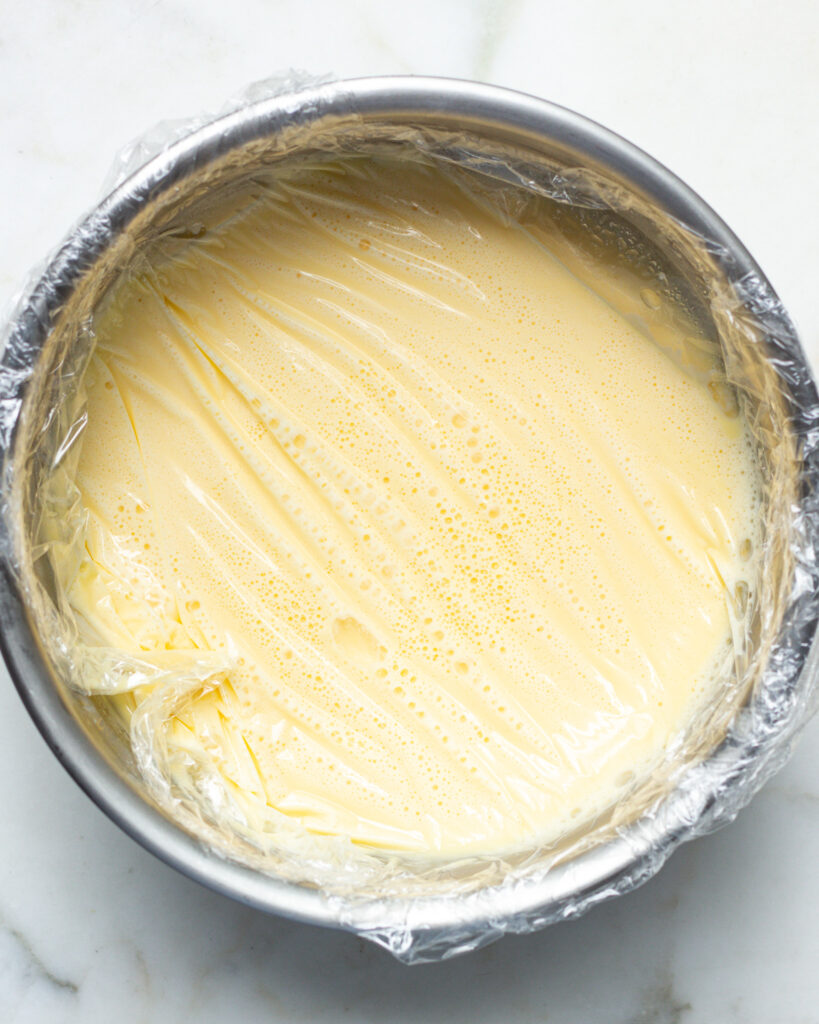
- Strain this mixture through a mesh sieve into a bowl. To prevent a film from forming, directly place cling wrap on the surface of the mixture to seal it. Cover the bowl and store in the fridge for 12-16 hours to chill.
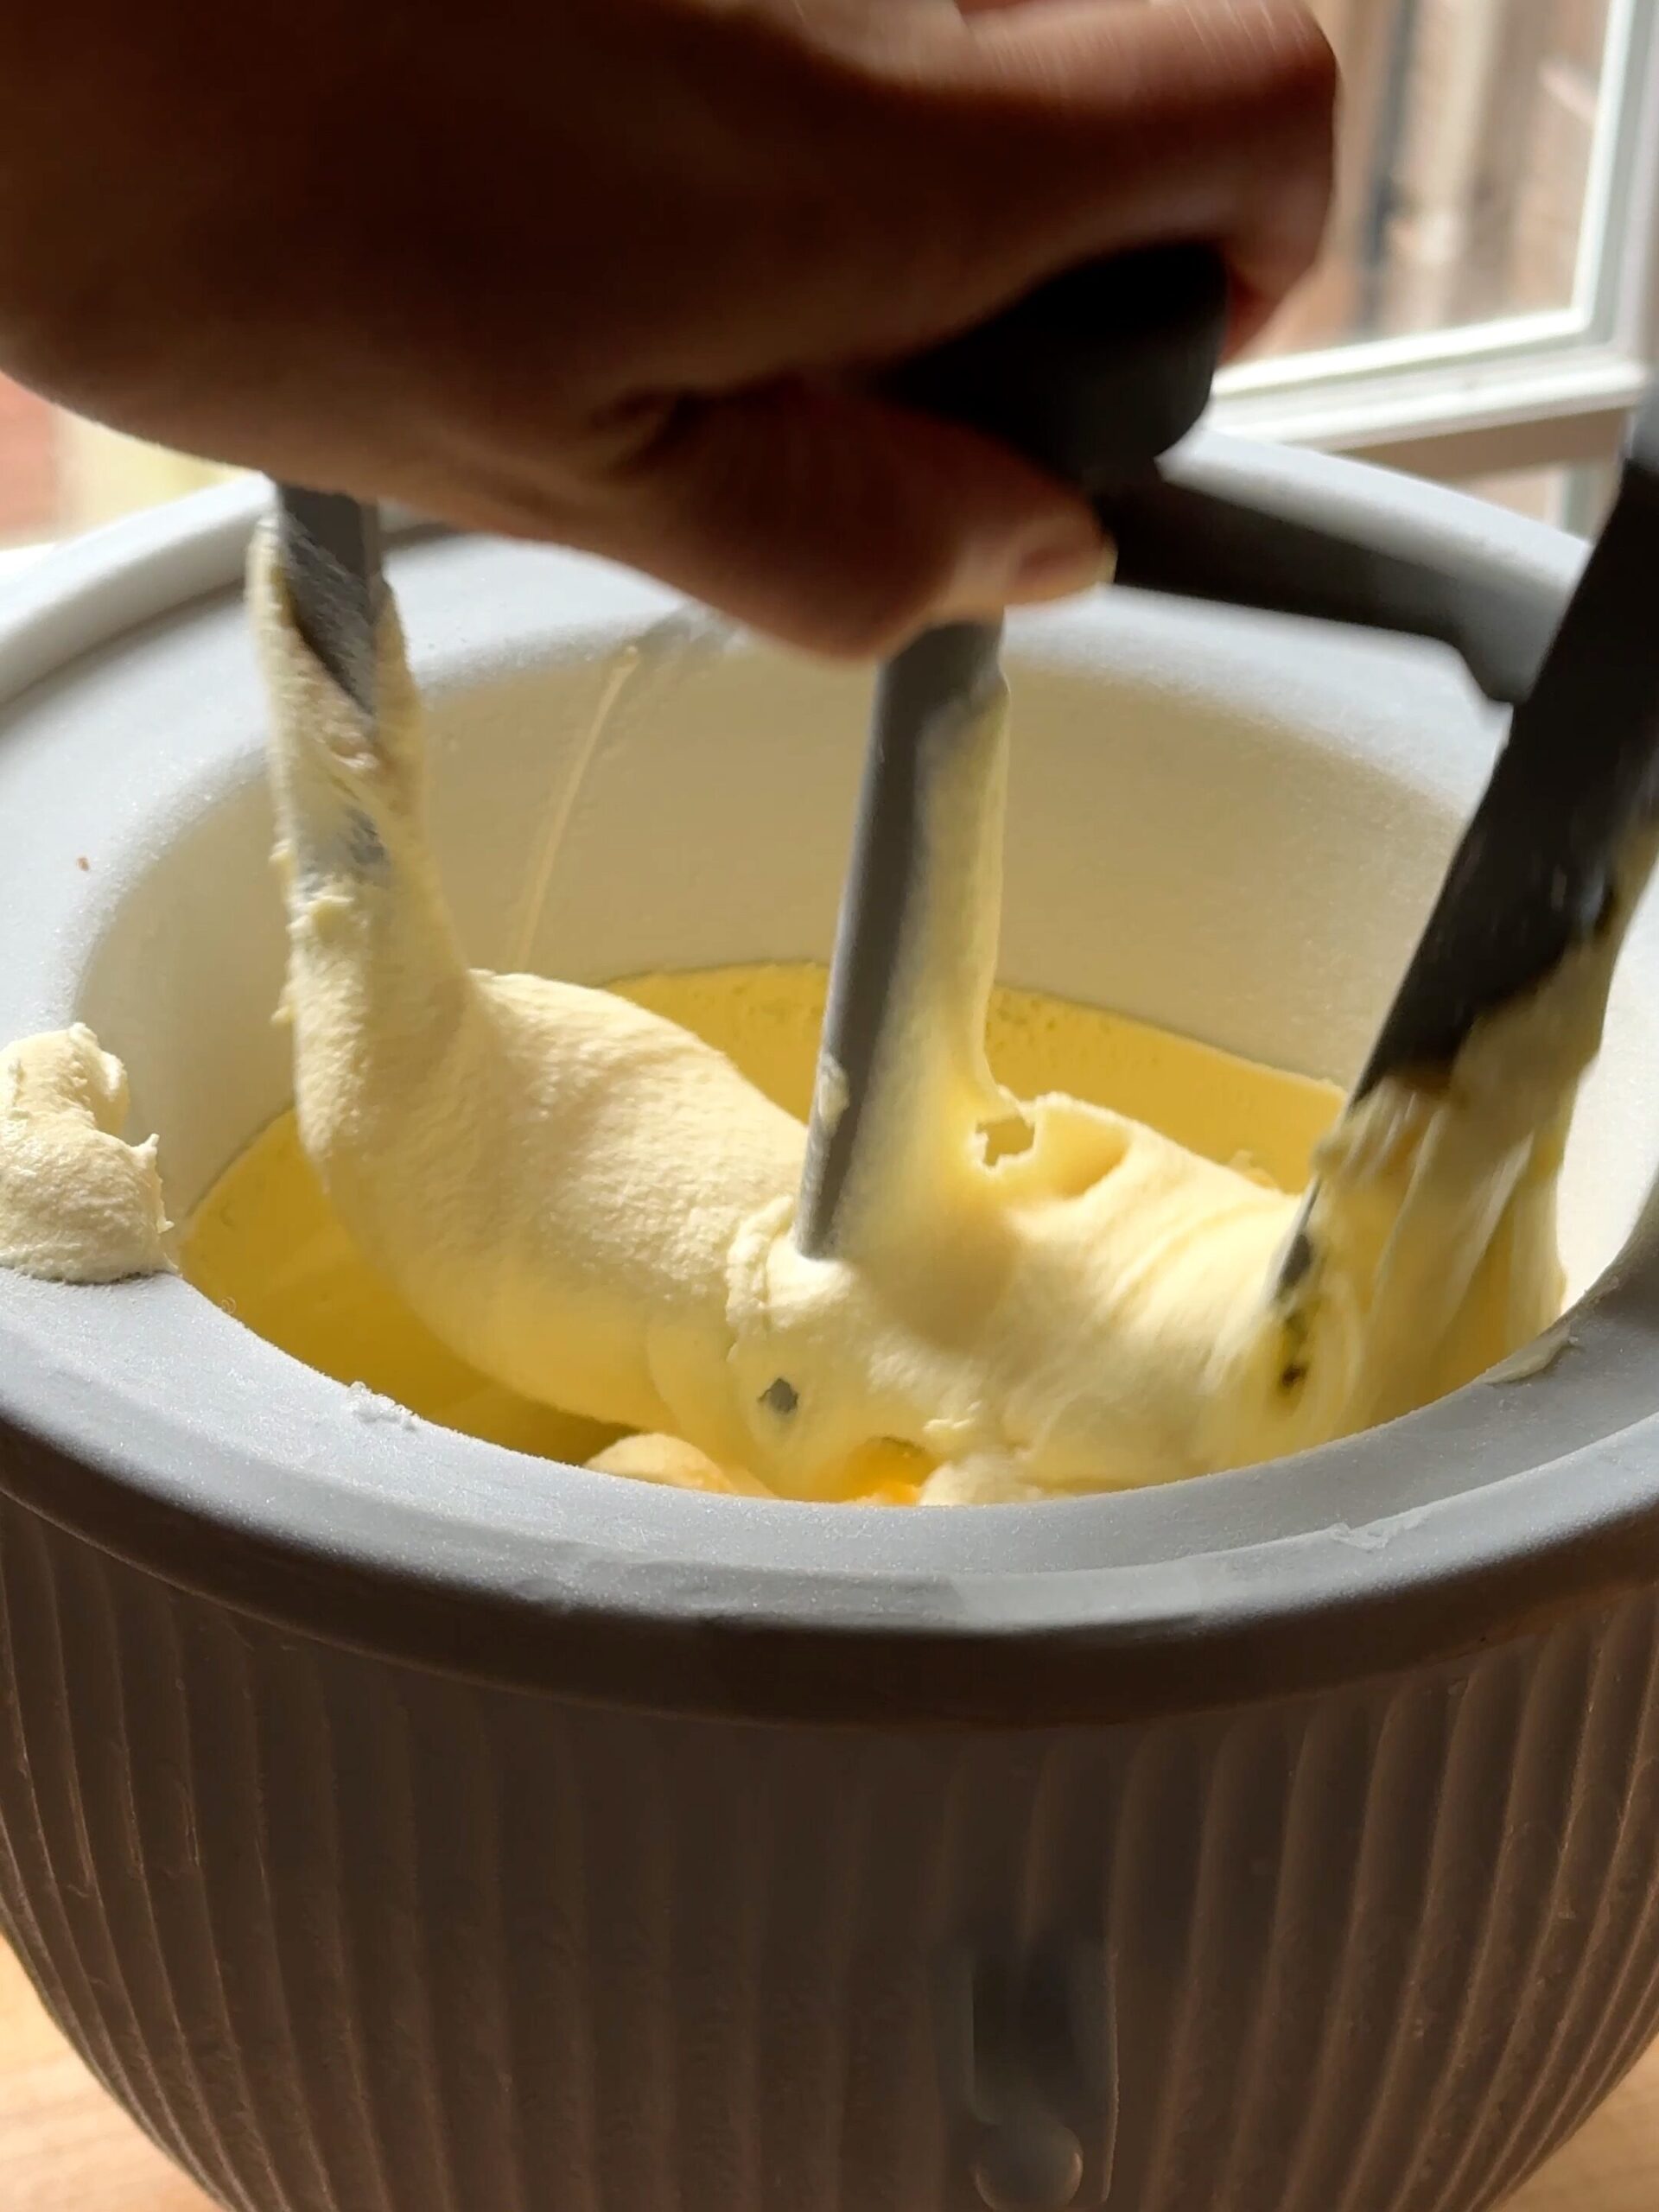
- When you are ready to churn, take the frozen KitchenAid attachment out of the freezer and pour in the custard. Churn for 20-30 minutes or until the ice cream is thick and the texture of soft serve.
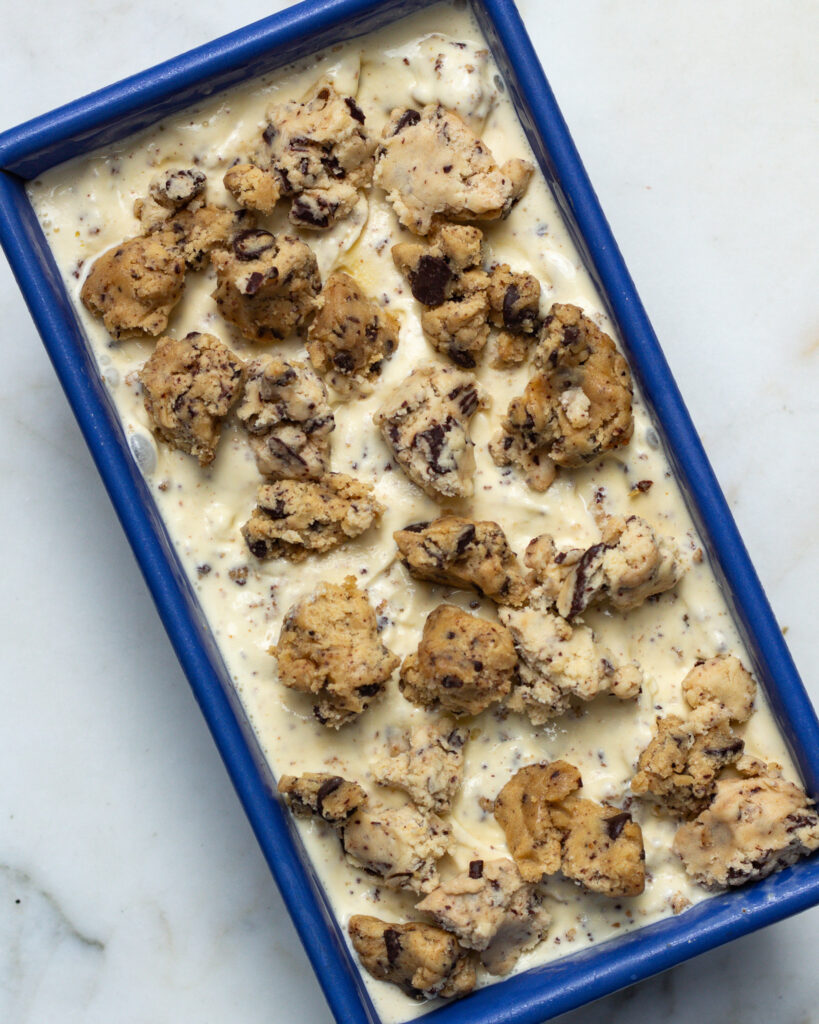
- Gently fold in your desired mix-ins and pour the ice cream into a 9-inch by 5-inch loaf pan.
- Cover and freeze another 2-3 hours for a firm scoop, and serve!
Comments
Leave a Comment
Made this recipe? Tell me all your thoughts or if you’ve got any questions!