My hot take: I love shucking oysters. I think it’s fun, only a little bit challenging, but once you get the hang of it, it’s kind of like solving a super satisfying puzzle. Anyone can shuck an oyster, you just need a super simple tool: the oyster knife! After that you should protect your hands with a big cloth, but with those two simple things you are good to go.
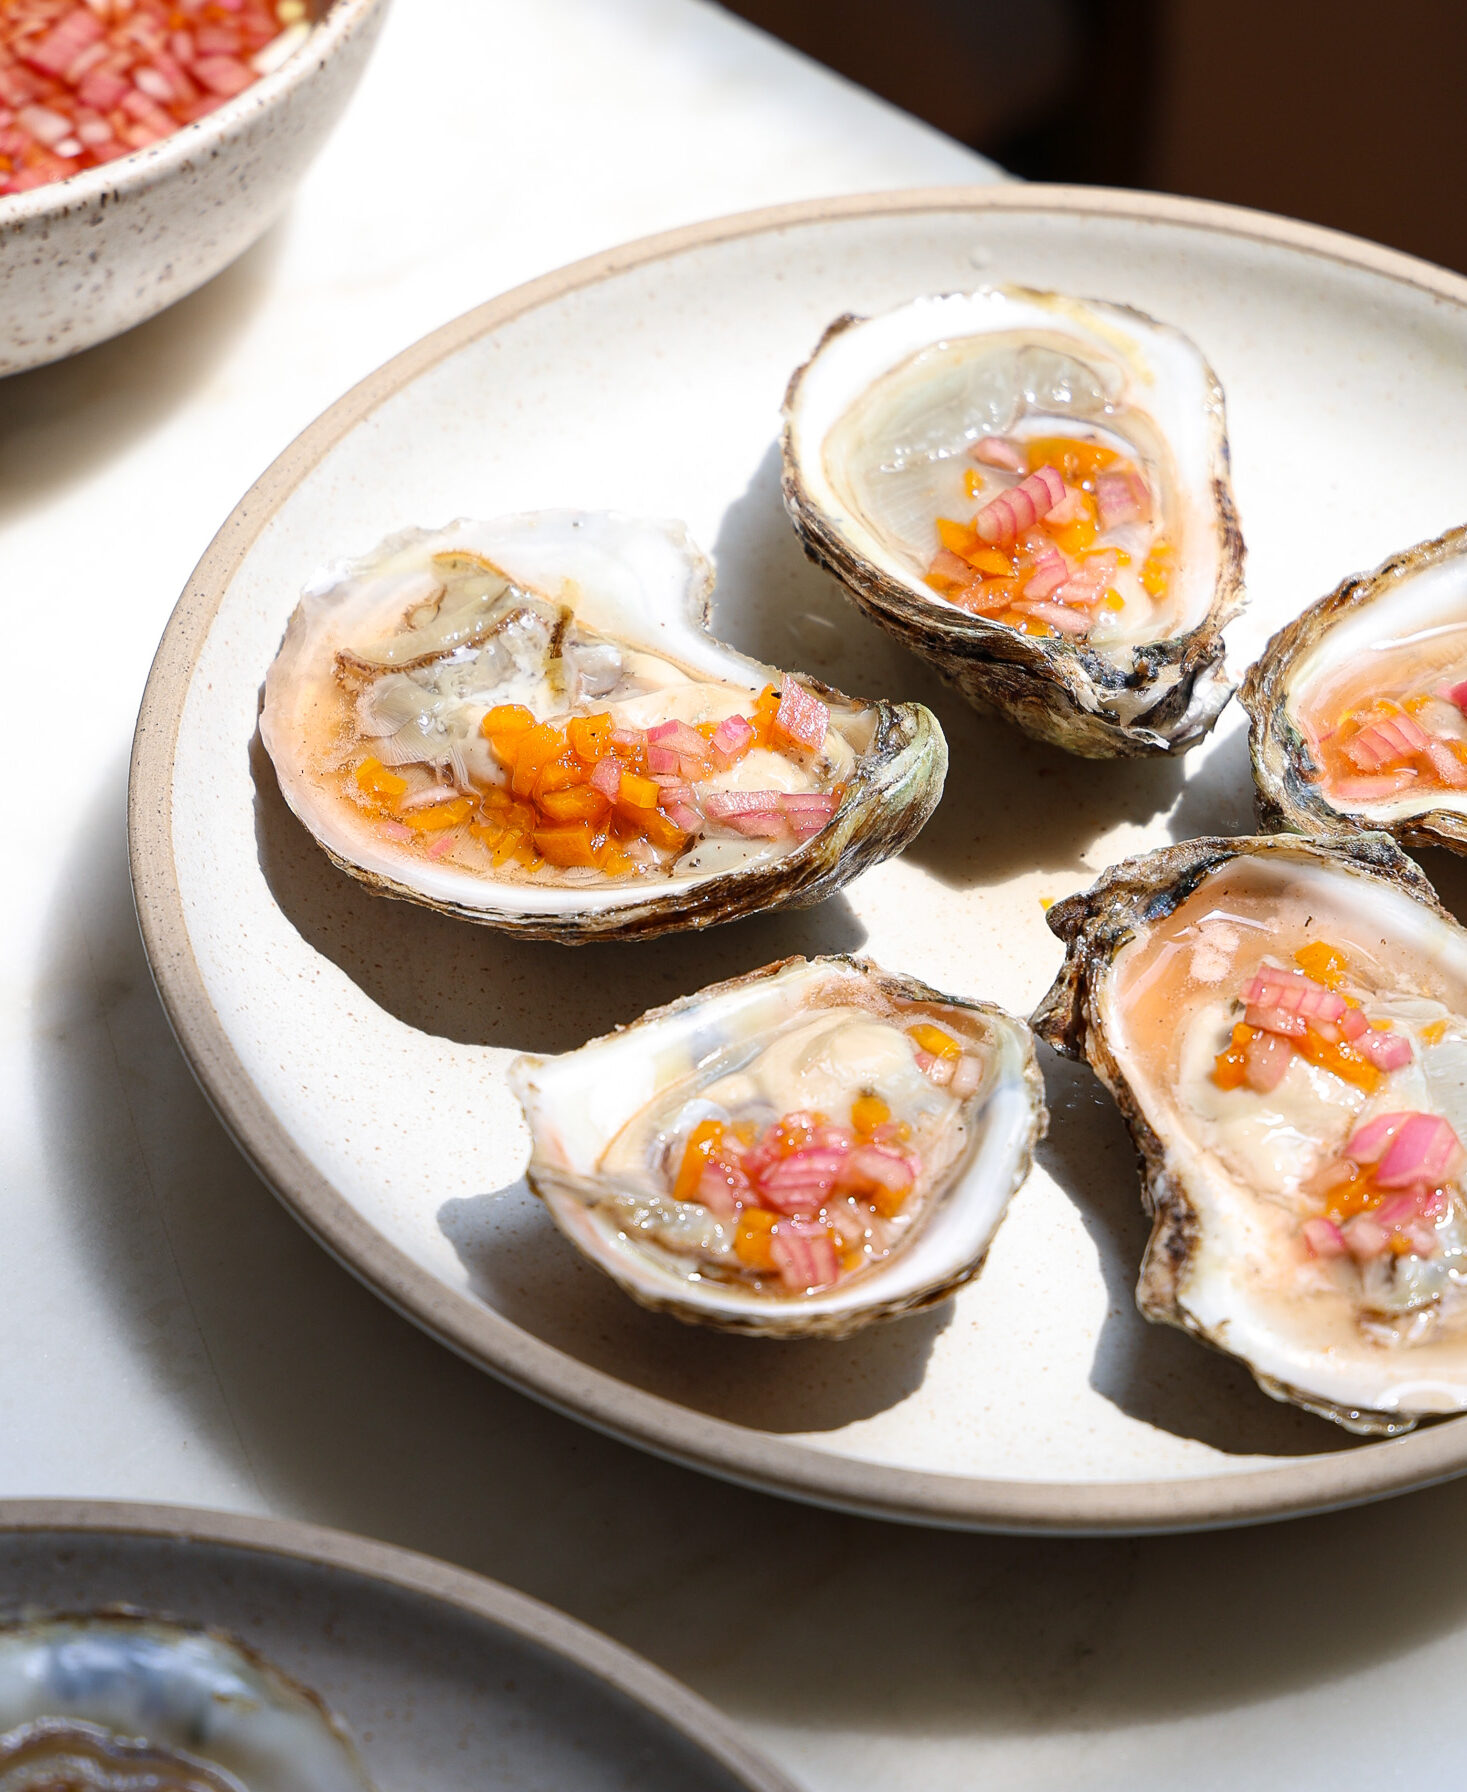
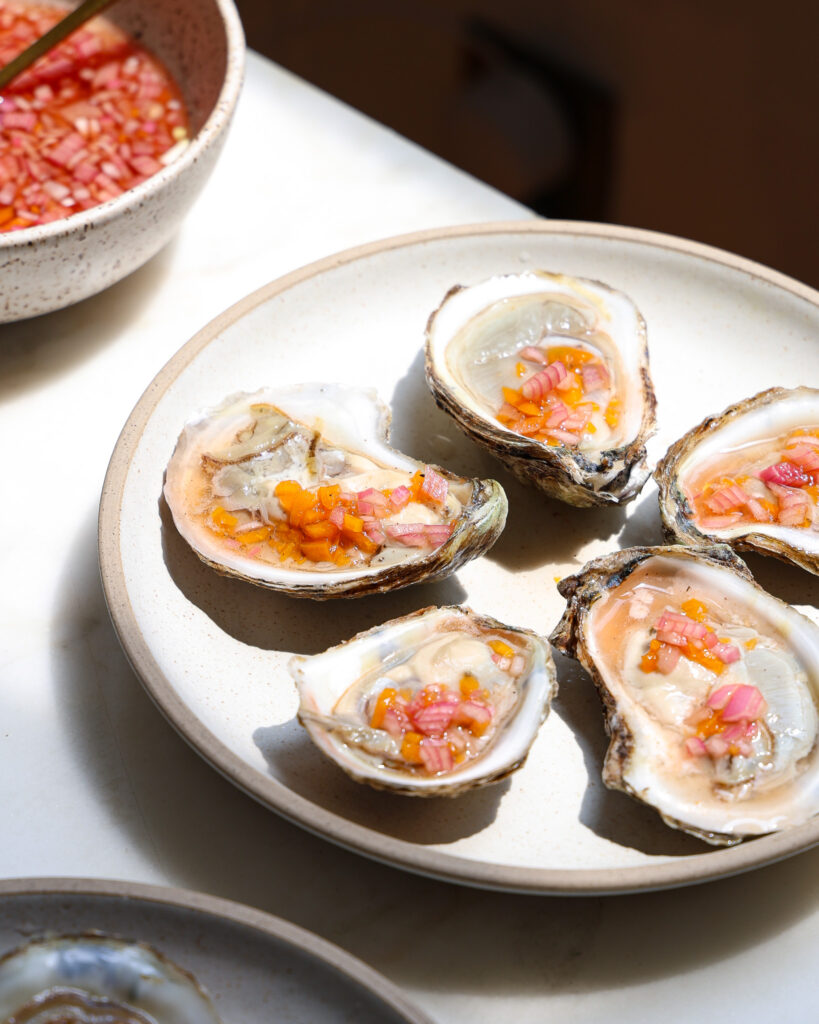
I also think oysters are wonderful paired with a homemade mignonette sauce, so here I have my favorite apricot version. There are many mignonettes out there made with more acidic fruits like rhubarb, but I think the subtle sweetness of an apricot version is really lovely when paired with a fresh, briny oyster.
Read on for how to properly shuck an oyster (at home! In an easy way!), and scroll to the bottom for my favorite mignonette sauce. And then date night at home? Consider it sorted.

What is mignonette sauce?
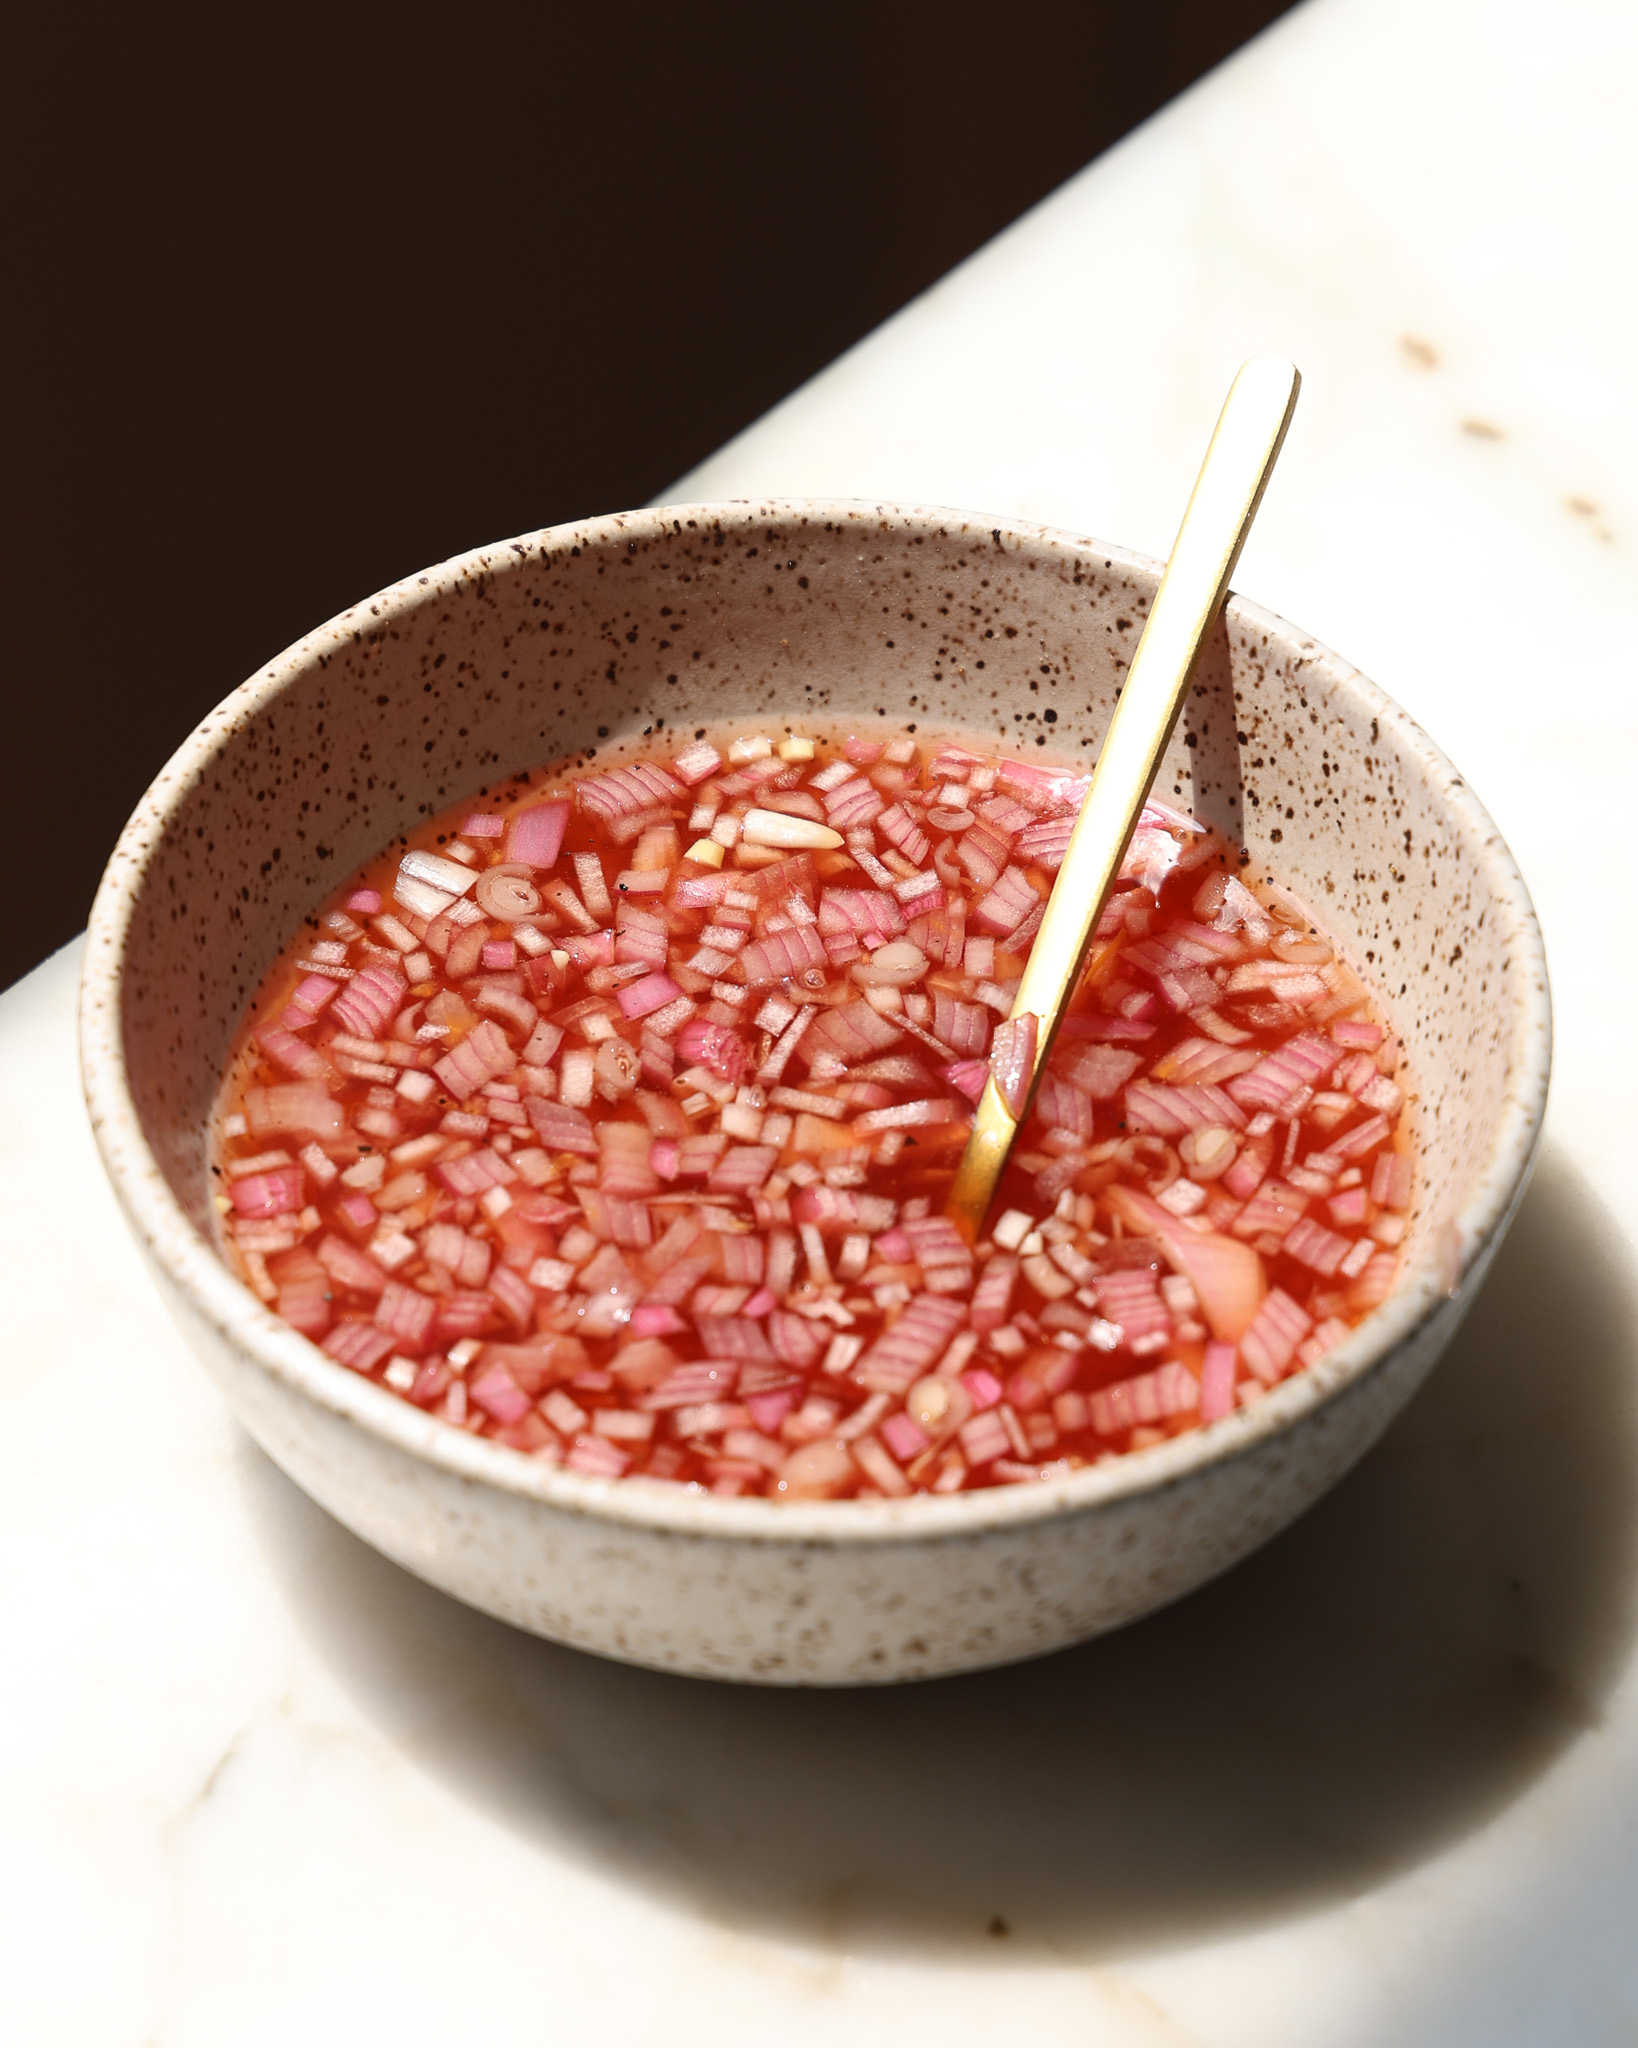
Mignonette is a french condiment that is essentially a very sharp, vinegary sauce. It traditionally is made of shallot, vinegar, and black pepper. There are a few variations out there, but they never stray from the fact that the sauce is mostly vinegar, highly acidic, and perfect for pairing with briny, buttery oysters.
I like to think of mignonette as the sister to a squeeze of lemon. It gives any seafood a brightness, and it’s the best version of acid around. I reserve my mignonette mostly for oysters, but it also does really well with any kind of seafood that needs just a dash of something sharp and acidic.
How to shuck an oyster
Now we are to my favorite part, shucking an oyster! Which doesn’t have to be hard, you just need an oyster knife.
You can find the link to my favorite oyster knife here. (Not affiliate, but very, very legit).
The four steps to shucking an oyster
In the photos above, you’ll see the four steps to properly shucking an oyster.
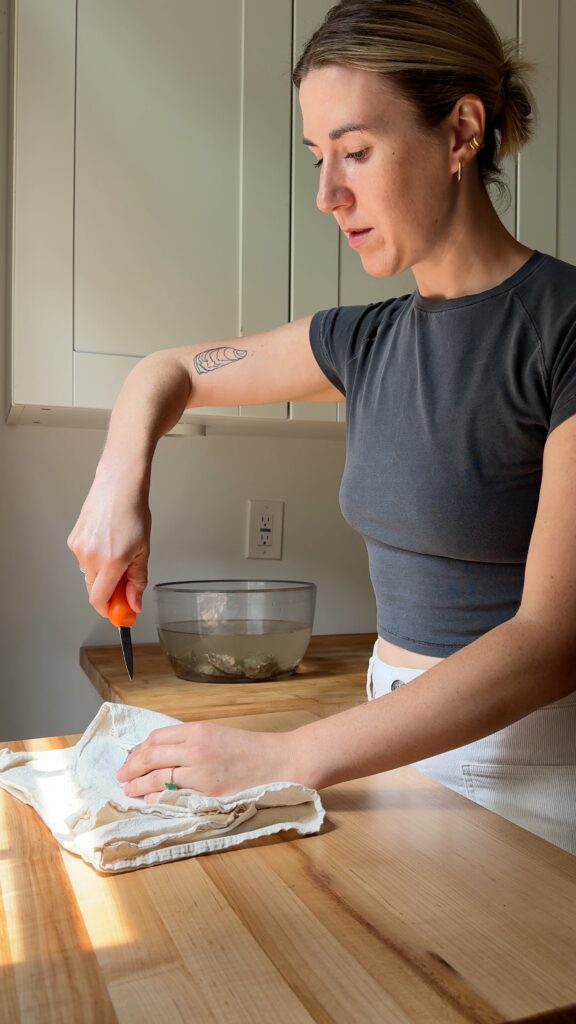
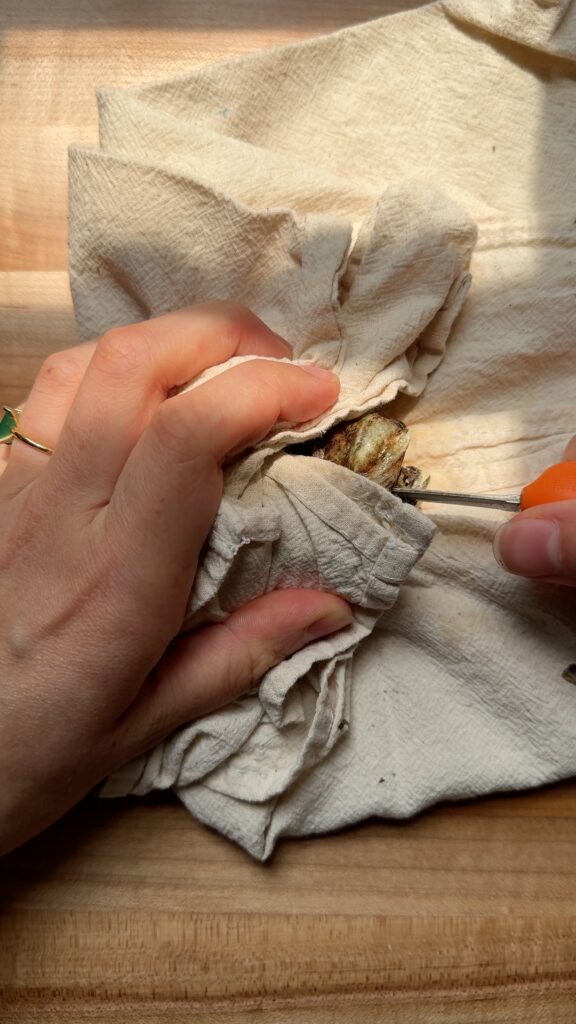
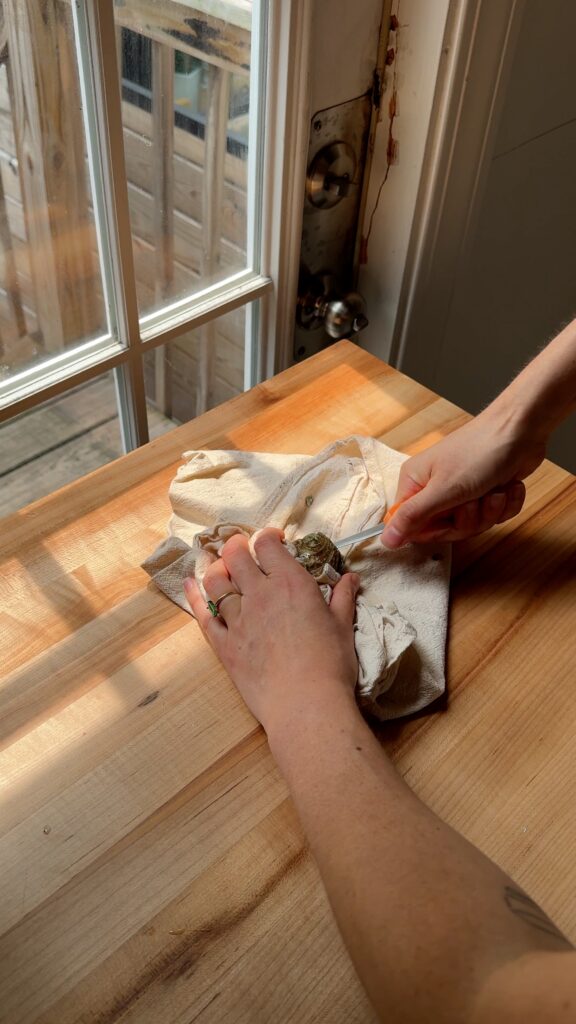
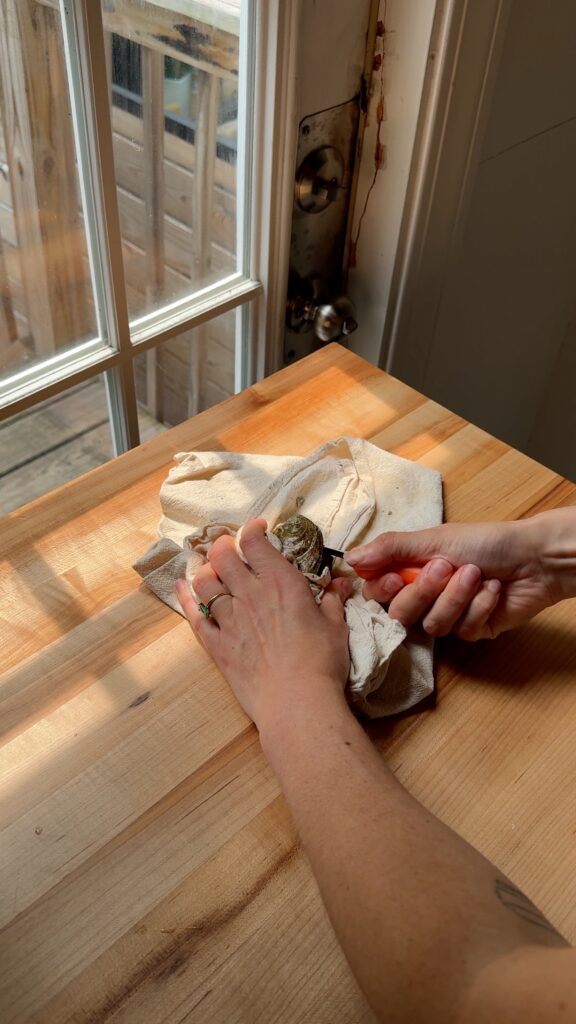
Step #1 – Protect your hands
Either use a glove to protect the hand that will hold the oyster, or wrap the oyster in a cloth towel as you shuck it (which you will see I’m doing below). This is so that if the knife slips, your hand is protected!
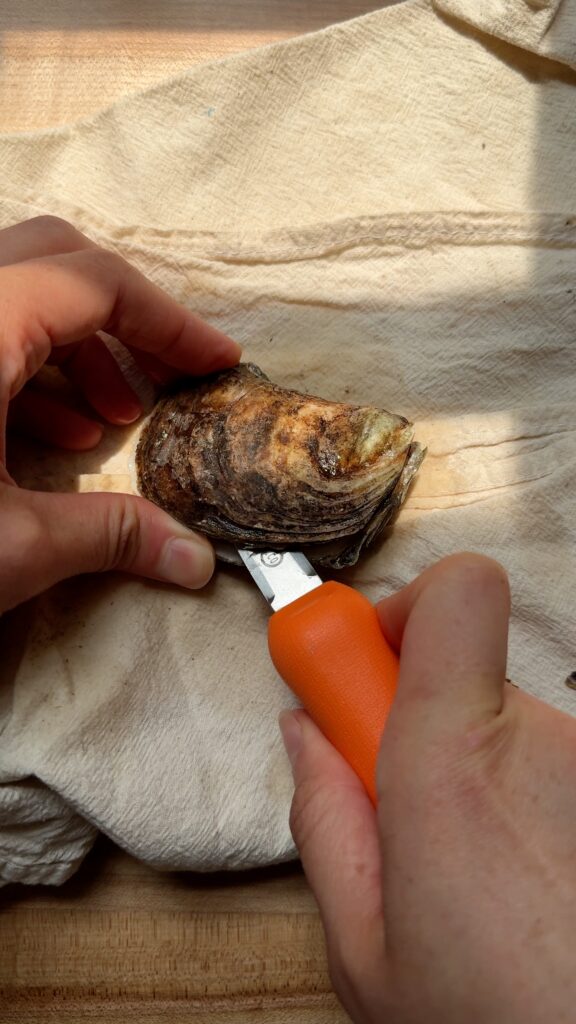
Step #2 – Angle your knife in the bottom of the oyster and insert it
Hold your oyster knife so that the flat part is parallel with the surface you are shucking on. Each oyster has a bottom to it where the two halves of the shell meet. Usually this bottom has a very obvious opening where you can insert the knife, but if it doesn’t, get as close to the center of bottom of the oyster shell as possible.
Firmly push the oyster knife into the oyster, you will feel it “lodge” into the shell, which means it is time to go to Step #3
Step #3 – Twist the knife 90 degrees to pop open the shell
Oysters are alive when you open them (crazy! But a good thing, I promise), so the shells will be hard to open. To open them, once the oyster knife is inserted at the bottom of the shell, give it a firm twist 90 degrees, pushing the flat part of the knife away from you and prying the shell open. You should hear a loud “pop” noise.
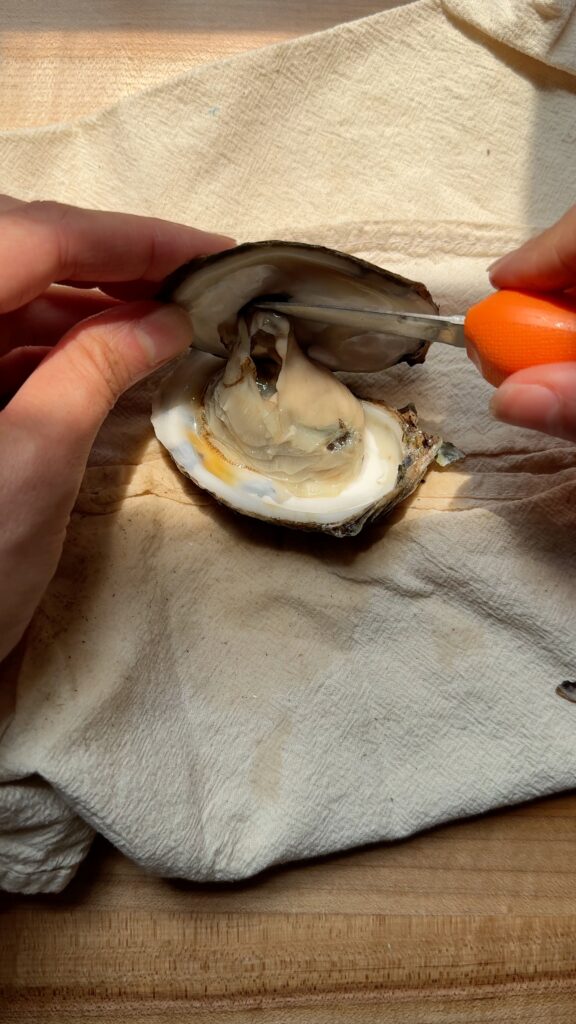
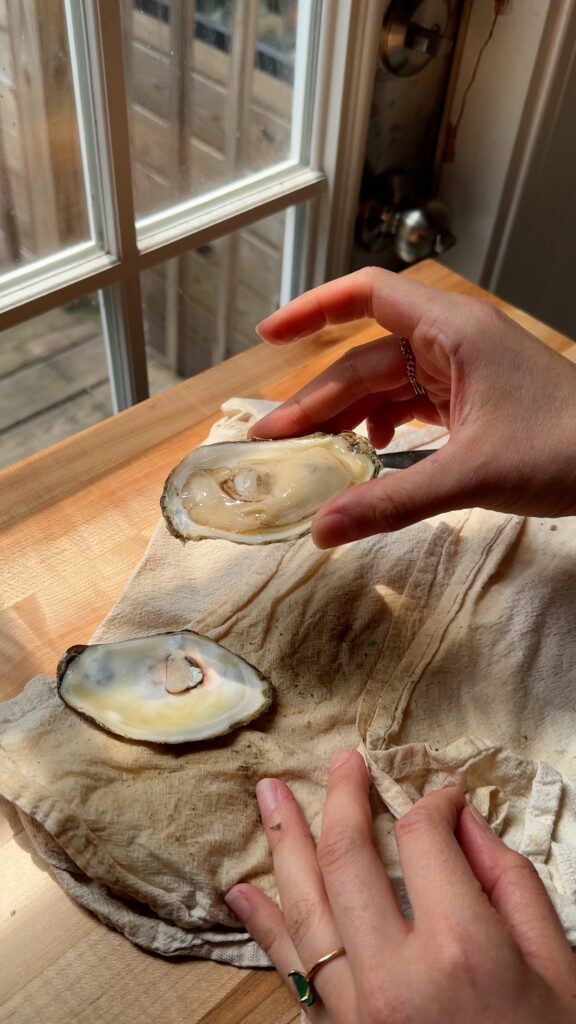
Step #4 – slide the Knife down the center of the Oyster to slice off the valve
All oysters have a valve near the top of the shell that you need to gently slice off so that the shell can fully release (see photo above for reference). Once the shell is popped open, I like to return my knife to flat and skim it across the top shell, aiming to gently sever the valve. If you do this correctly, the valve will sever and you’ll be able to ease off the top shell.
If you need to pull apart the shell even more during this step, feel free to continue to twist the oyster knife. It will help pry the shell open more!
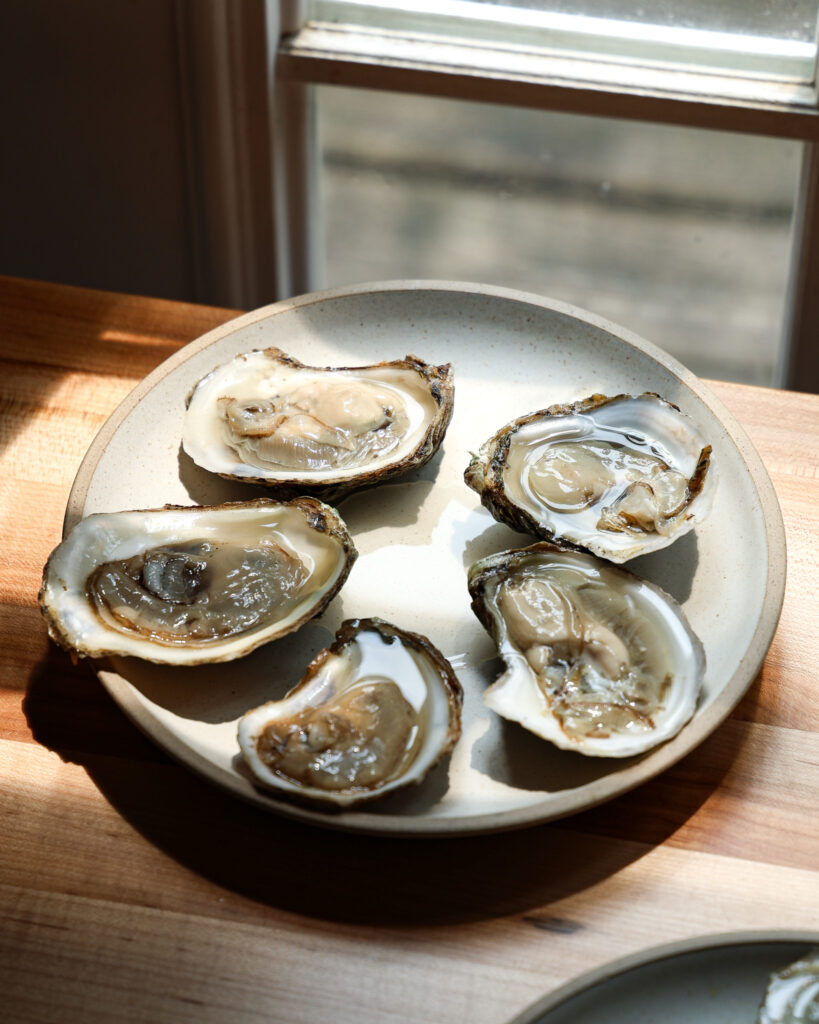
Step #5 – Remove the Top Shell and serve!
All the hard work is done, so now just gently lift off the top shell half and discard it. The bottom shell is now ready to serve, and try to keep the briny juices in it as much as possible. That is where the good stuff is!
Wipe off your oyster knife (it’s very important to keep it clean to prevent grimy oysters), and then you’re ready to repeat the process!

Where can I buy oysters?
The beauty of oysters is they really are from all over. I spent this last Christmas Eve shucking all-you-can-eat steamed oysters in South Carolina, and I get great East Coast oysters all the way up here from Island Creek Oysters. They are also abundant in the Pacific Northwest, so you can find seasonal, briny oysters from many sources.
If you are looking for the highest quality oysters, I recommend going to your local fish monger and asking what they recommend. Places like Whole Foods will also have oysters available, but the quality will vary based on your location.
If you are looking to get oysters delivered, Fulton Fish Market delivers me fresh, local oysters and I’ve never had any complaints.
The biggest thing to note is that you should trust your source to be a high-quality fish dealer, that way you won’t get stuck with lackluster oysters on a fluke.
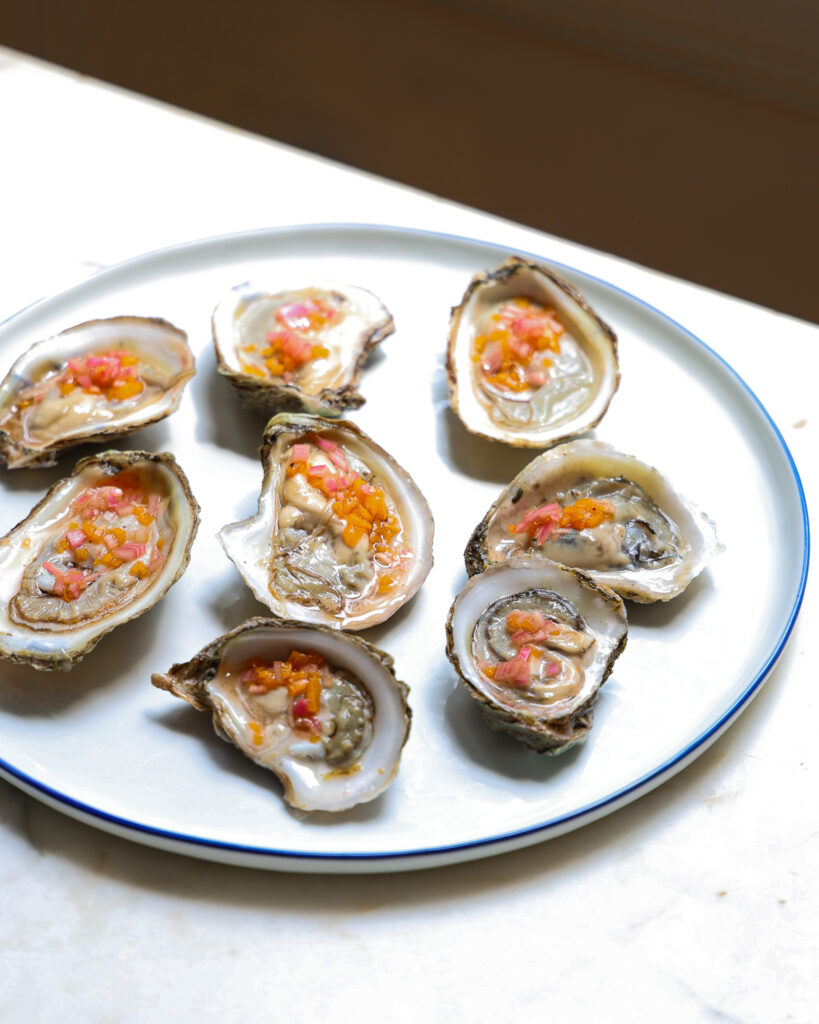
And you can see below for the Apricot Mignonette recipe!
If you make it, please tag me on Pinterest or Instagram so I can see! It’s my favorite thing to scroll through stories and see what you all are making.
And of course feel free to leave any questions, comments or reviews! This is the best place to reach me, and I’d love to hear from you <3

Watch the recipe here
The video may not fully represent the recipe. For best results, follow the instructions as written.
Equipment
Ingredients
- 1/4 cup finely diced shallot, about 1/2 medium shallot
- 3 tablespoons finely diced apricot , about 1 small apricot
- 1/2 cup red wine vinegar
- 1/4 teaspoon freshly ground black pepper
- 1/4 teaspoon Diamond Crystal kosher salt
Instructions
- Combine all the ingredients in a small bowl and whisk well.
- Taste and adjust the salt seasoning to your preference. Store in the fridge until you would like to use it.

Comments
Leave a Comment
Made this recipe? Tell me all your thoughts or if you’ve got any questions!