

There is something so fun about pulling out half a gallon of milk and being like…let’s make some homemade mozzarella. Making homemade cheese is something I’ve done on the blog before, but it never ceases to amaze me. It’s like a fun edible science project, and I was NEVER good at science.
What’s wild about homemade mozzarella is that most of it is made with pantry staples. You only need one obscure ingredient, which is vegetable rennet. You can easily get this on Amazon or at your local food specialty store.
After that, it all comes down to technique, which we’ll cover in this blog post!
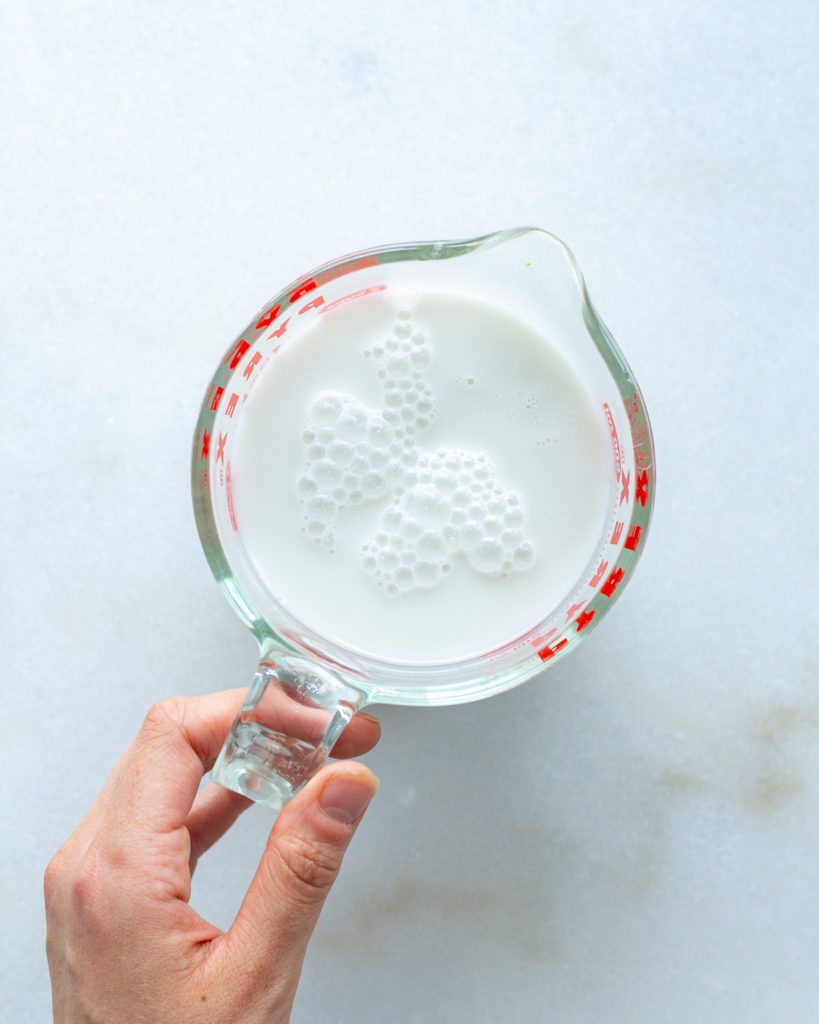
Table of contents
Ingredients you need to make homemade mozzarella
- 3/4 teaspoon citric acid, diluted in 3 tablespoons water (or 2 ounces of white vinegar)
- 4 drops vegetable rennet, diluted in 3 tablespoons water
- 1 liter whole milk – this CANNOT be ultra-pasteurized, but other than that, grocery store milk should work!
- 1 teaspoon kosher salt
Step #1 – Adding acid to the milk and bringing it to temperature
First, dilute the citric acid in 3 tablespoons of water and set aside. Do the same with the vegetable rennet.
Then pour the milk into a large bowl or sauce pot. Gradually pour in the citric acid solution, a little bit at a time, stirring constantly. You do not want the milk to curdle, but just to get slightly blue around the edges.
Continue to stir while you bring the milk mixture to 90°F. You can either do this on the stove on low heat, or you can do this by placing the bowl of milk in a bigger bowl and pouring hot water into the larger bowl, surrounding the bowl of milk. Both processes are gentle, which is all you need!
Step #2 – Separating the curds and whey
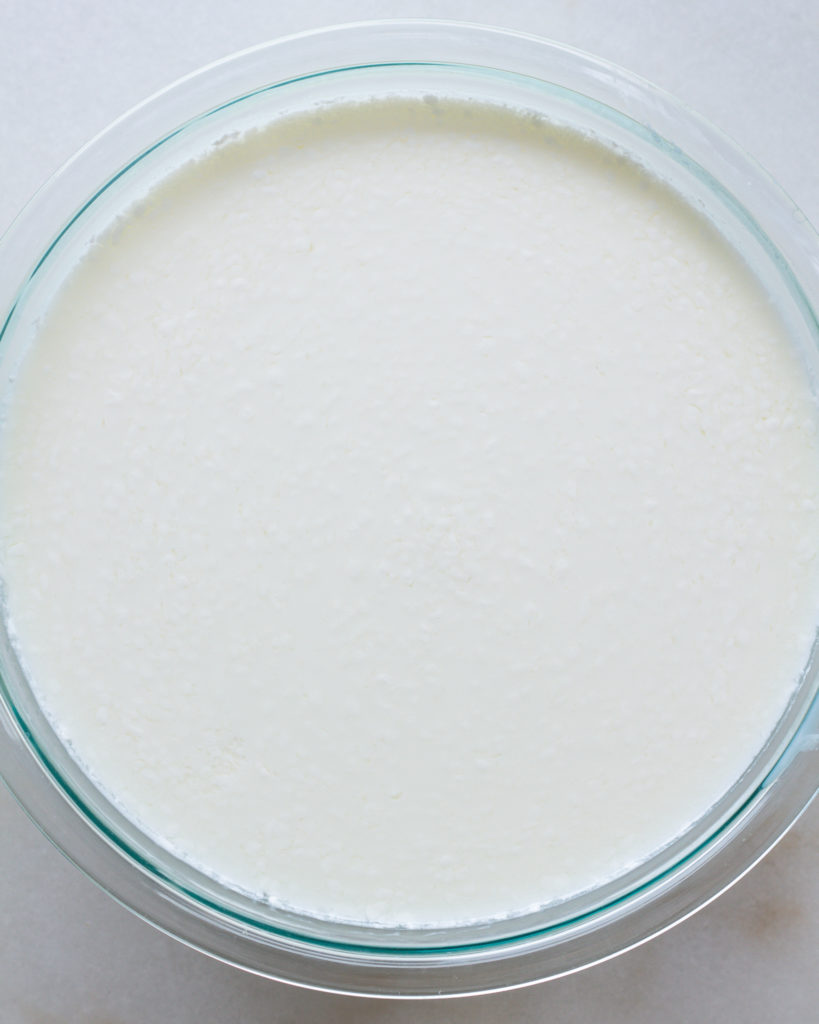
Once the milk has reached 90°F, remove it from the heat source and pour in the vegetable rennet mixture. Stir for 15 seconds, then let the mixture sit for 15 minutes.
At the end of the 15 minutes, the milk should have curdled at the top. This means you can lightly press it with a finger and it feels bouncy. Use a knife to cut this solid layer into squares. Then gently swirl your hand in the milk to separate the squares up.
Step #3 – Draining the whey and salting the curds
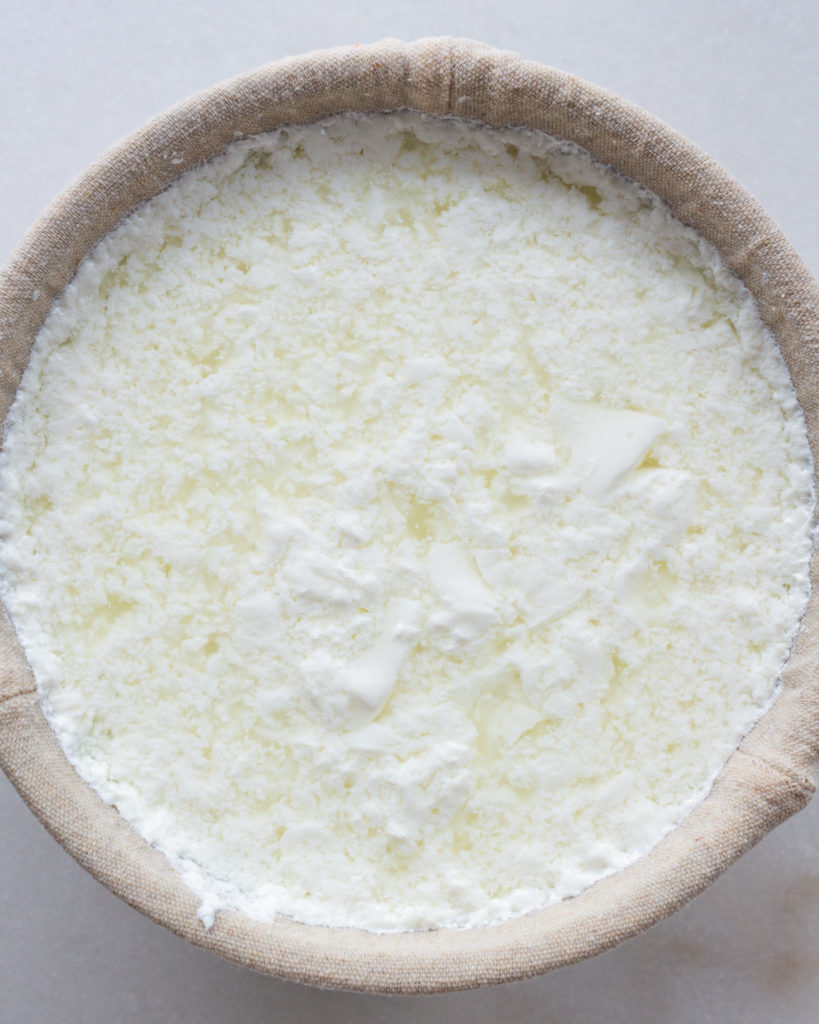
Now place a cheese cloth over the top of a large bowl. Slowly pour in the milk mixture. The liquid is the whey, and the solid chunks are the curds. By pouring through the cheesecloth, you are separating the curds from the whey.
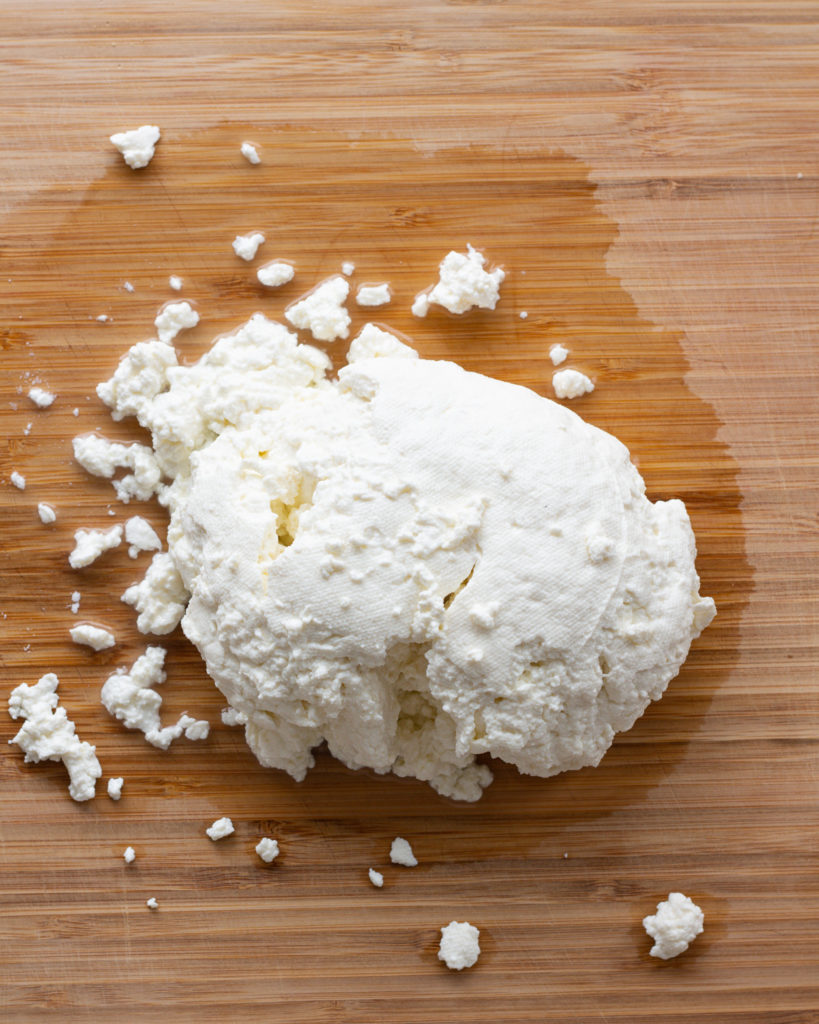
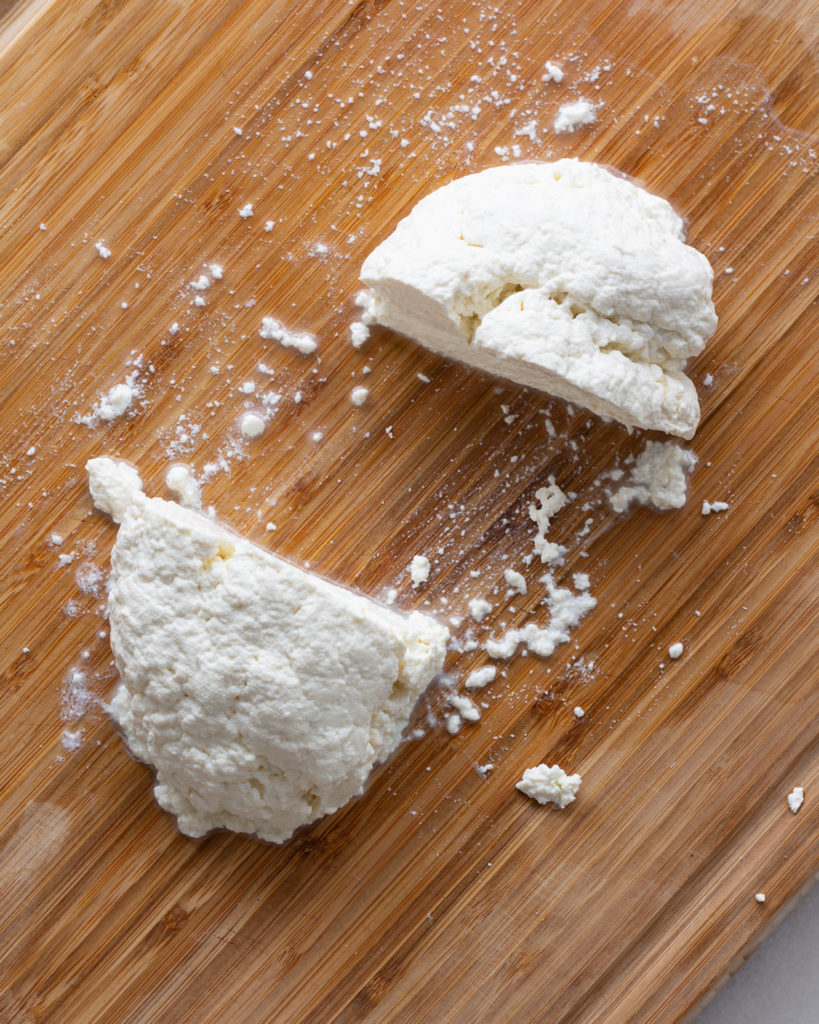
Let the curds drain out for a few minutes. Give the cheesecloth a gentle squeeze to remove any excess liquid, and move the curds to a cutting board. You can discard the whey, or keep it to make ricotta later.
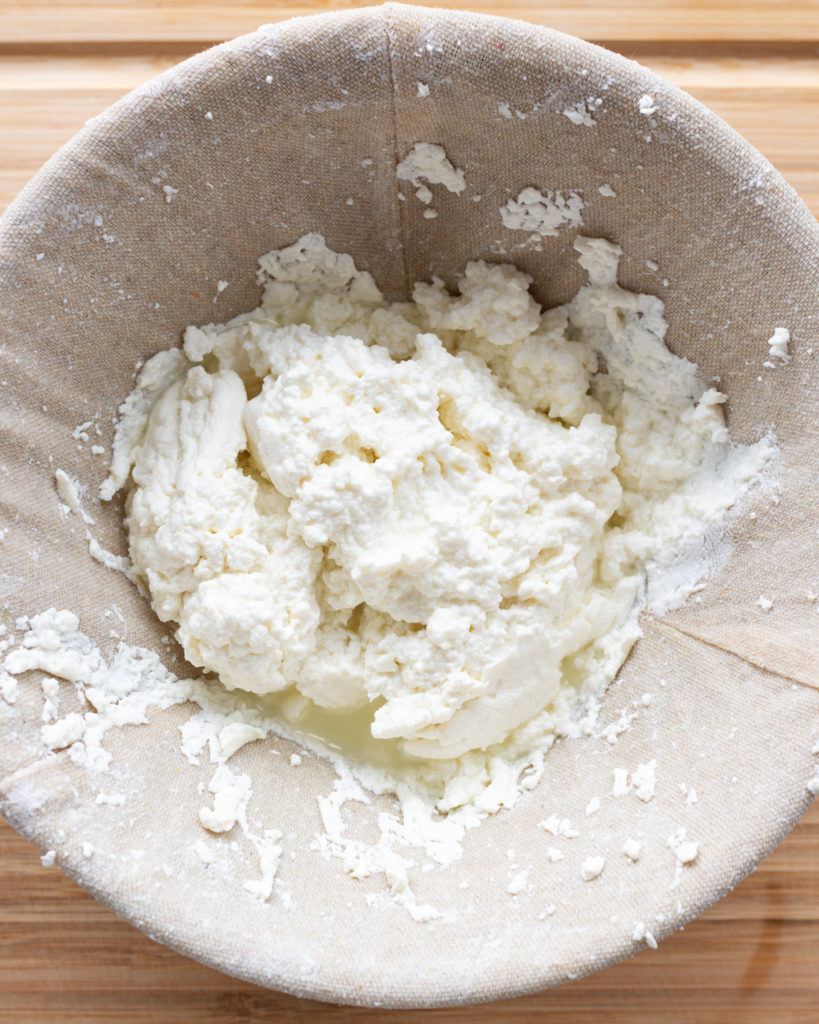
Add the teaspoon of salt to the curds and knead it in gently with your hand. Then press the curds into a rough ball (image below for reference).
Step #4 – Shaping the homemade mozzarella
This is where things get slightly tricky. With homemade mozzarella, you need to shape it in hot water. The key is that you want the water to be uncomfortably hot. You MUST use gloves so that you do not burn yourself. I recommend getting the thickest rubber gloves you can find.
What you are doing when you dip the curds into hot water is you are essentially recooking the mozzarella, helping it congeal and combine into a smooth, round cheese. The more you work with it, the more it smooths out!
So put on your rubber gloves, and add very hot (the hotter the better) water to a large bowl.
Grab the curds in your hands, and dip them into the hot water. Begin to fold, stretch, and pull the curds. It will be crumbly at first, but the more you work it and dip it in the hot water, the smoother and more stretchable it will become. Continue to dip, stretch and fold.
Do this process multiple times, but note that the less you do it, the more fatty and creamy the mozzarella will be. As soon as you reach your desired smoothness, you’re close to being done!
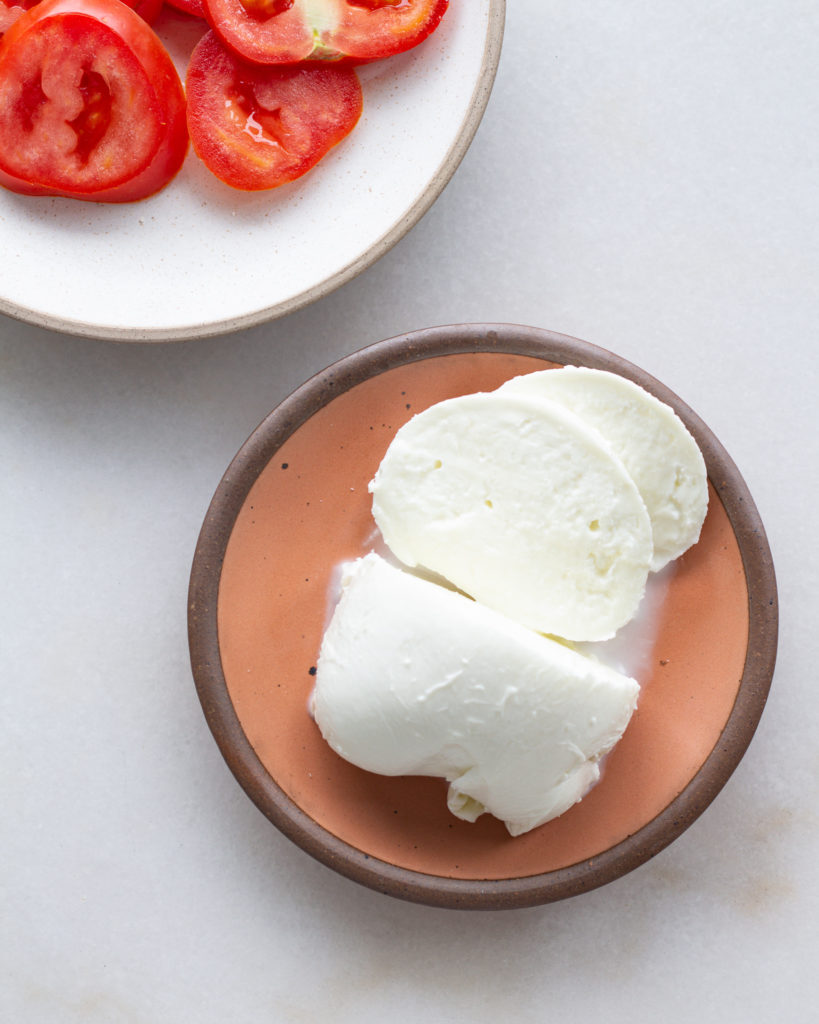
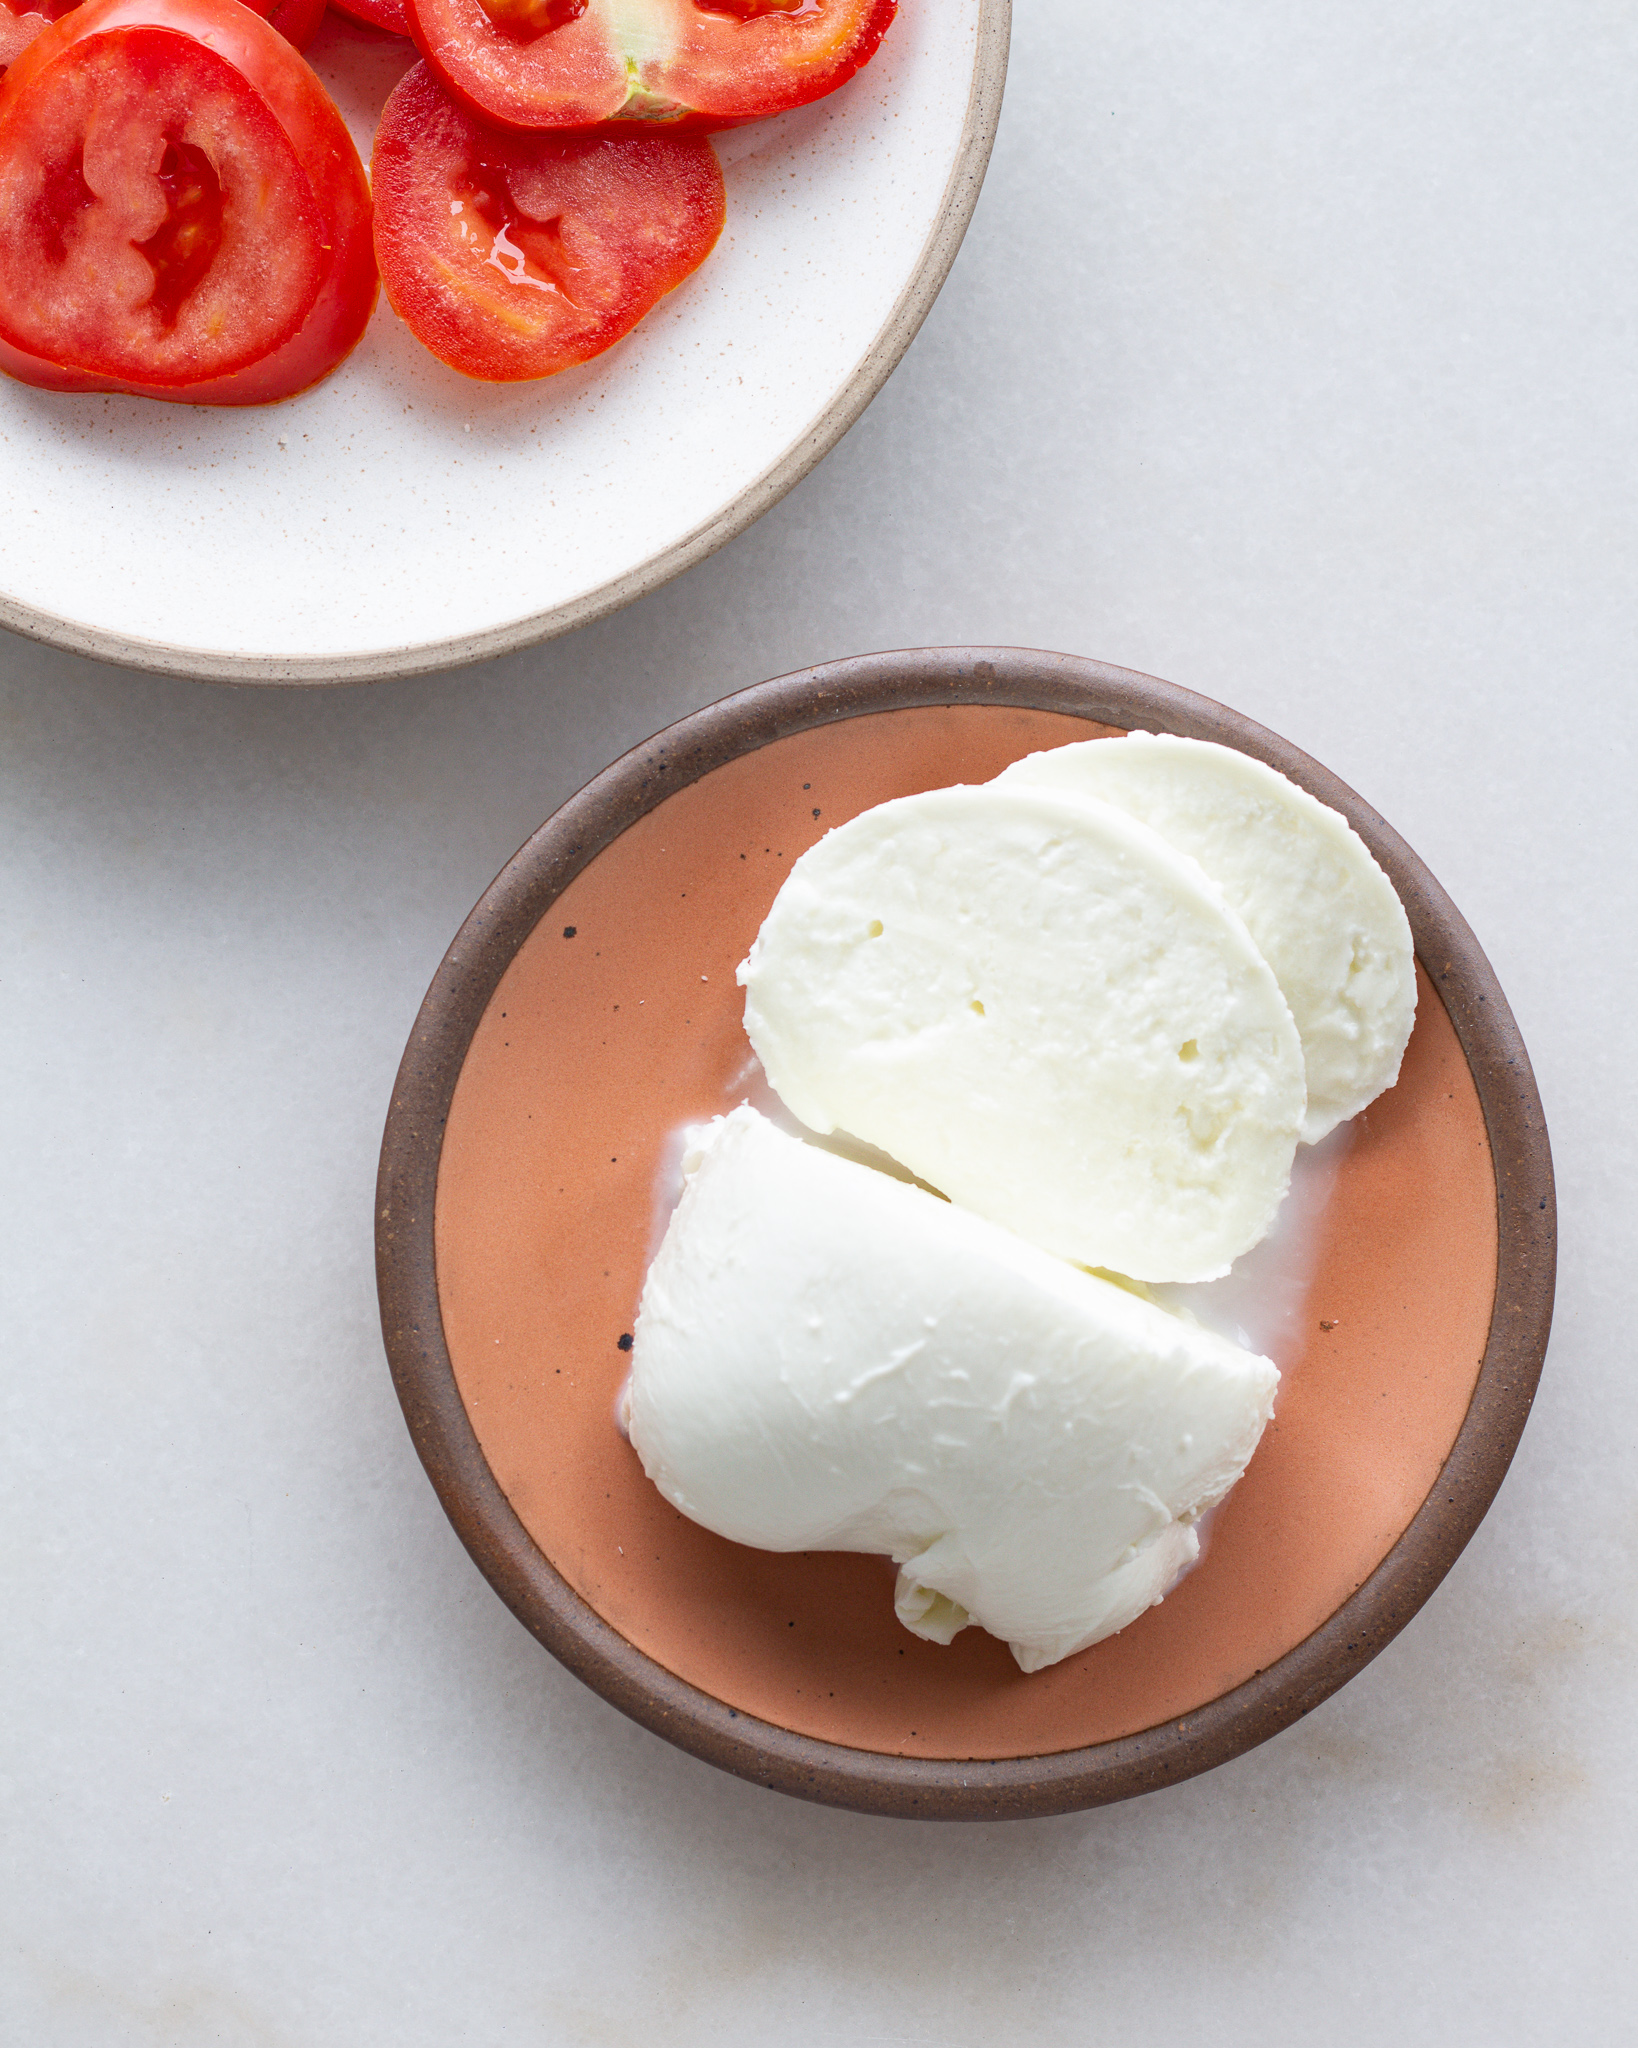
When the mozzarella is smooth, begin to shape it into a flat circle, and then press it into a ball.
How to store homemade mozzarella
You can either store this in the fridge or eat it right away, and I always recommend the latter. 😉
If you can, store it in a tupperware container and surround the mozzarella with water. This will help it last better in the fridge. Since we made it ourselves, it will only keep for around 3 days.
If you are eating it right away, no need to worry about storage, just enjoy!
If you make it, please tag me on Pinterest or Instagram so I can see! It’s my favorite thing to scroll through stories and see what you all are making.
And of course feel free to leave any questions, comments or reviews! This is the best place to reach me, and I’d love to hear from you.
Equipment
- 2 rubber gloves
- 1 large cheese cloth
Ingredients
- 3/4 teaspoon citric acid, diluted in 3 tablespoons water (or 2 ounces of white vinegar)
- 4 drops vegetable rennet, diluted in 3 tablespoons water
- 1 liter whole milk, cannot be ultra-pasteurized, but other than that, grocery store milk should work!
- 1 teaspoon kosher salt
Instructions
- First, dilute the citric acid in 3 tablespoons of water and set aside. Do the same with the vegetable rennet.
- Pour the milk into a large bowl or sauce pot. Gradually pour in the citric acid solution, a little bit at a time, stirring constantly. You do not want the milk to curdle, but just to get slightly blue around the edges.
- Continue to stir while you bring the milk mixture to 90°F. You can either do this on the stove on low heat if you are using the sauce pot, or you can do this by placing the bowl of milk in a bigger bowl and pouring hot water into the larger bowl to surround the bowl of milk.
- Once the milk has reached 90°F, remove it from the heat source and pour in the vegetable rennet mixture. Stir for 15 seconds, then let the mixture sit for 15 minutes.
- At the end of the 15 minutes, the milk should have curdled at the top. This means you can lightly press it with a finger and it feels bouncy. Use a knife to cut this solid layer into squares. Then gently swirl your hand in the milk to separate the squares up.
- Now place a cheese cloth over the top of a large bowl. Slowly pour in the milk mixture. The liquid is the whey, and the solid chunks are the curds. By pouring through the cheesecloth, you are separating the curds from the whey.
- Let the curds drain out for a few minutes. Give the cheesecloth a gentle squeeze to remove any excess liquid, and move the curds to a cutting board. You can discard the whey, or keep it to make ricotta later.
- Add the teaspoon of salt to the curds and knead it in gently with your hand. Then press the curds into a rough ball (image above for reference).
- Put on your rubber gloves, and add very hot (the hotter the better) water to a large bowl.
- Grab the curds in your hands, and dip it into the hot water. Begin to fold, stretch, and pull the curds. It will be crumbly at first, but the more you work it and dip it in the hot water, the smoother and more stretchable it will become. Continue to dip, stretch and fold.
- Do this process multiple times, but note that the less you do it, the more fatty and creamy the mozzarella will be. As soon as you reach your desired smoothness, you're close to being done!
- When the mozzarella is smooth, begin to shape it into a flat circle, and then press it into a ball.
- Serve immediately, or store in your fridge for later use!

Comments
Leave a Comment
Made this recipe? Tell me all your thoughts or if you’ve got any questions!